• Portfolio
  • Sketchbooks
    • Sketchbook 58 - PNW Roadtrip
    • Sketchbook 57 - USK Porto
    • Sketchbook 56
    • Sketchbook 55
    • Sketchbook 54
    • Sketchbook 53
    • Sketchbook 52
    • Sketchbook 51
  • Instagram
  • About
  • Contact
Jennie Kessinger
  • Portfolio
  • Sketchbooks
    • Sketchbook 58 - PNW Roadtrip
    • Sketchbook 57 - USK Porto
    • Sketchbook 56
    • Sketchbook 55
    • Sketchbook 54
    • Sketchbook 53
    • Sketchbook 52
    • Sketchbook 51
  • Instagram
  • About
  • Contact

New Year, New Classes

I hope all of you had a Happy New Year! Here's hoping 2018 will be better than the last.

To start the new year, I decided to take two courses that I've been looking forward to for some time now. The first is the Make Art That Sells Assignment Bootcamp Plus . This is a course offered by Make Art That Sells, which is an international collaboration between an art agency, Lilla Rogers Studio, and an online education provider, Do What You Love. The course is a structured five month program of monthly assignments to help us build a strong body of work and Lilla's expert review on how to make our portfolio attract the jobs we want. I decided to take this course, in part, because one of my friends has been a featured, represented artist of Lilla Roger's Studio - Anne Bentley. She is an amazing artist and has been getting great illustration jobs since she became a finalist in the MATS Global Talent Search and has been represented by Lilla Roger's Studio.

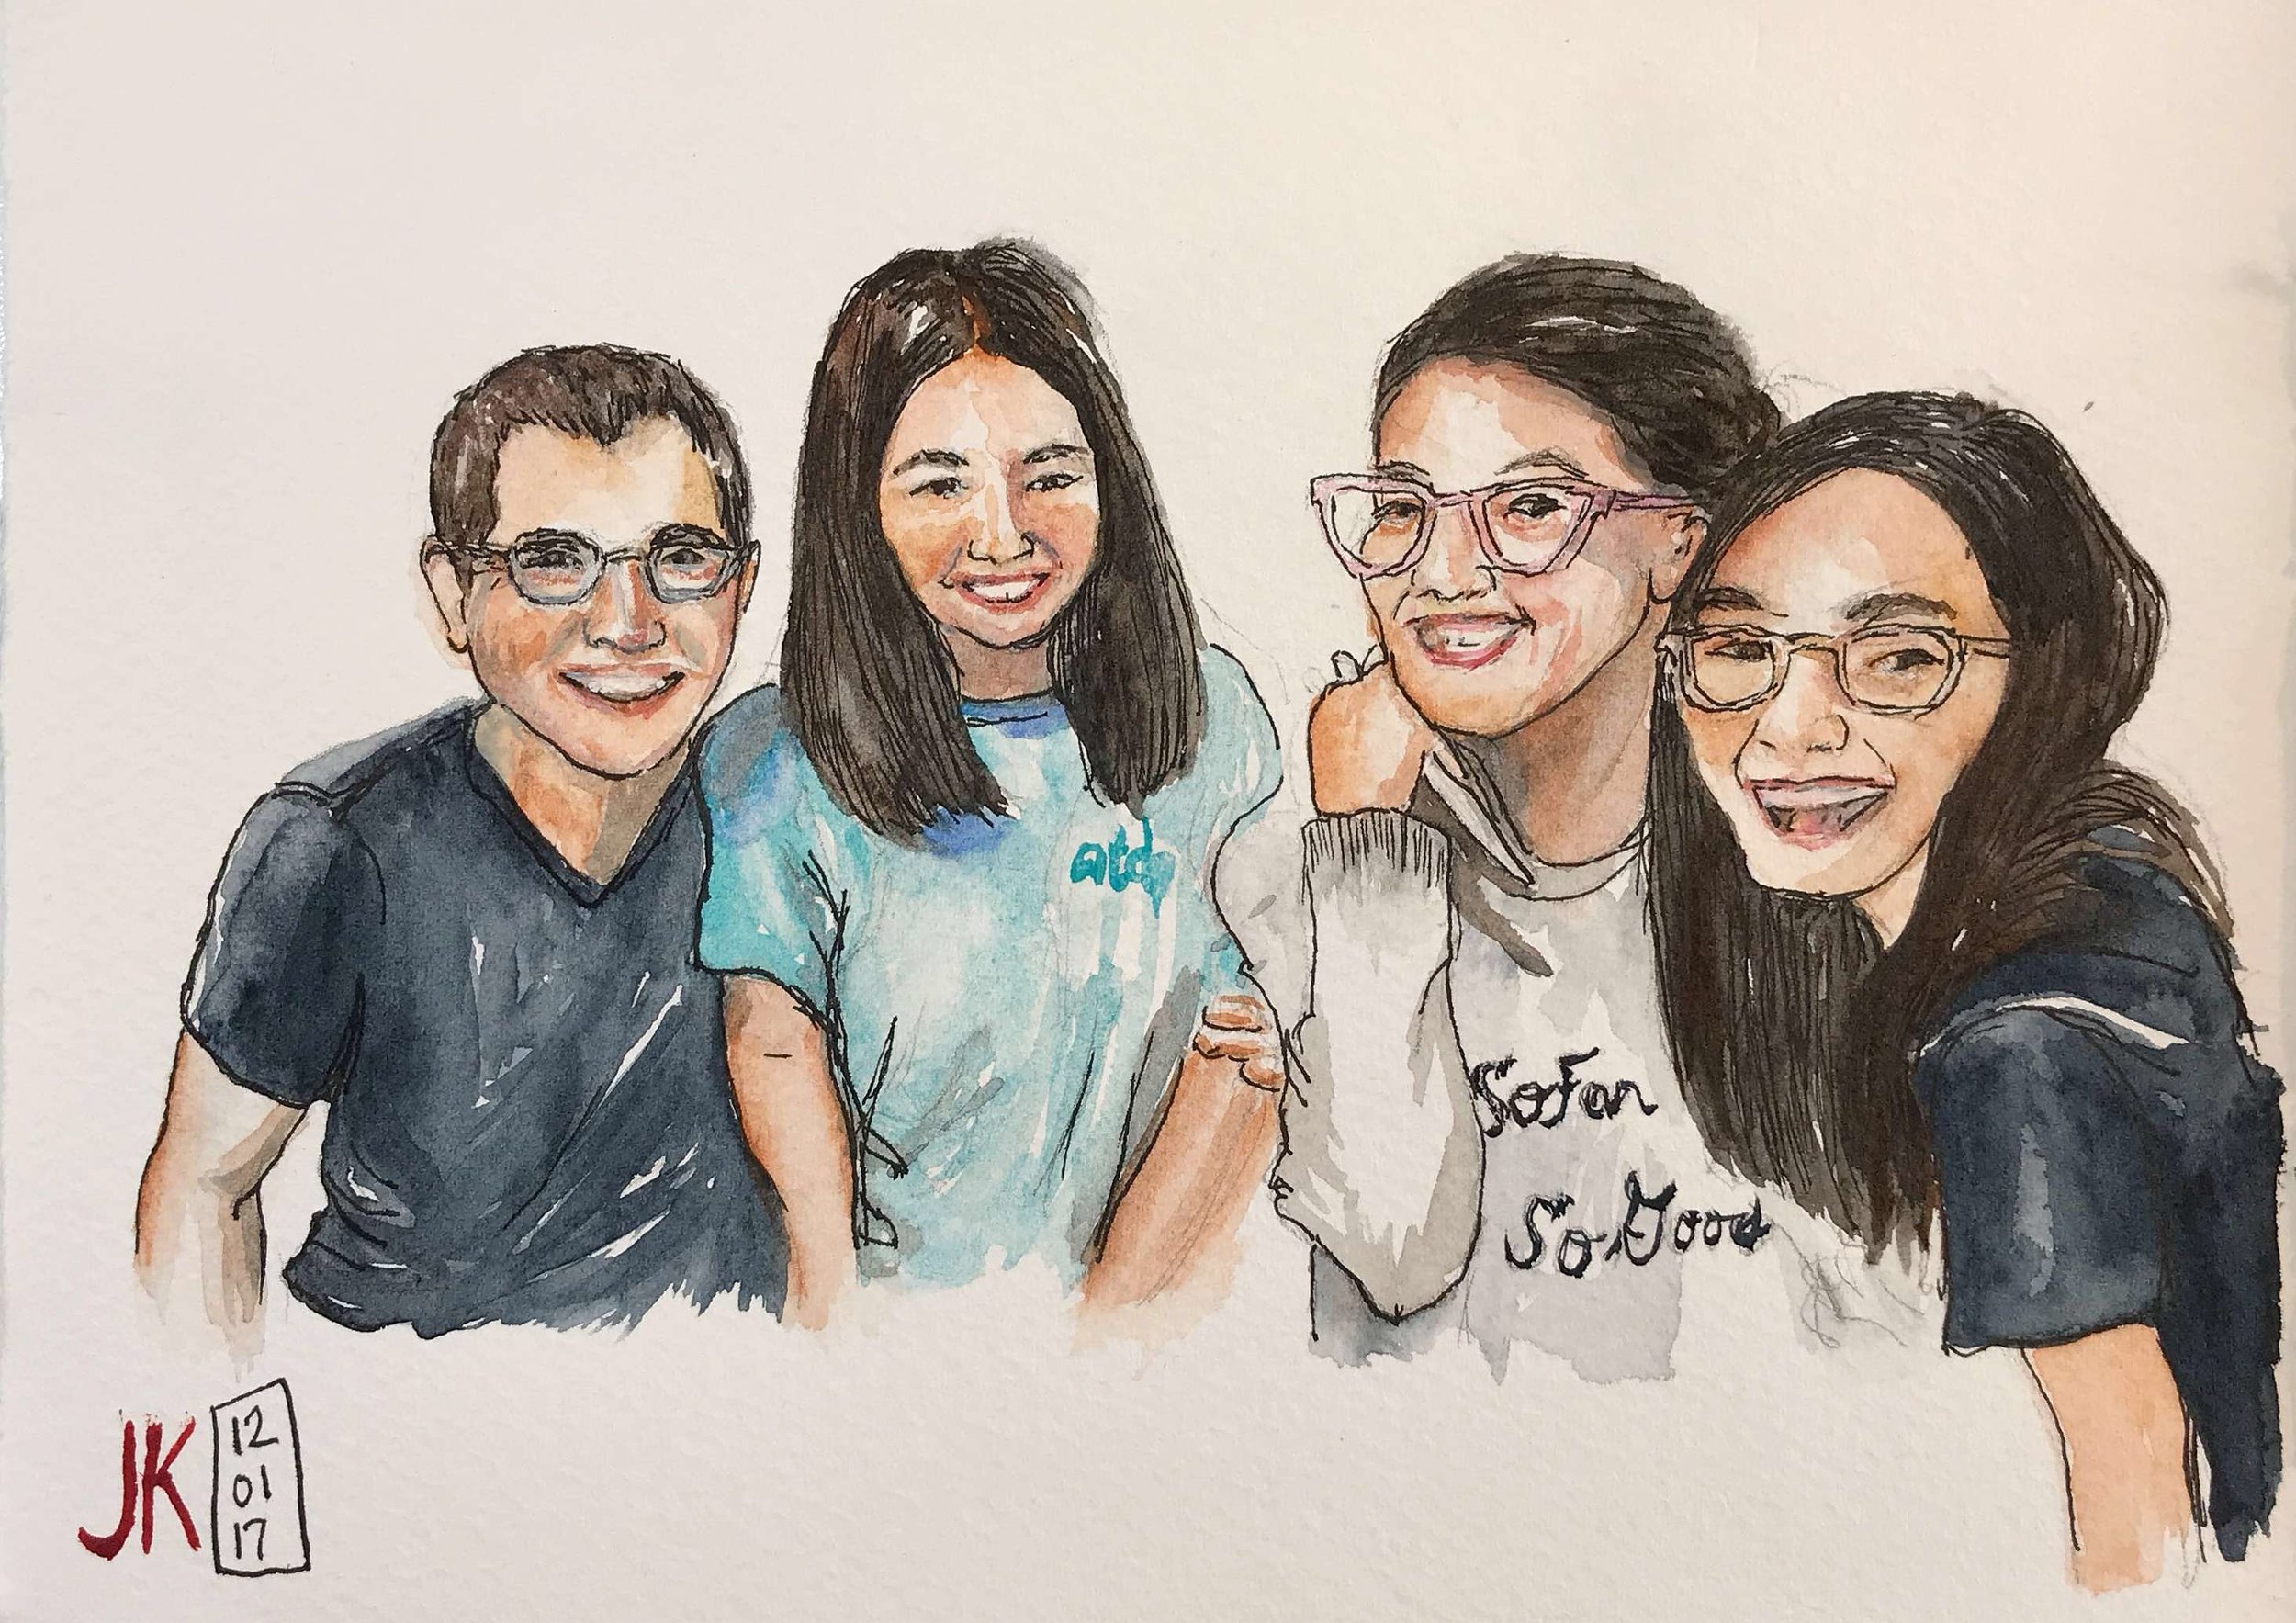
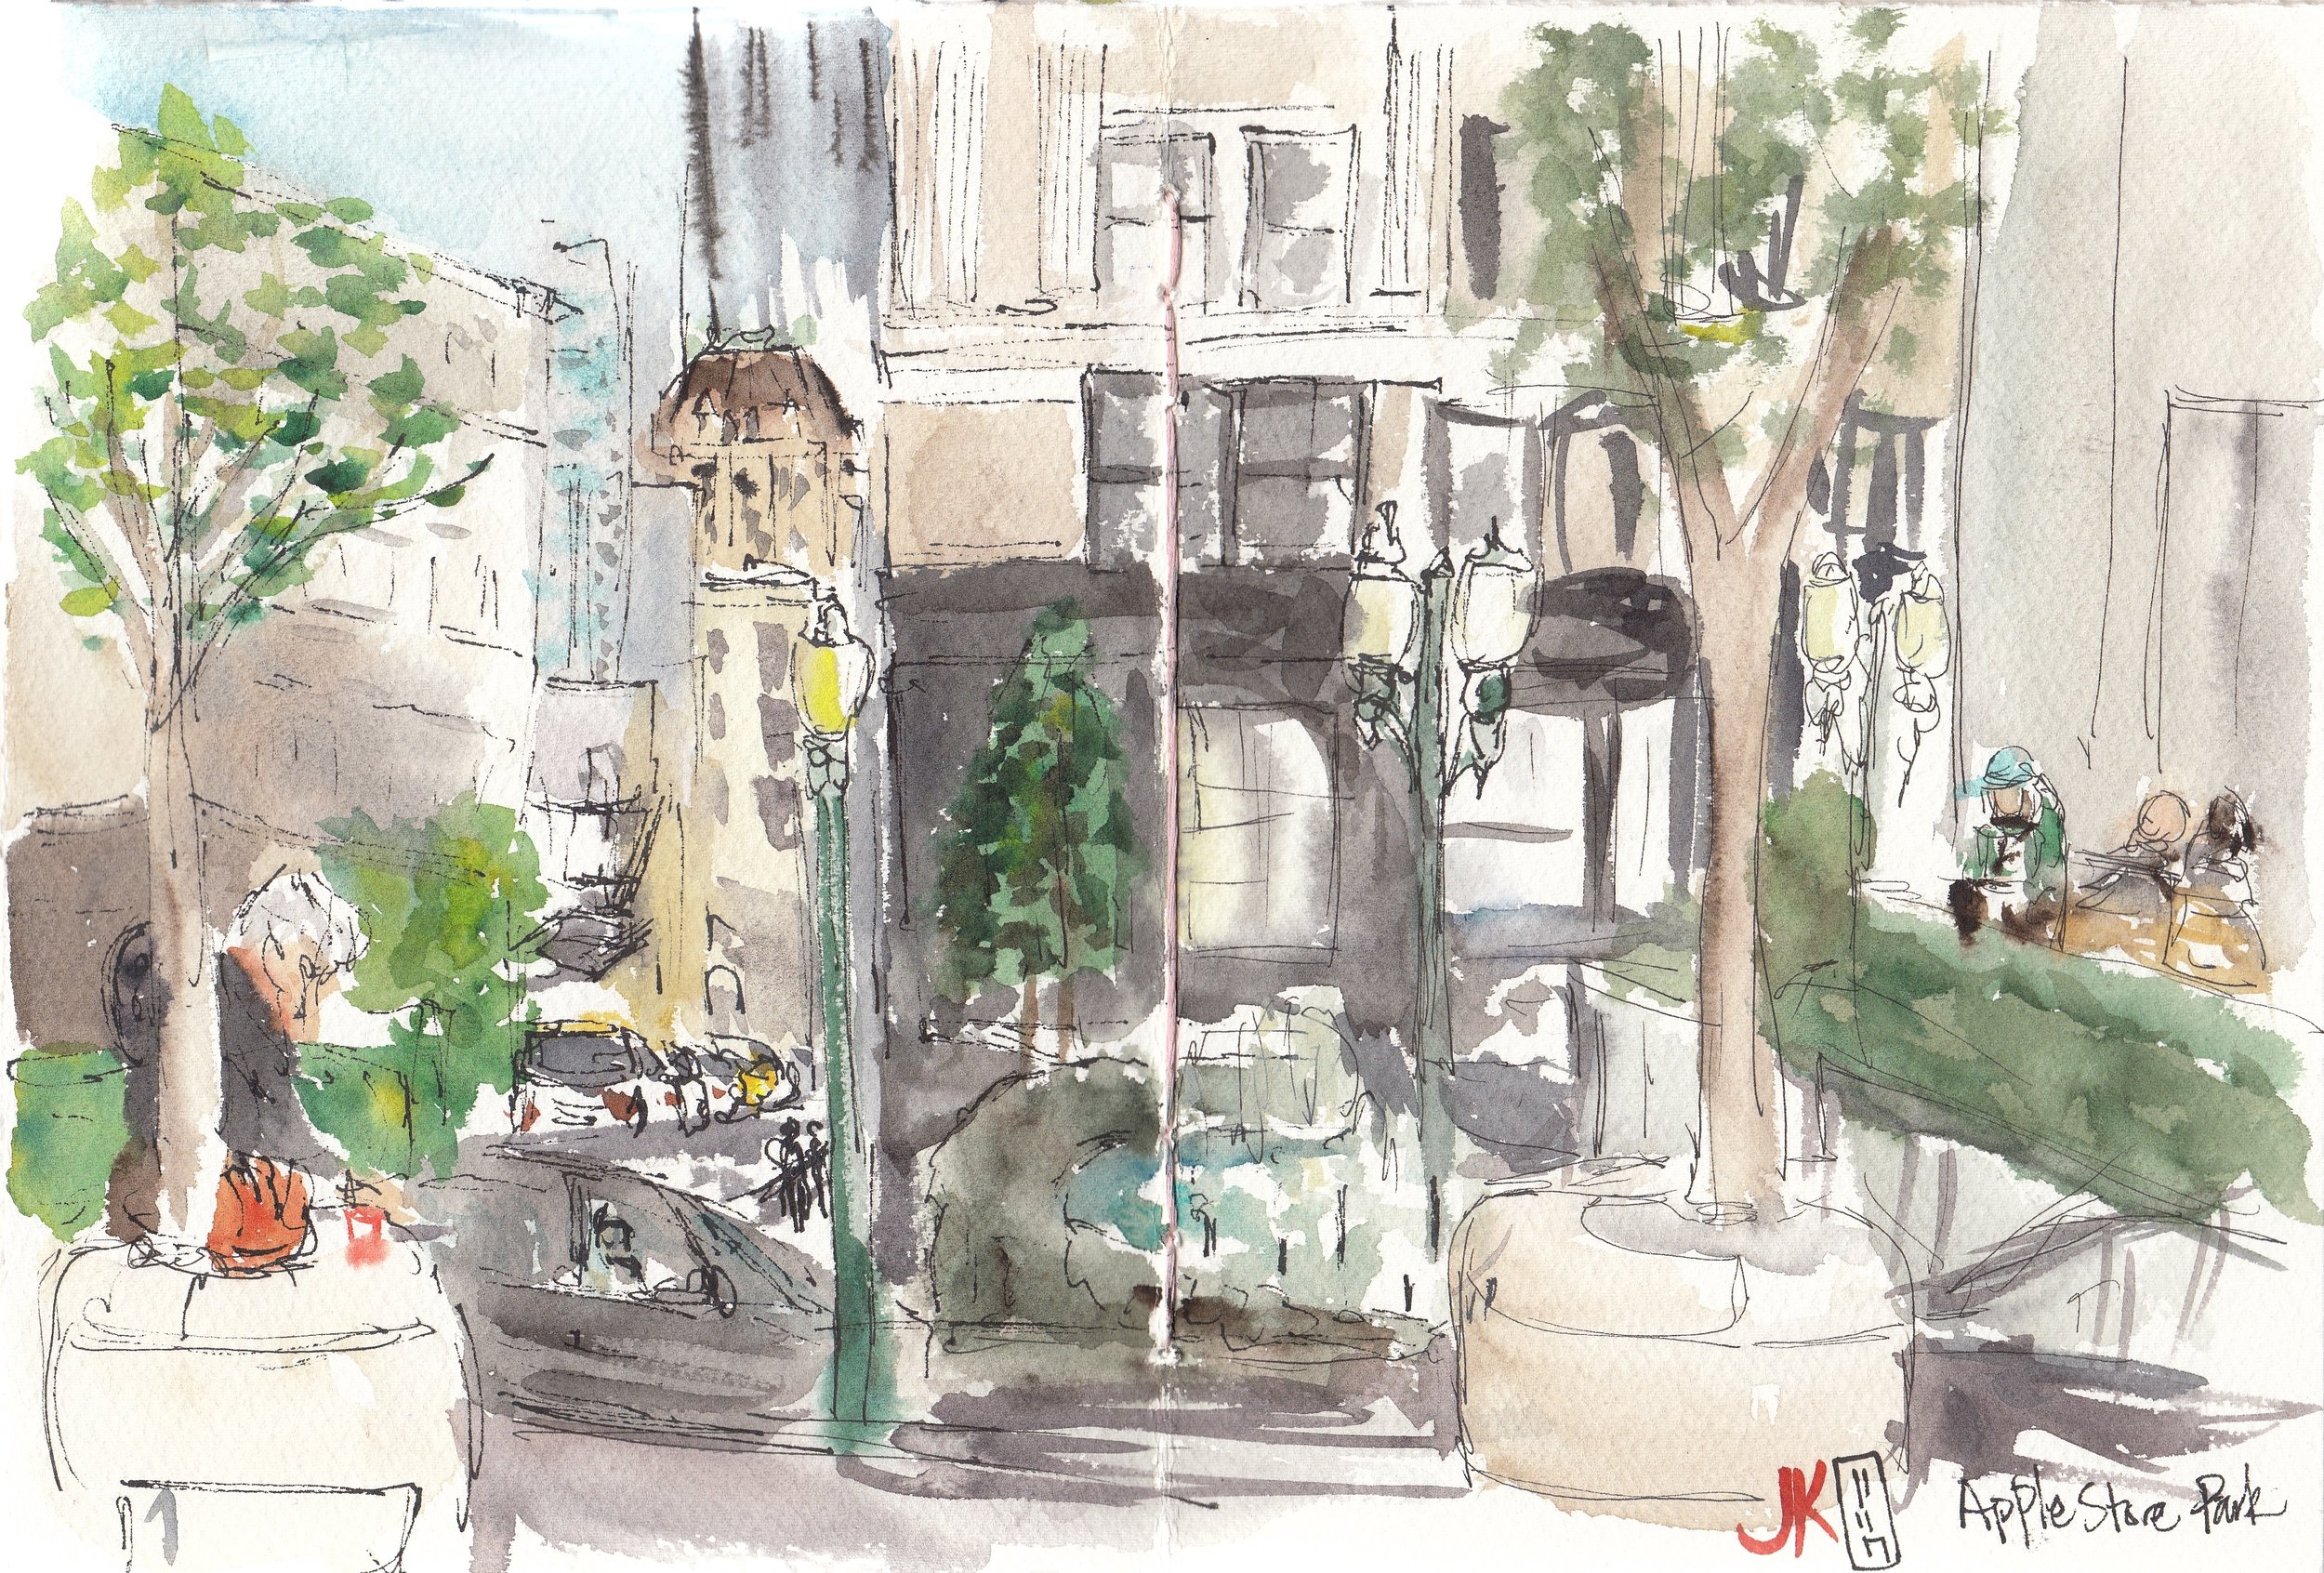
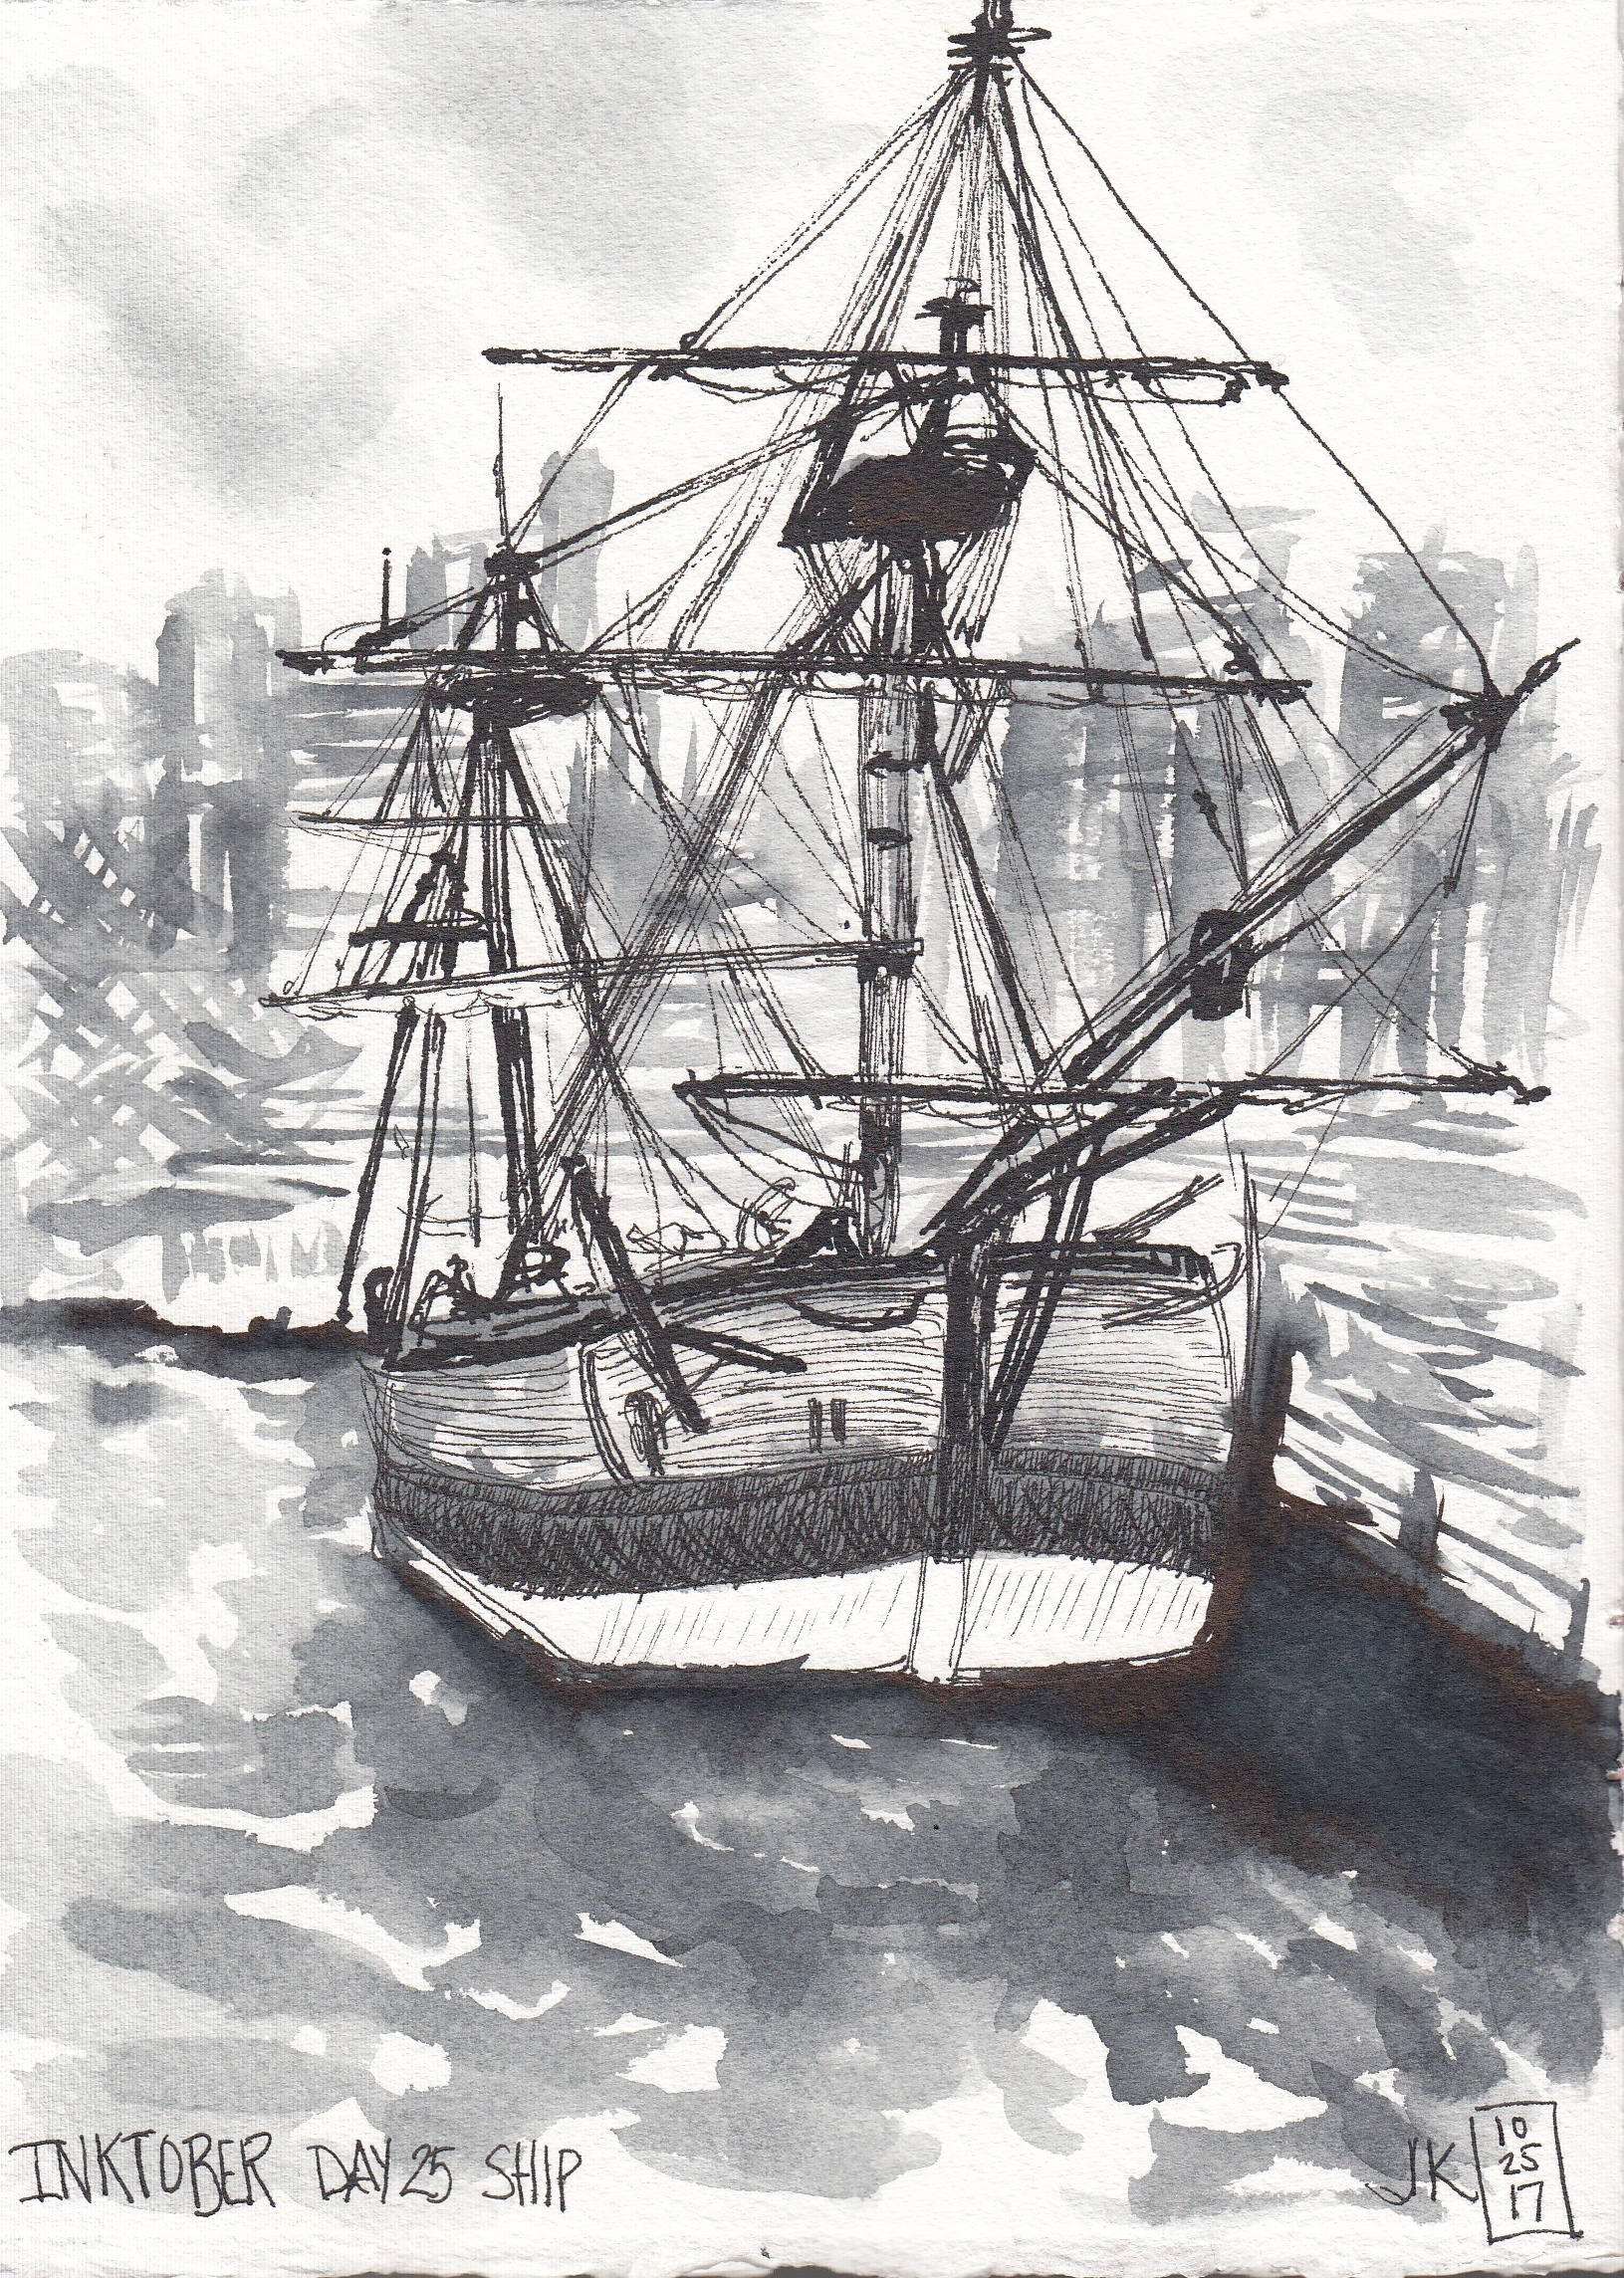
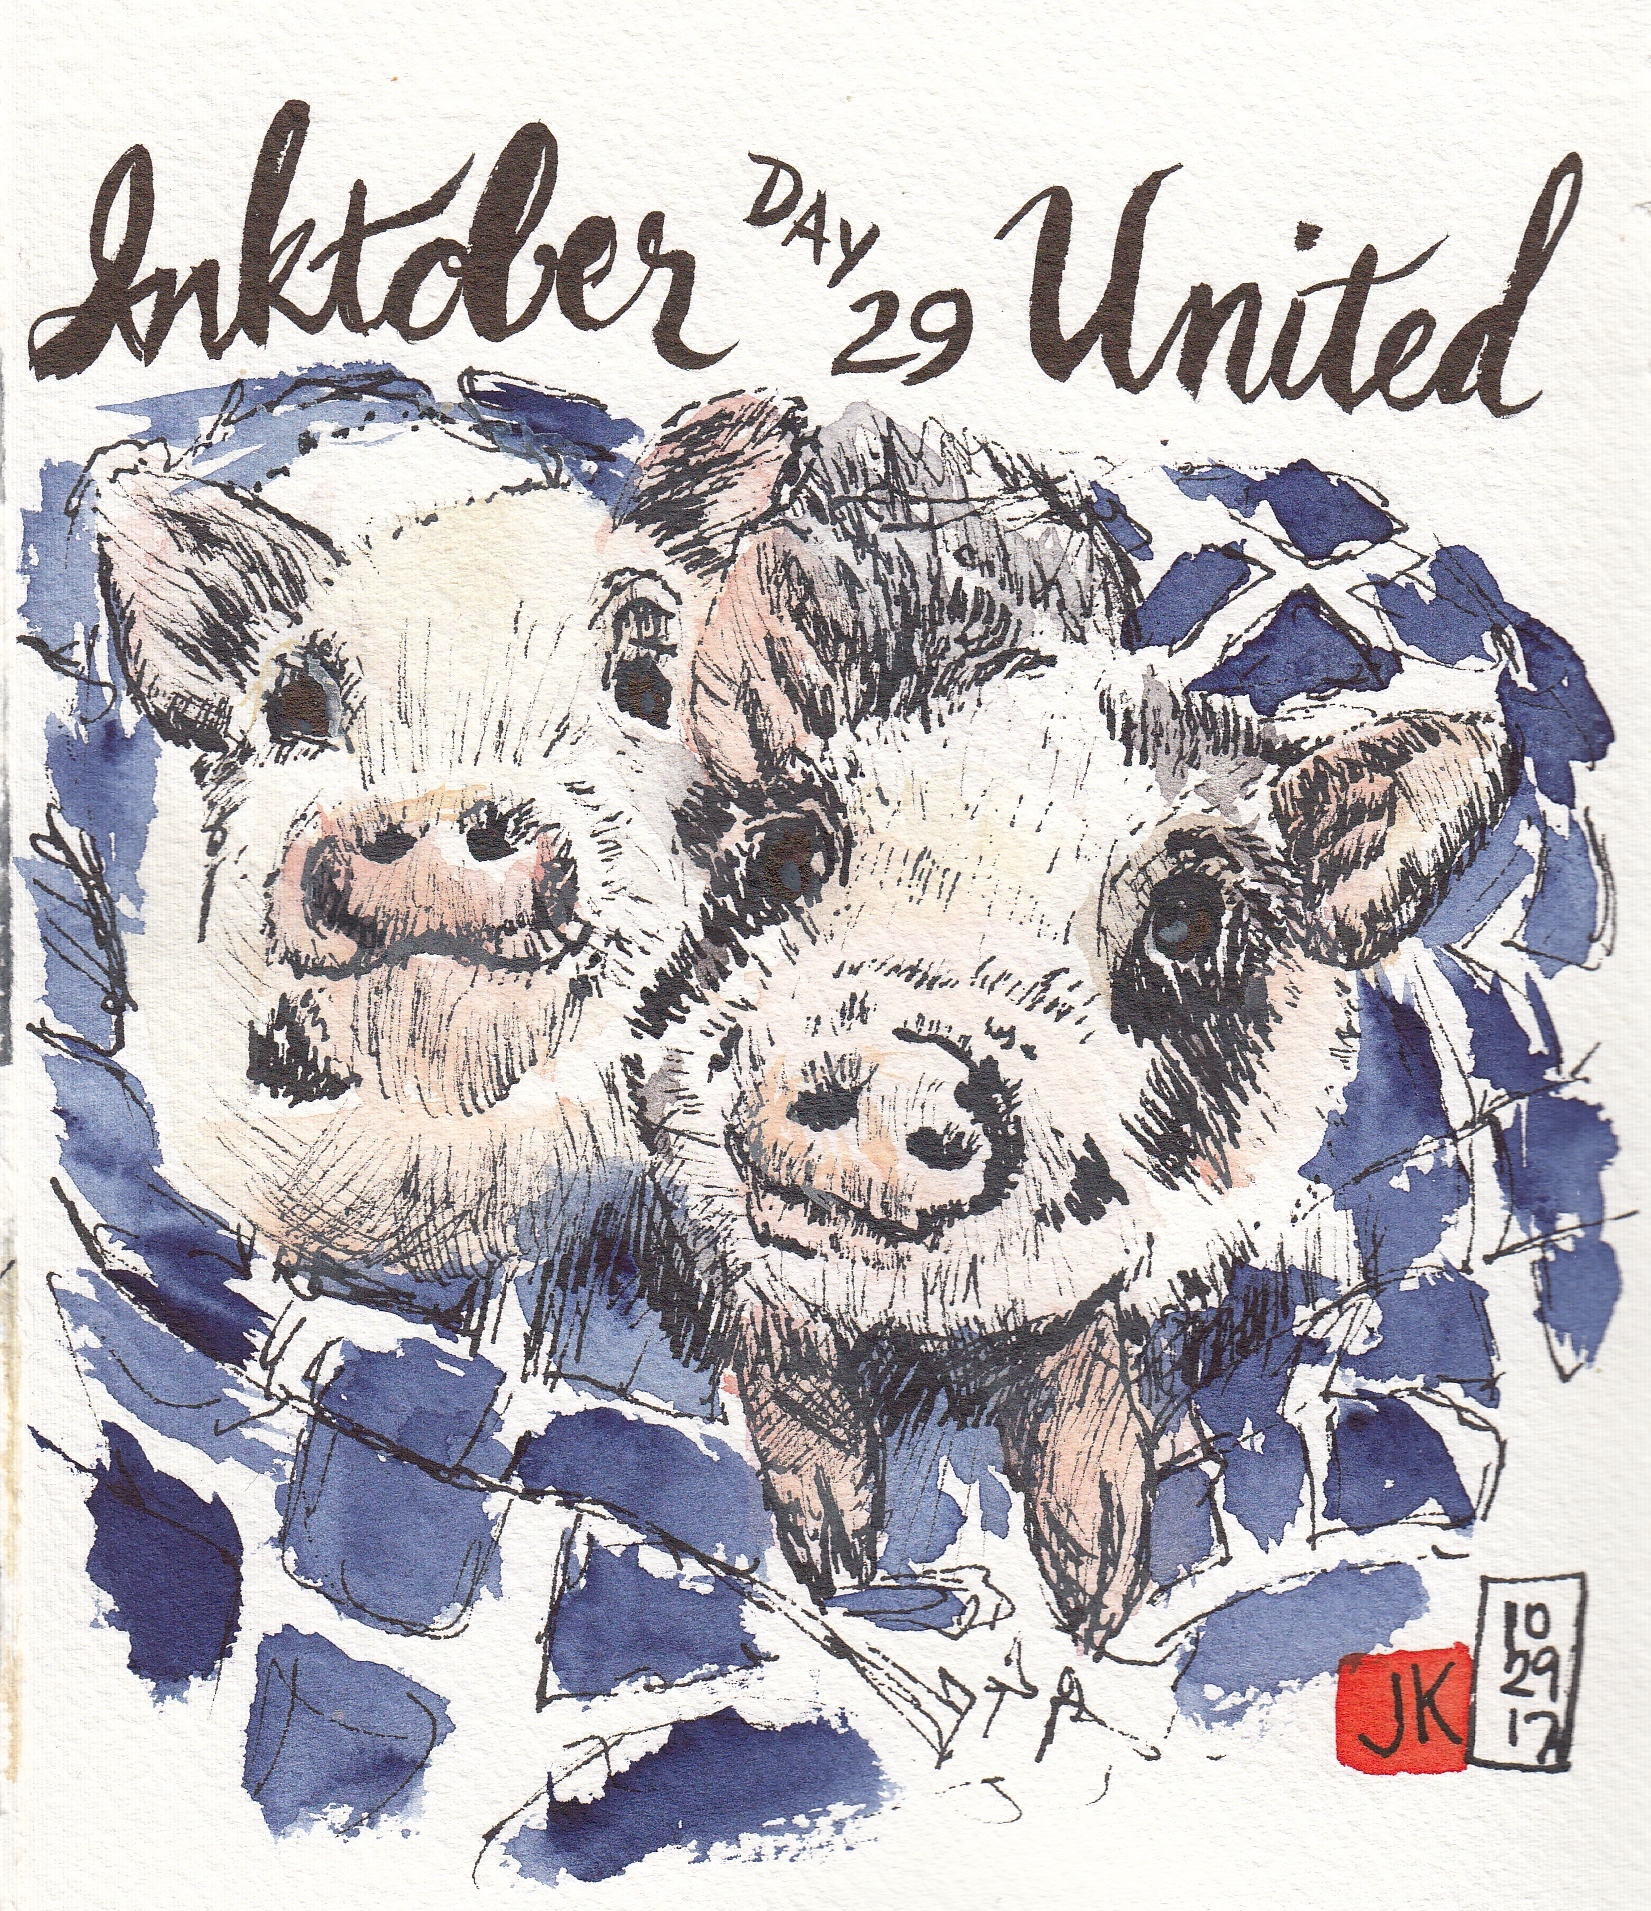
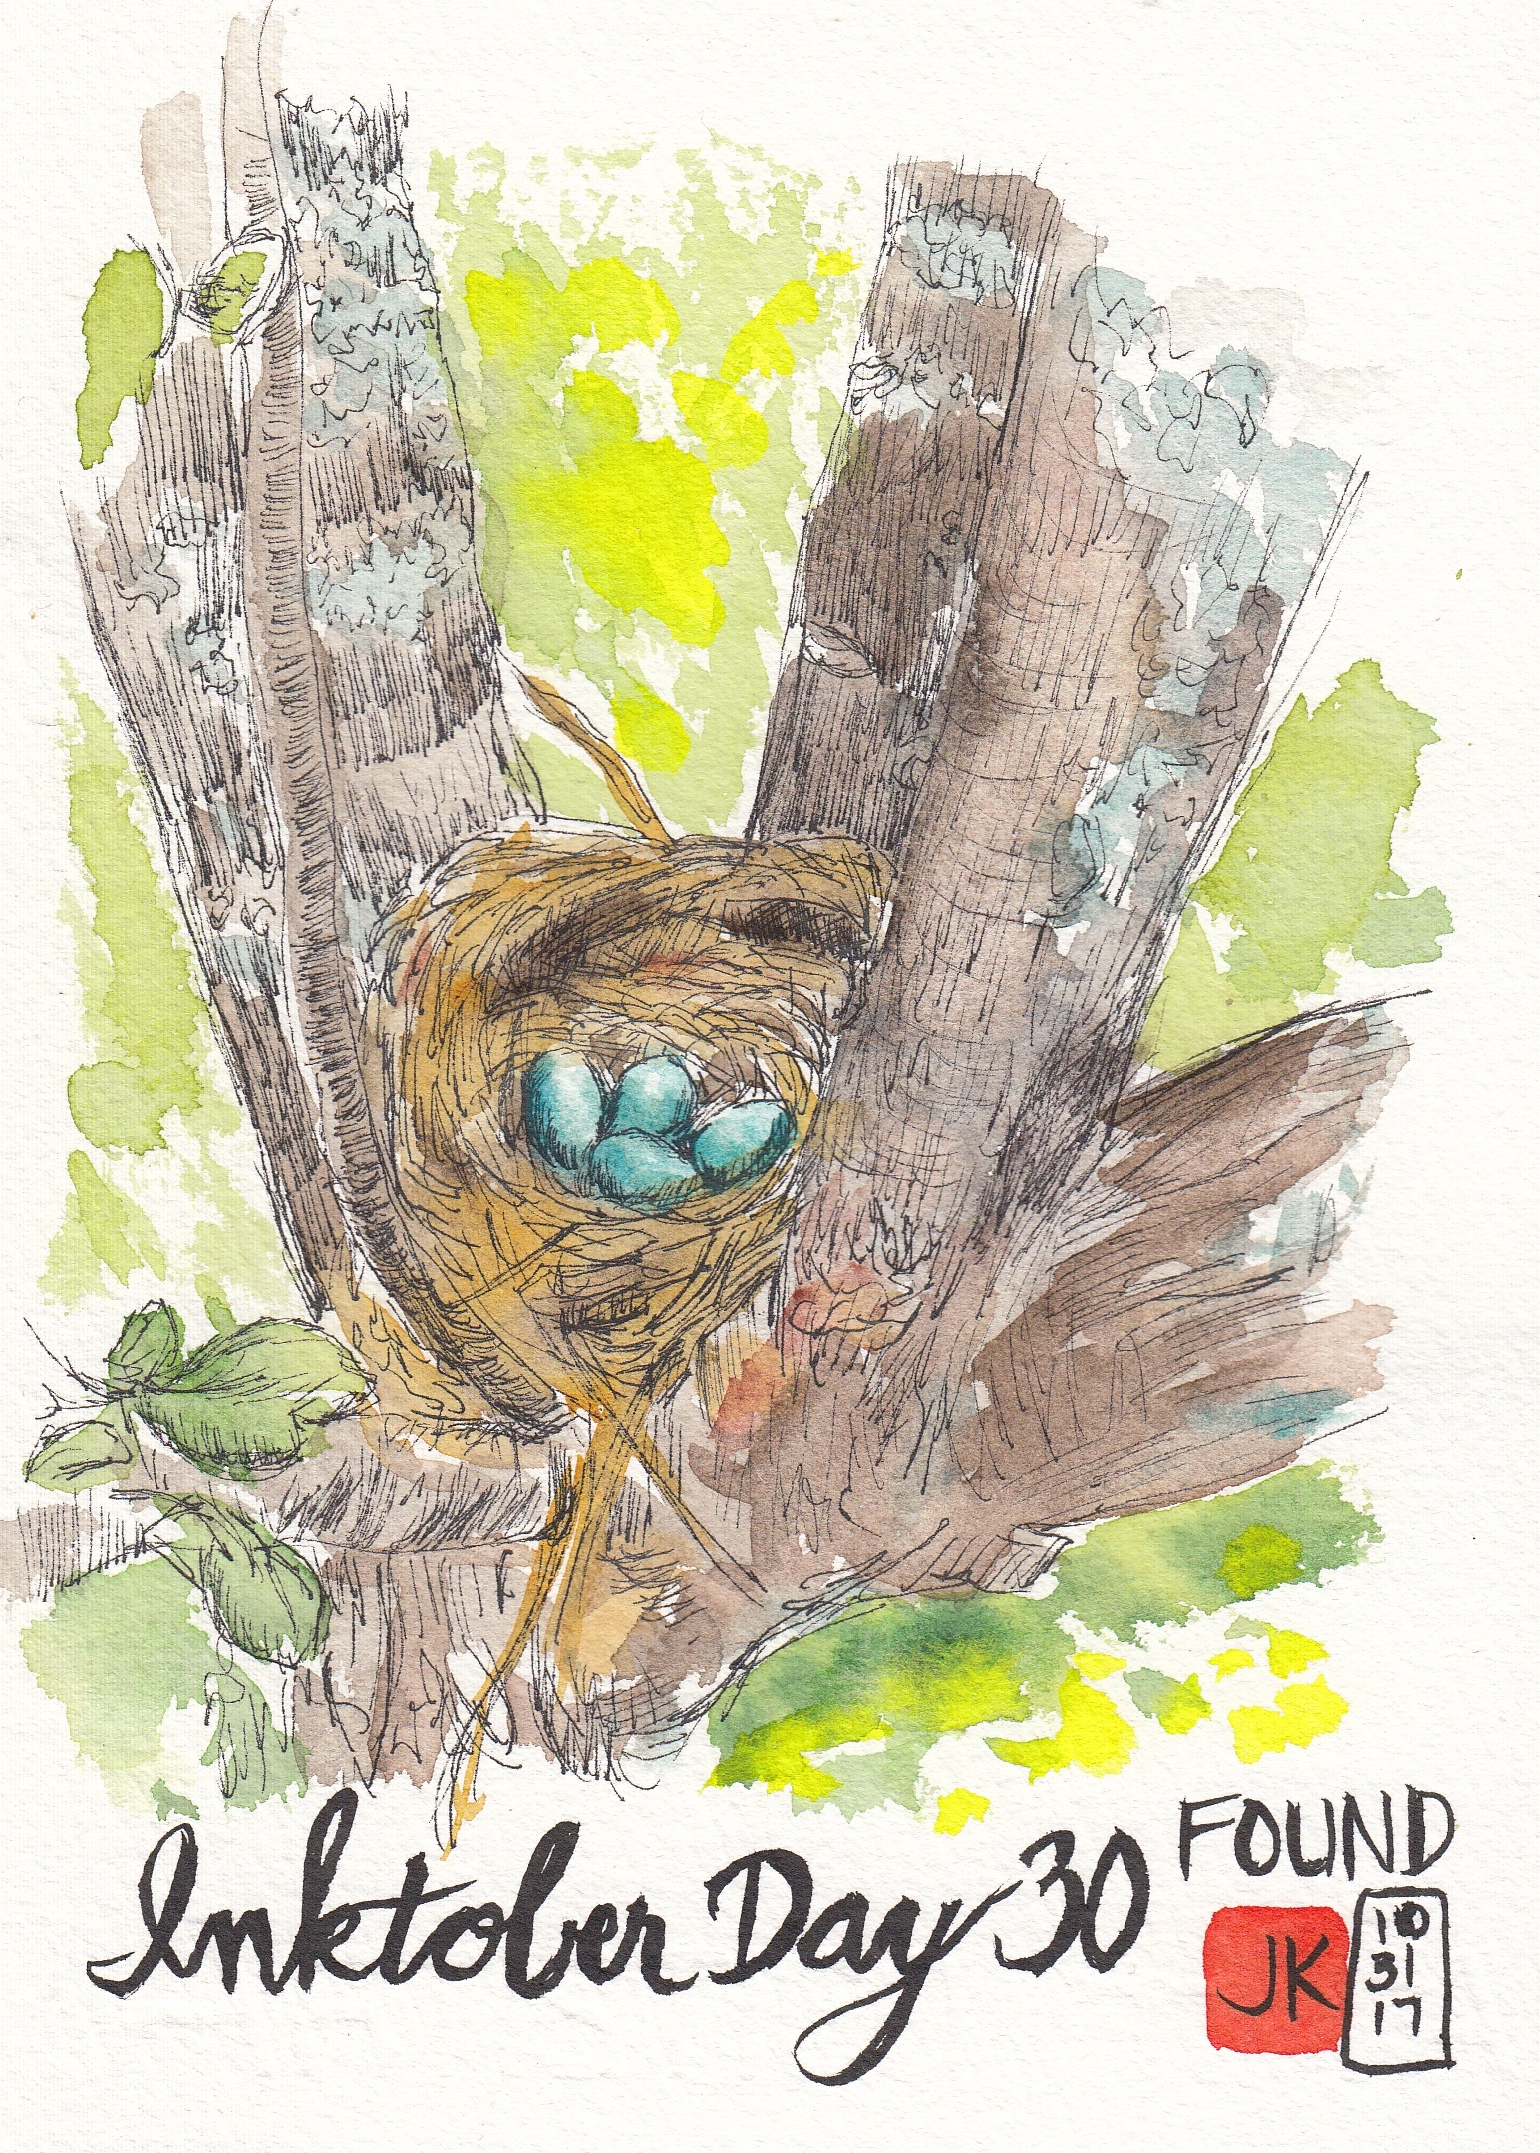
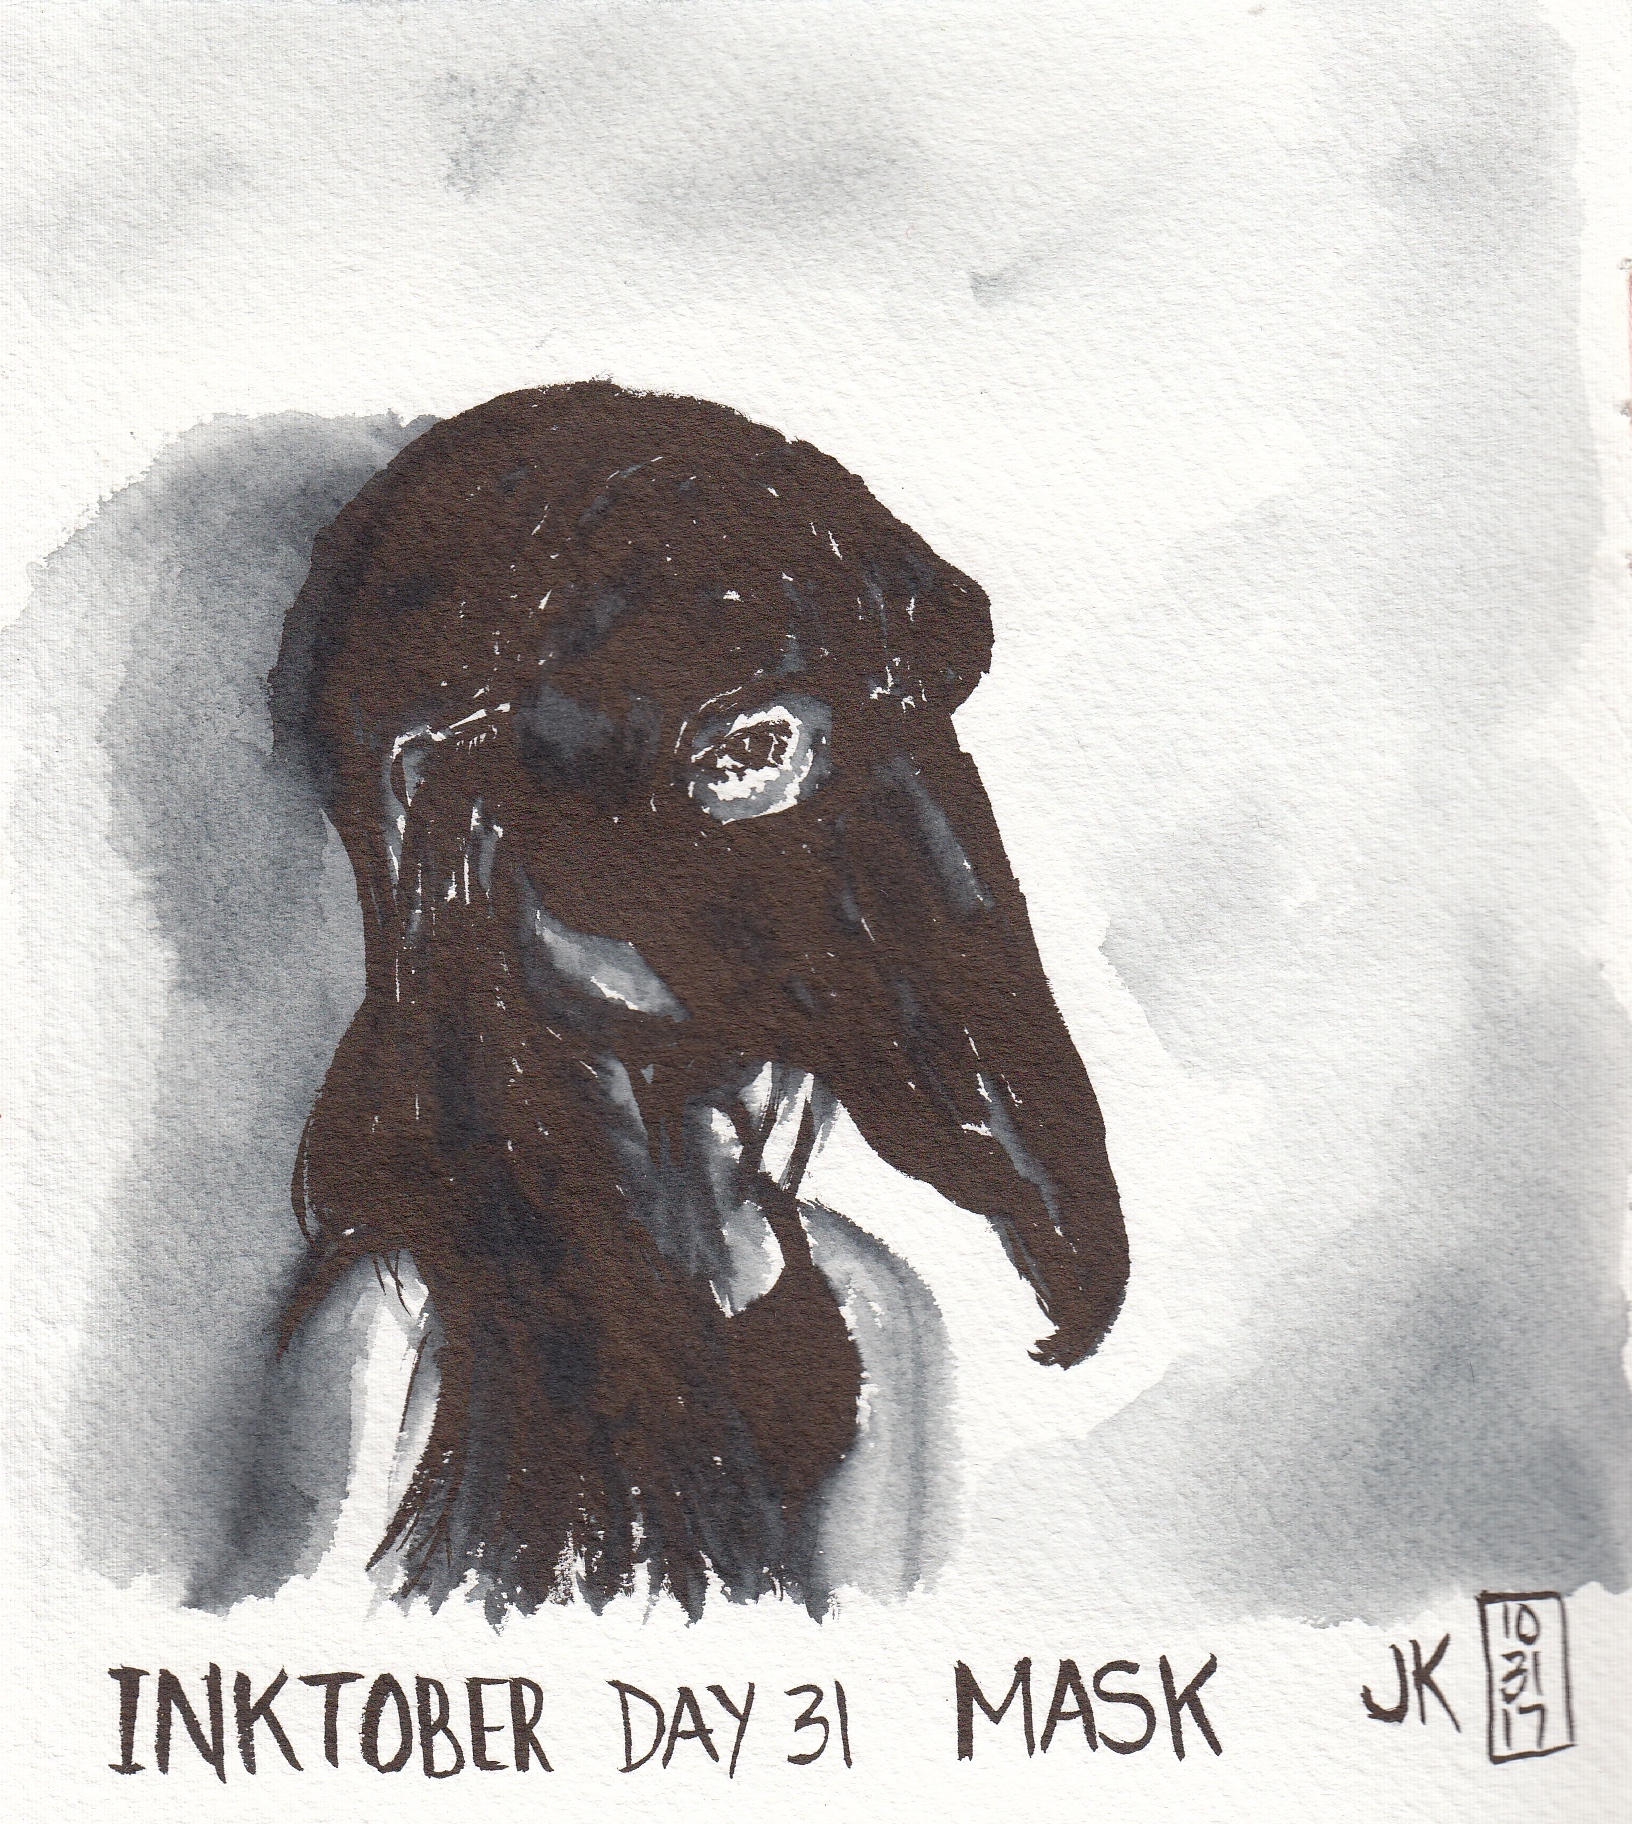
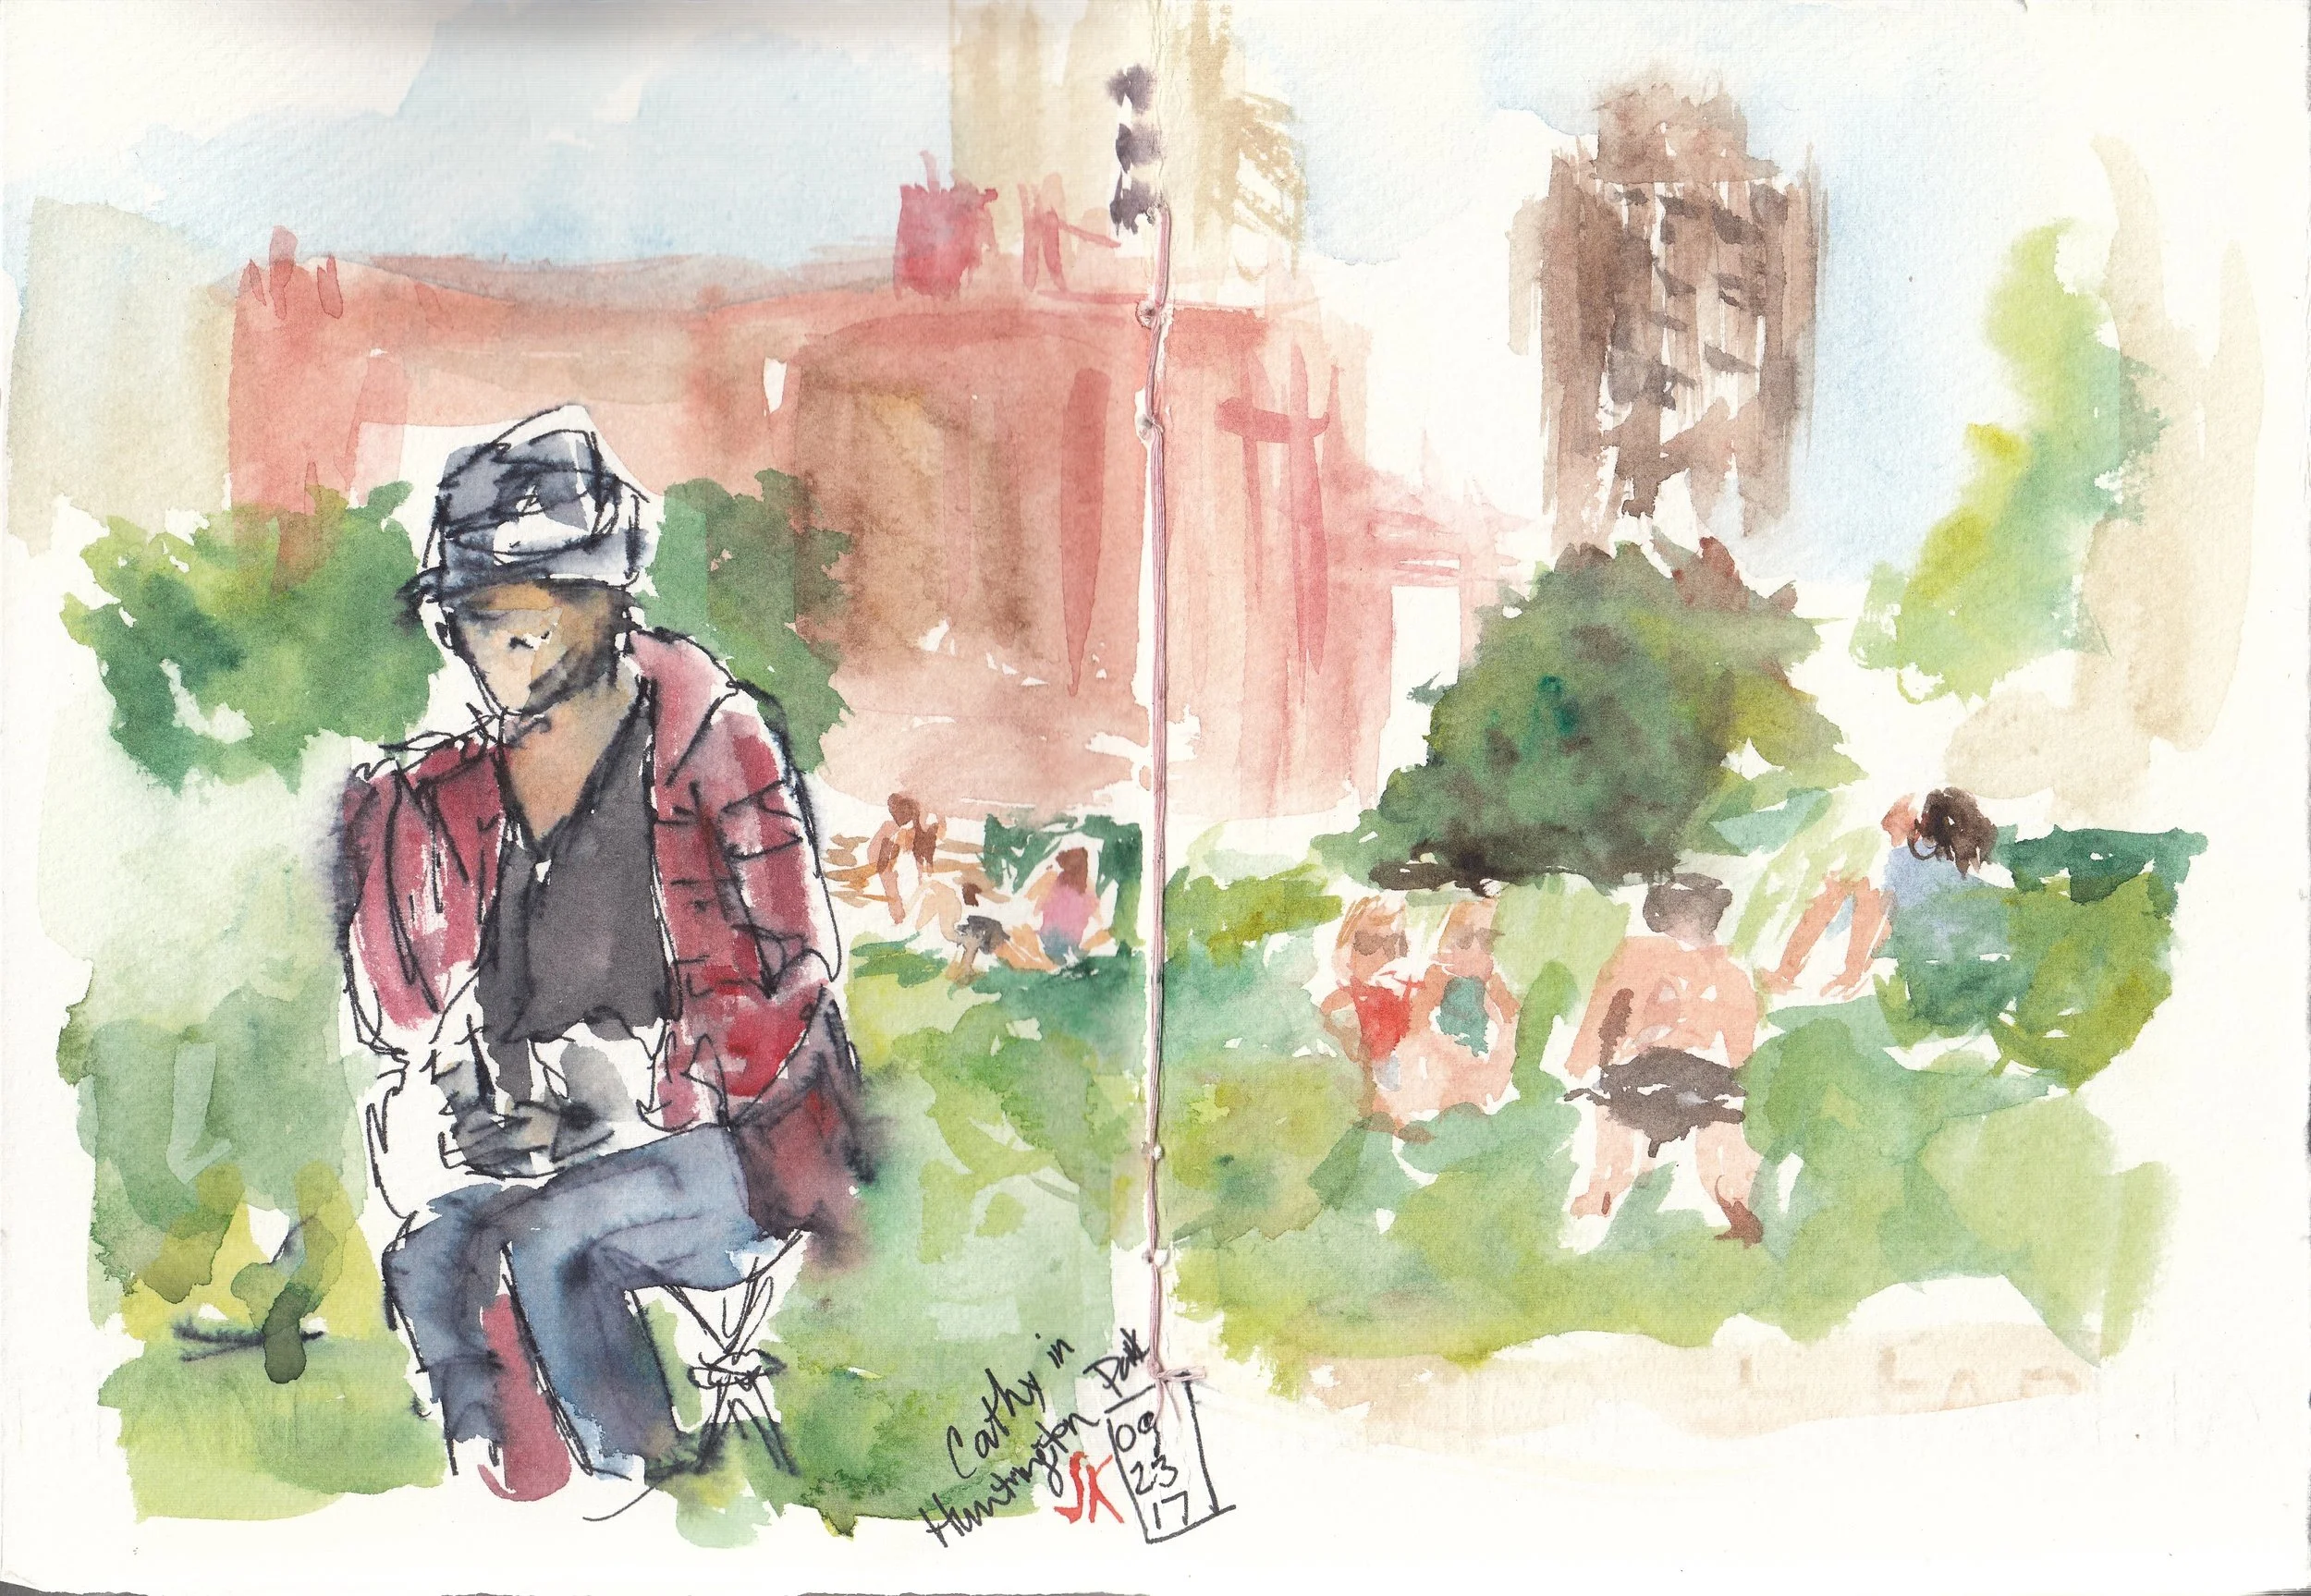
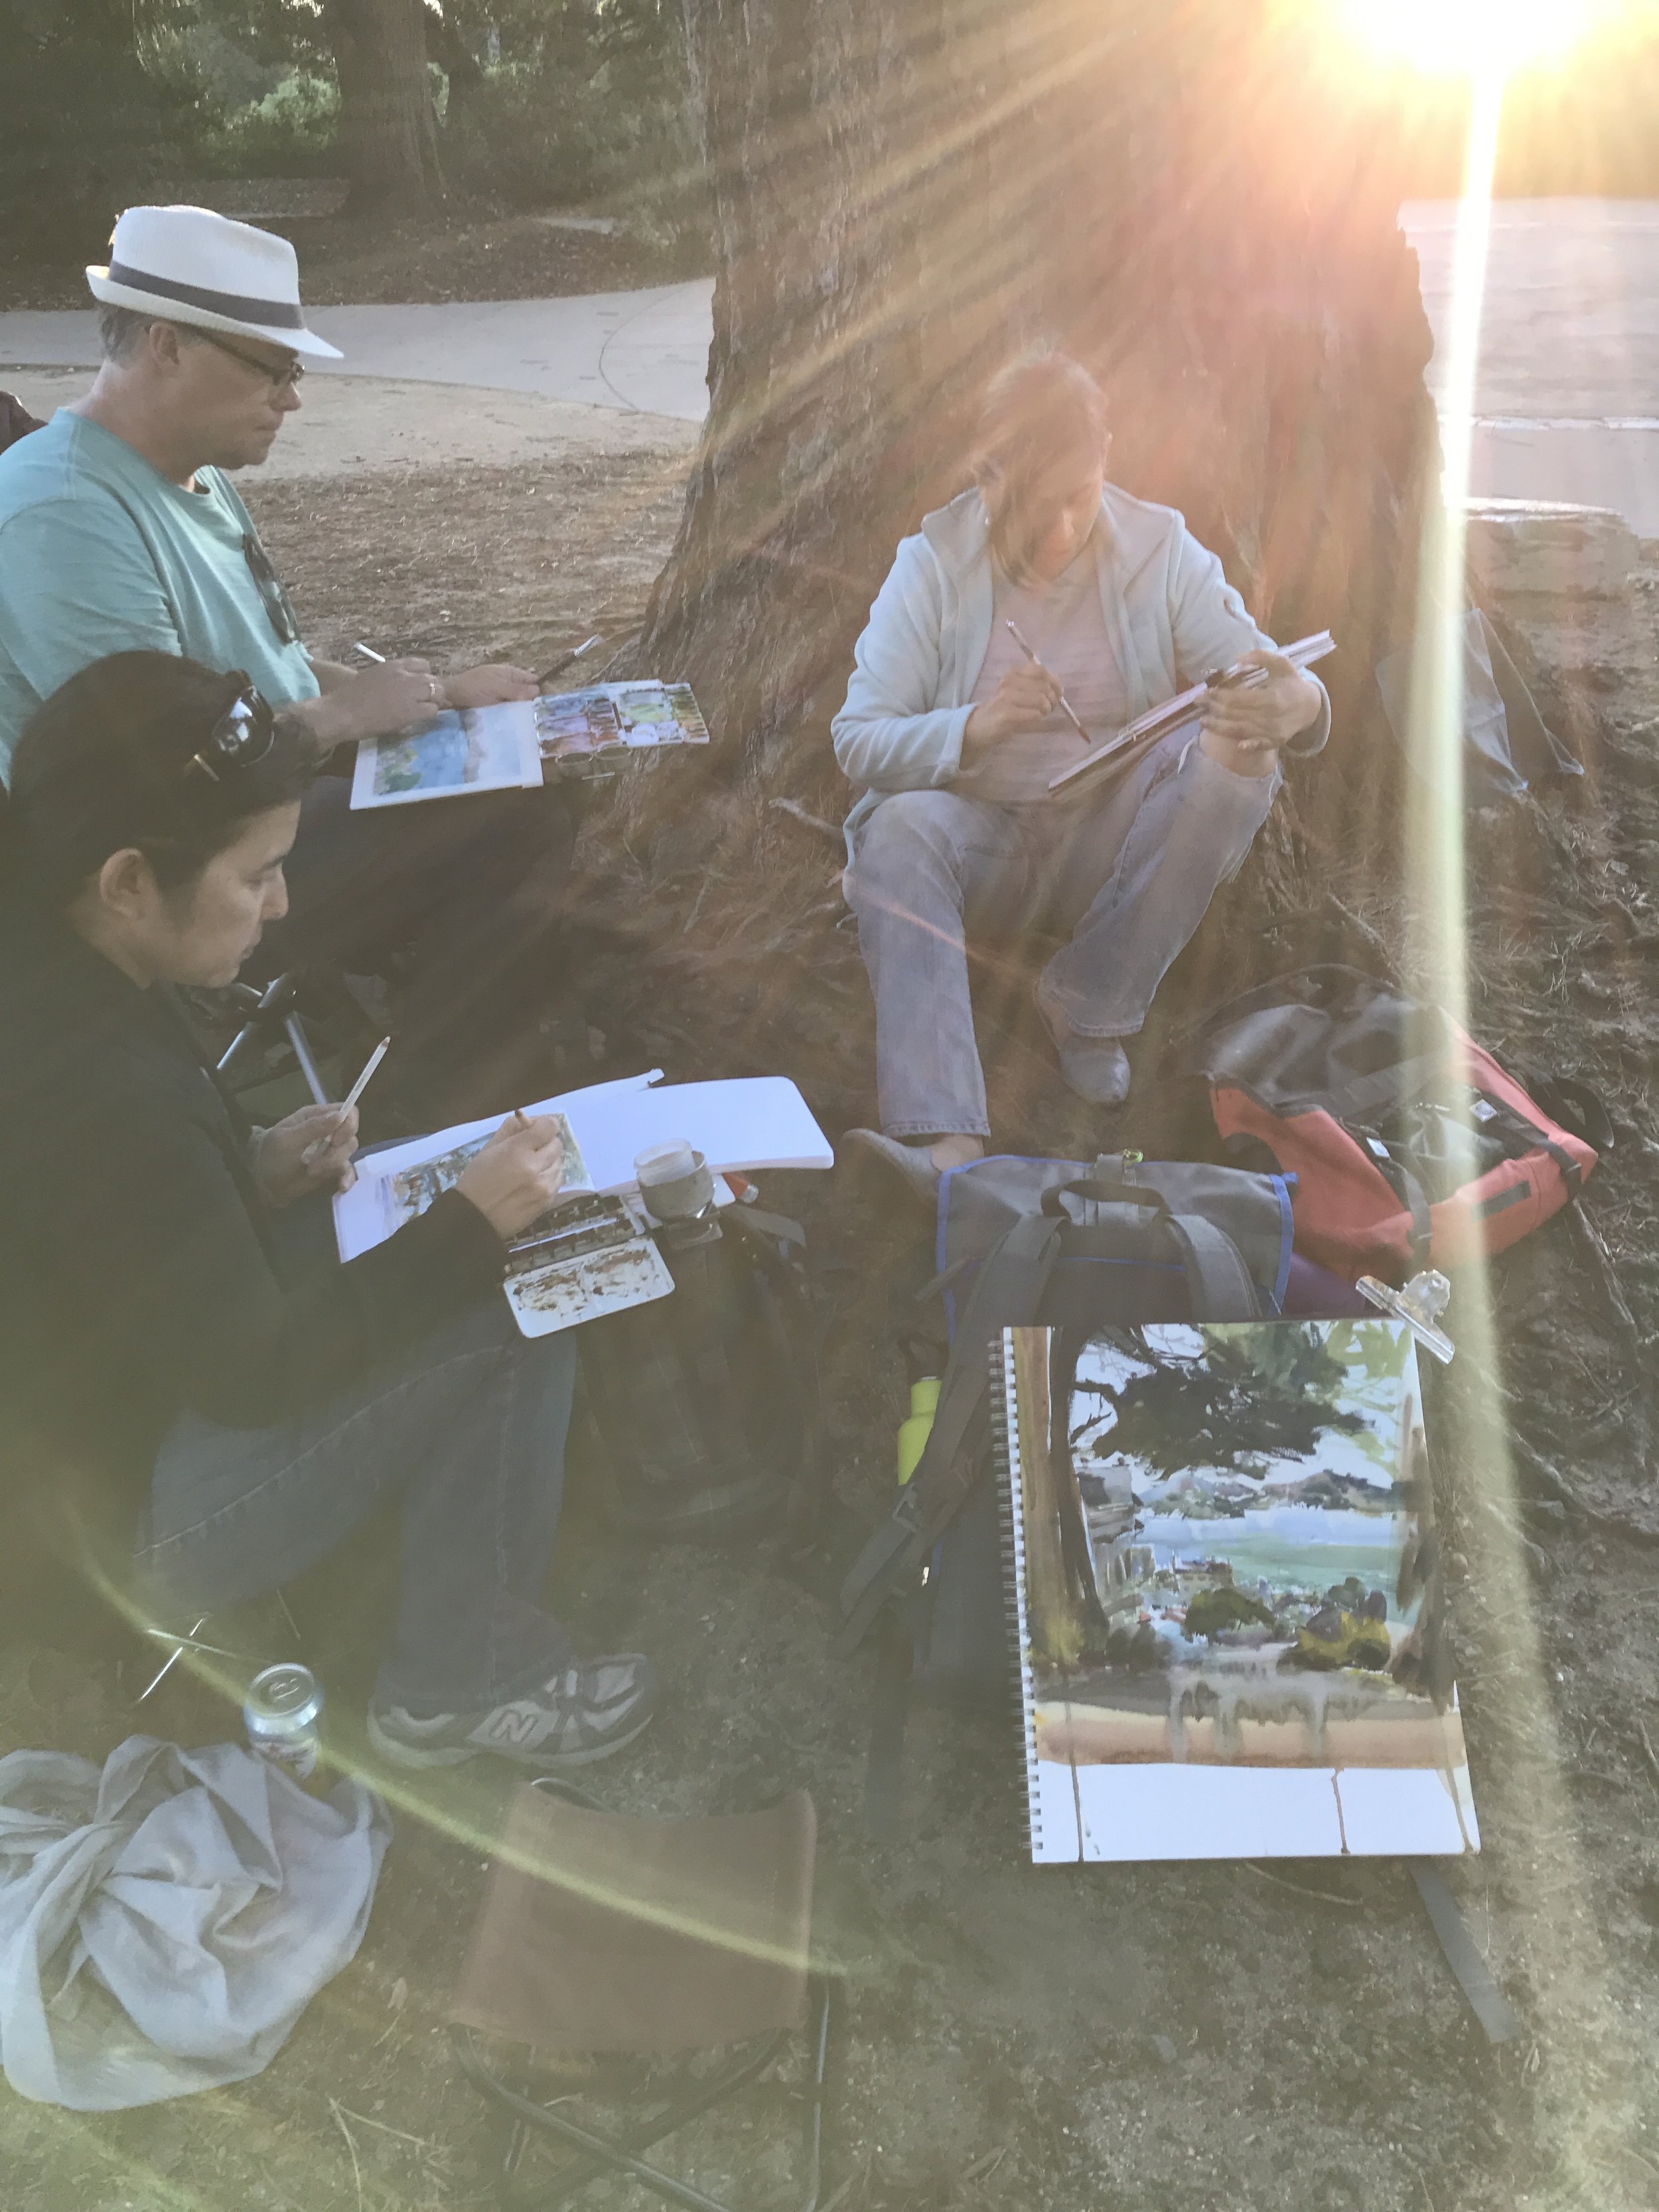
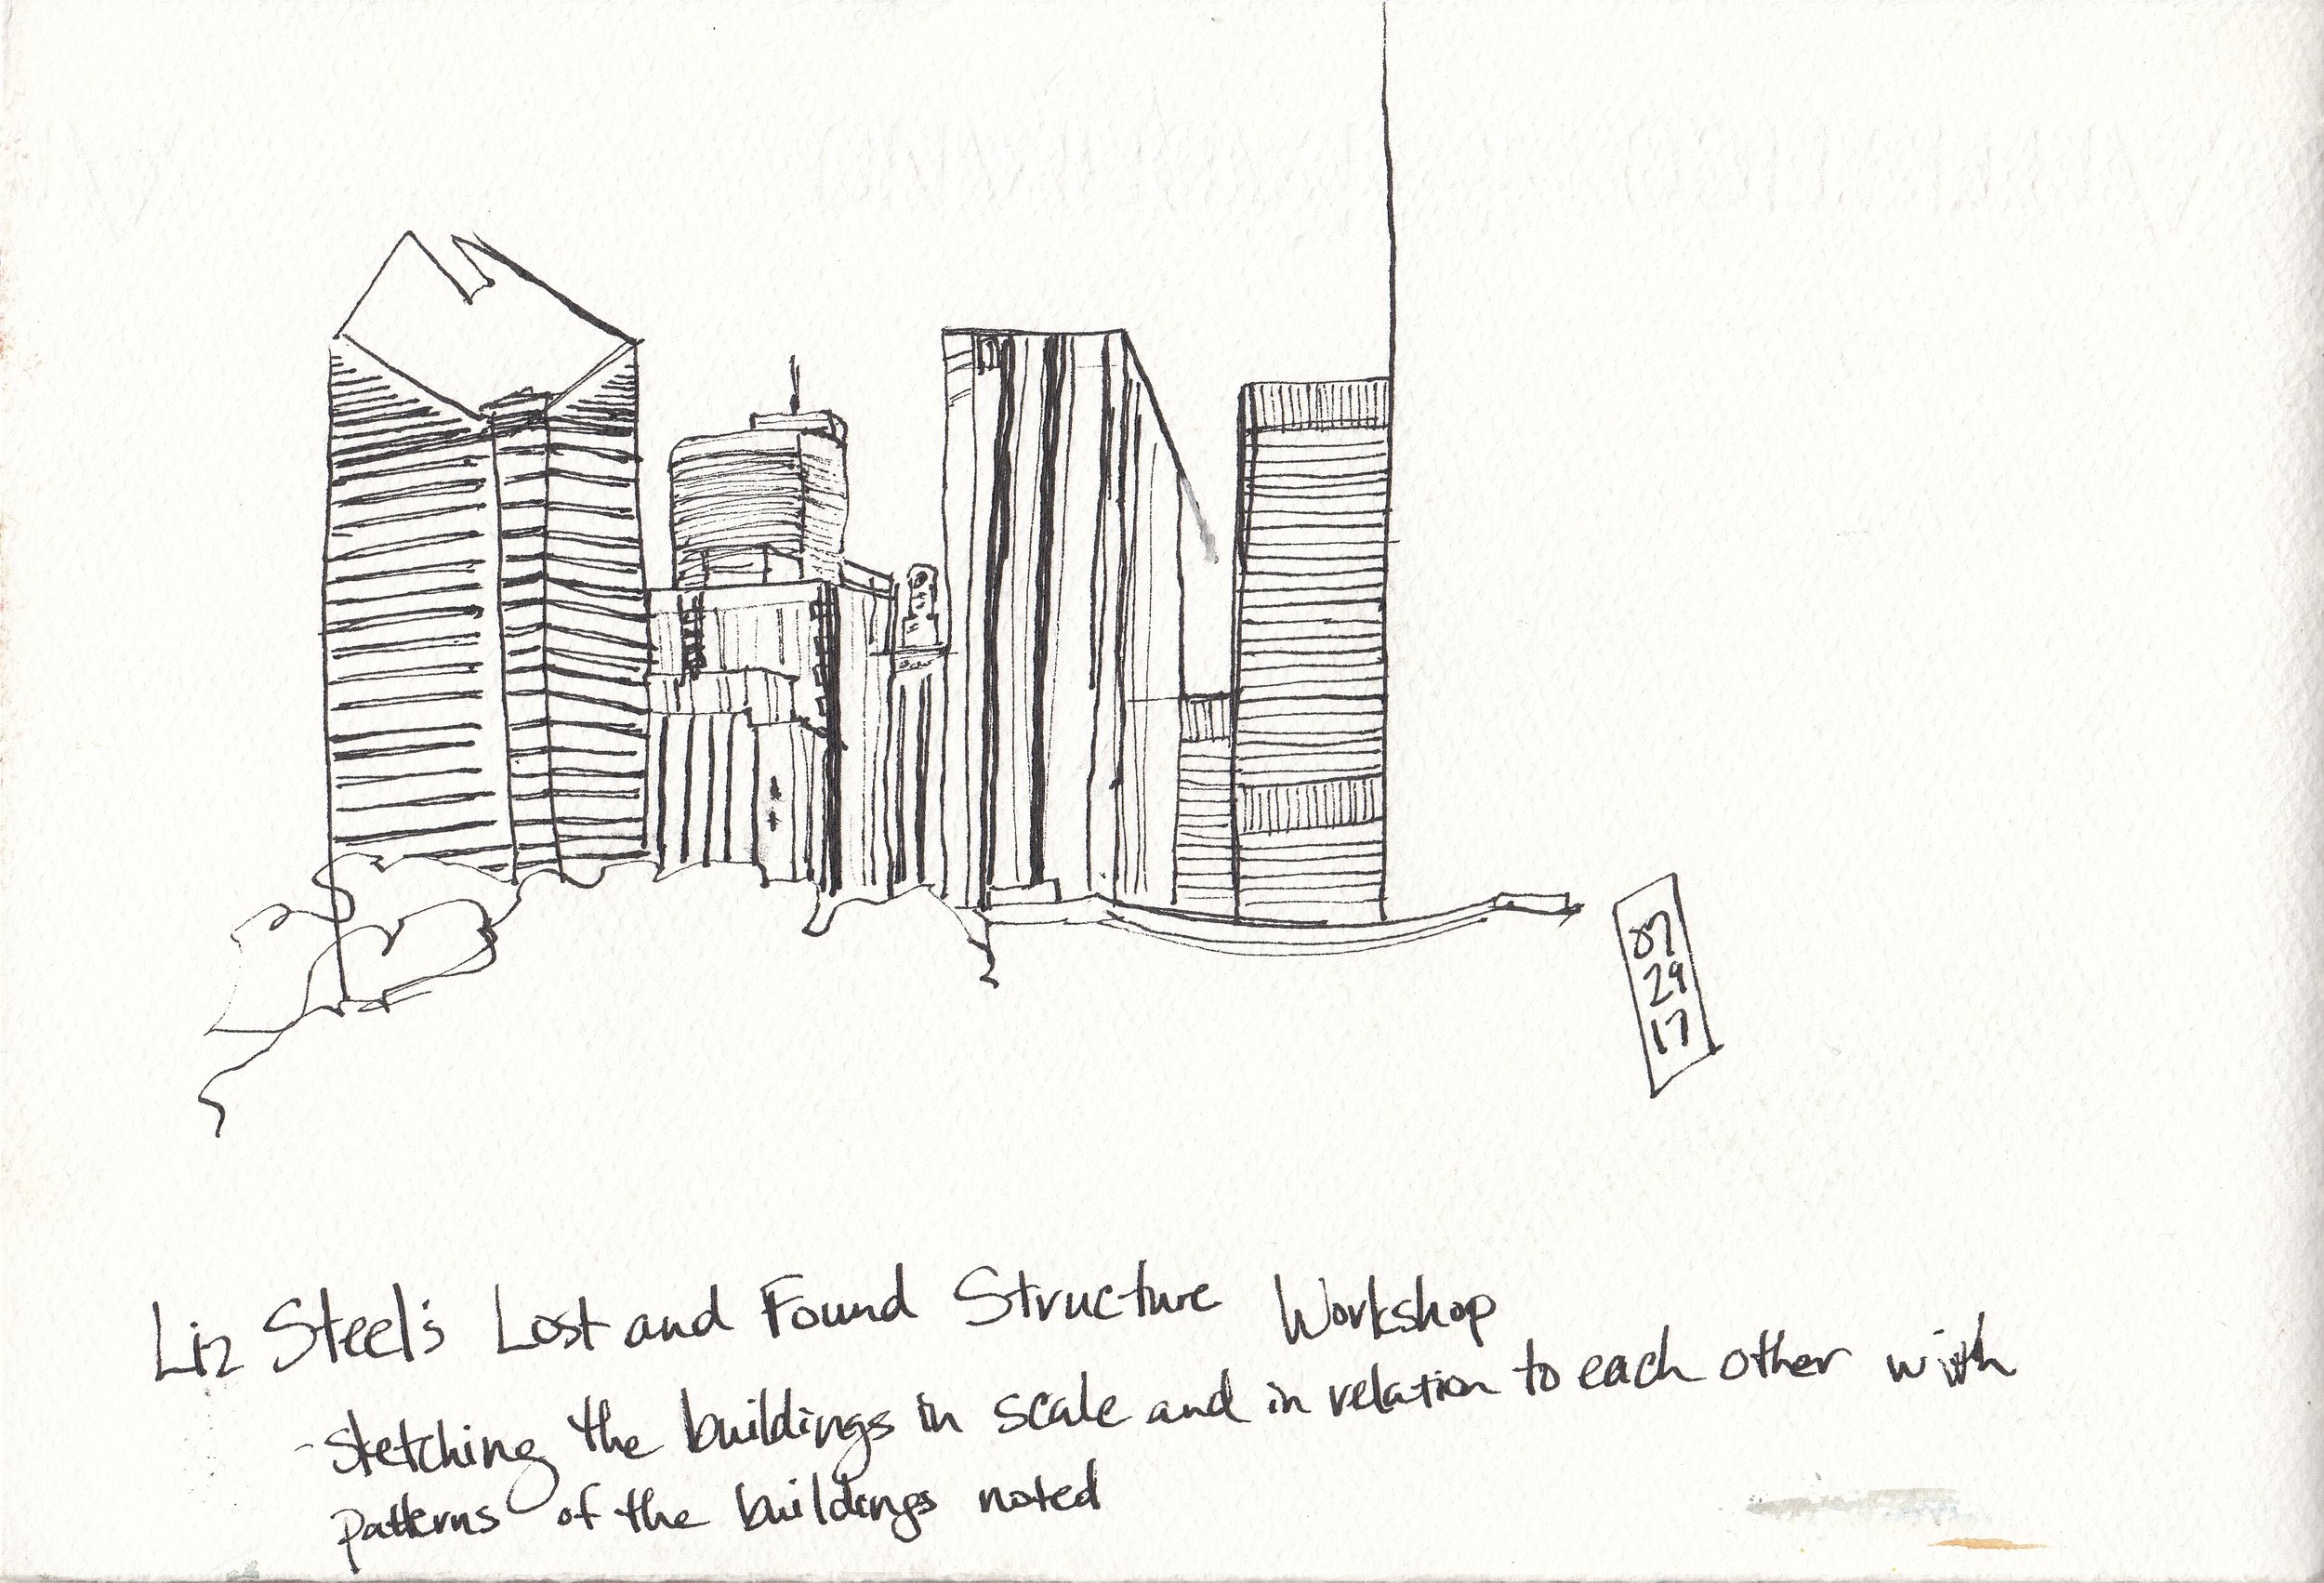
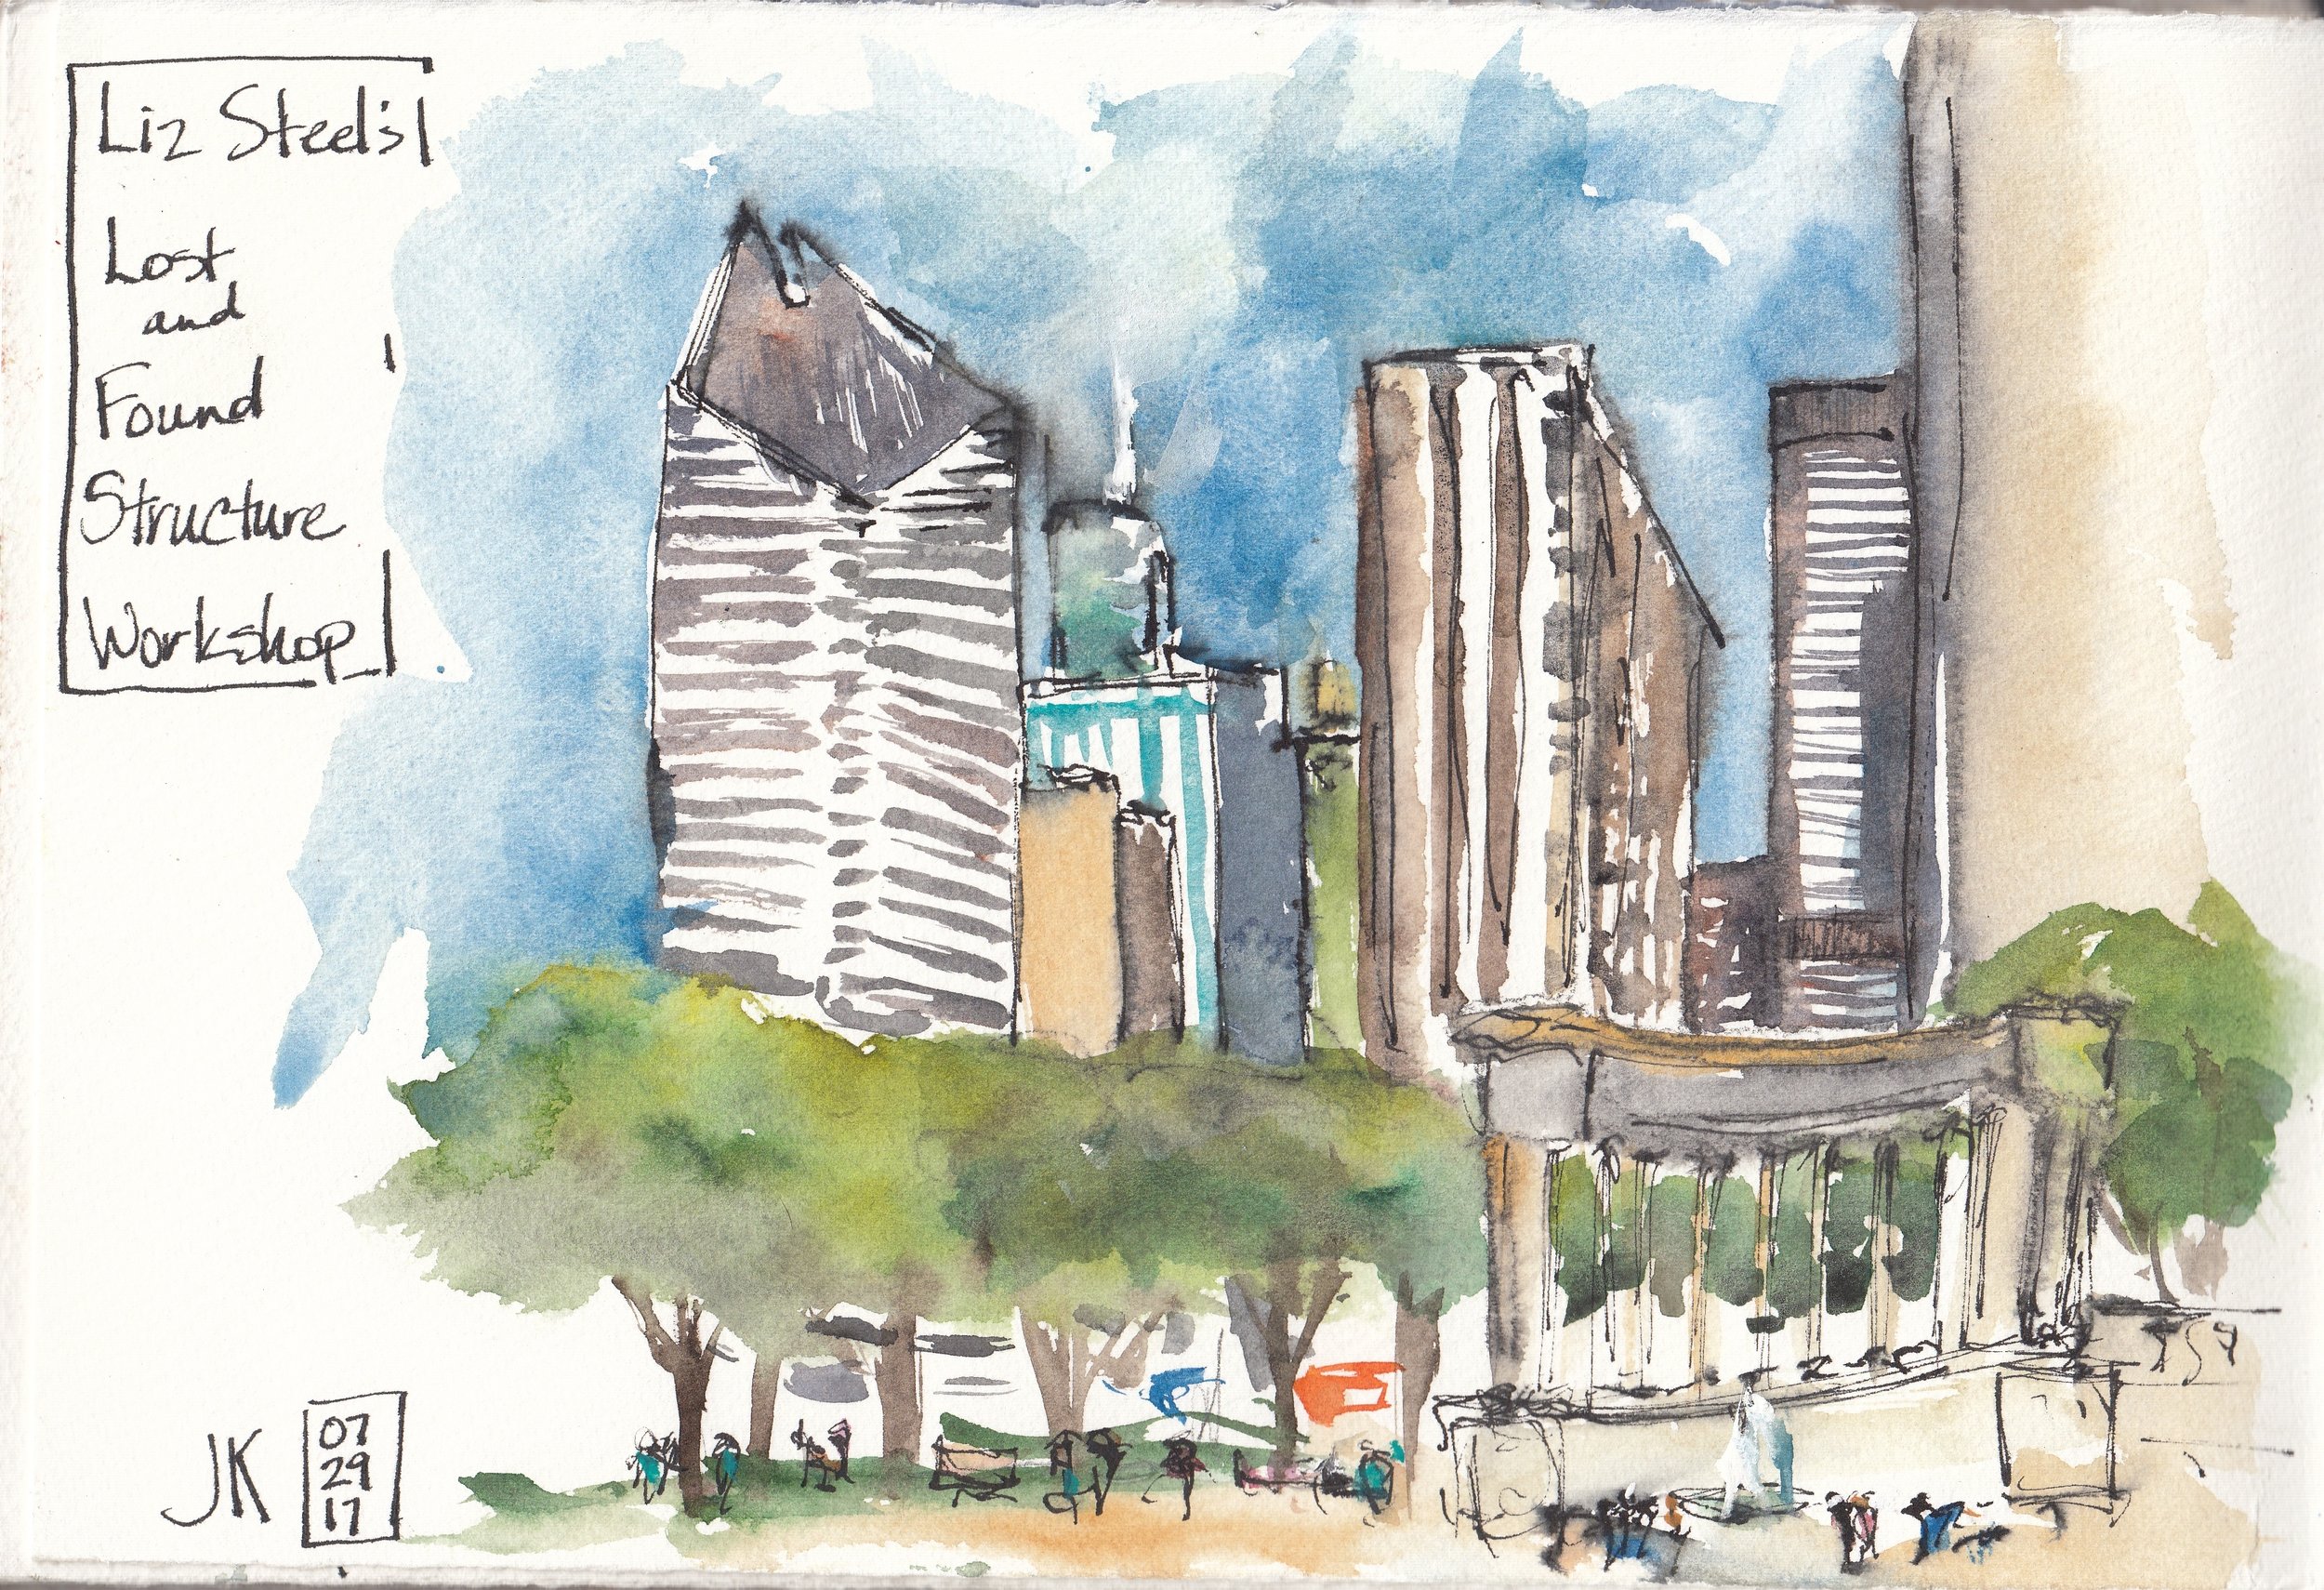
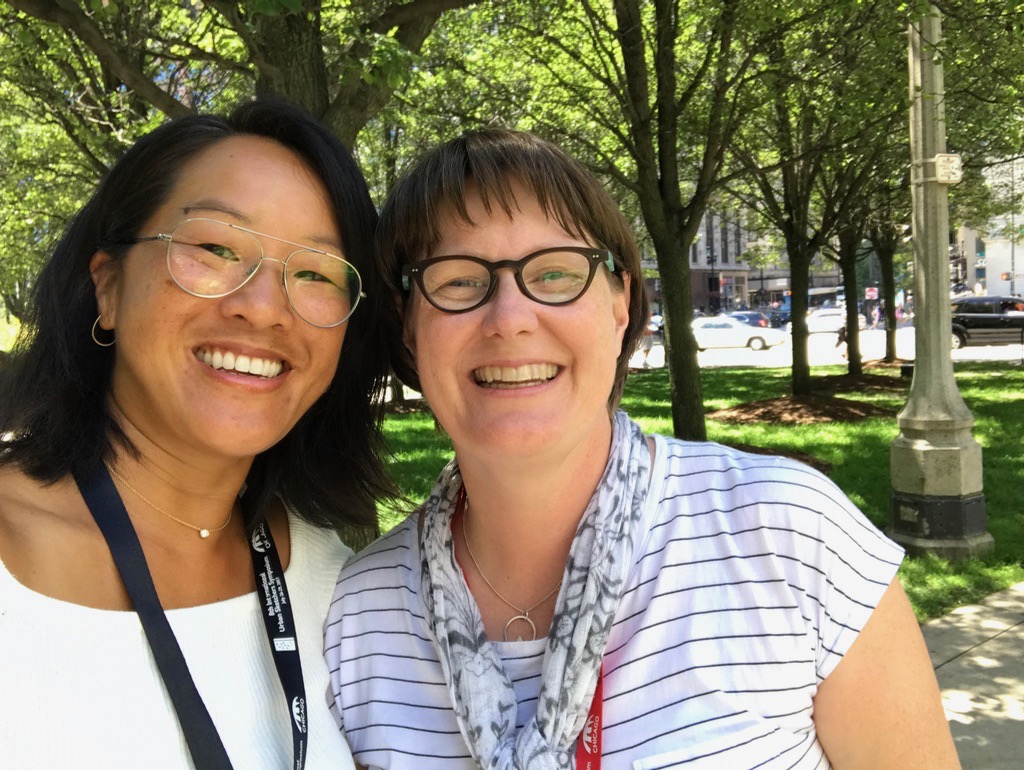
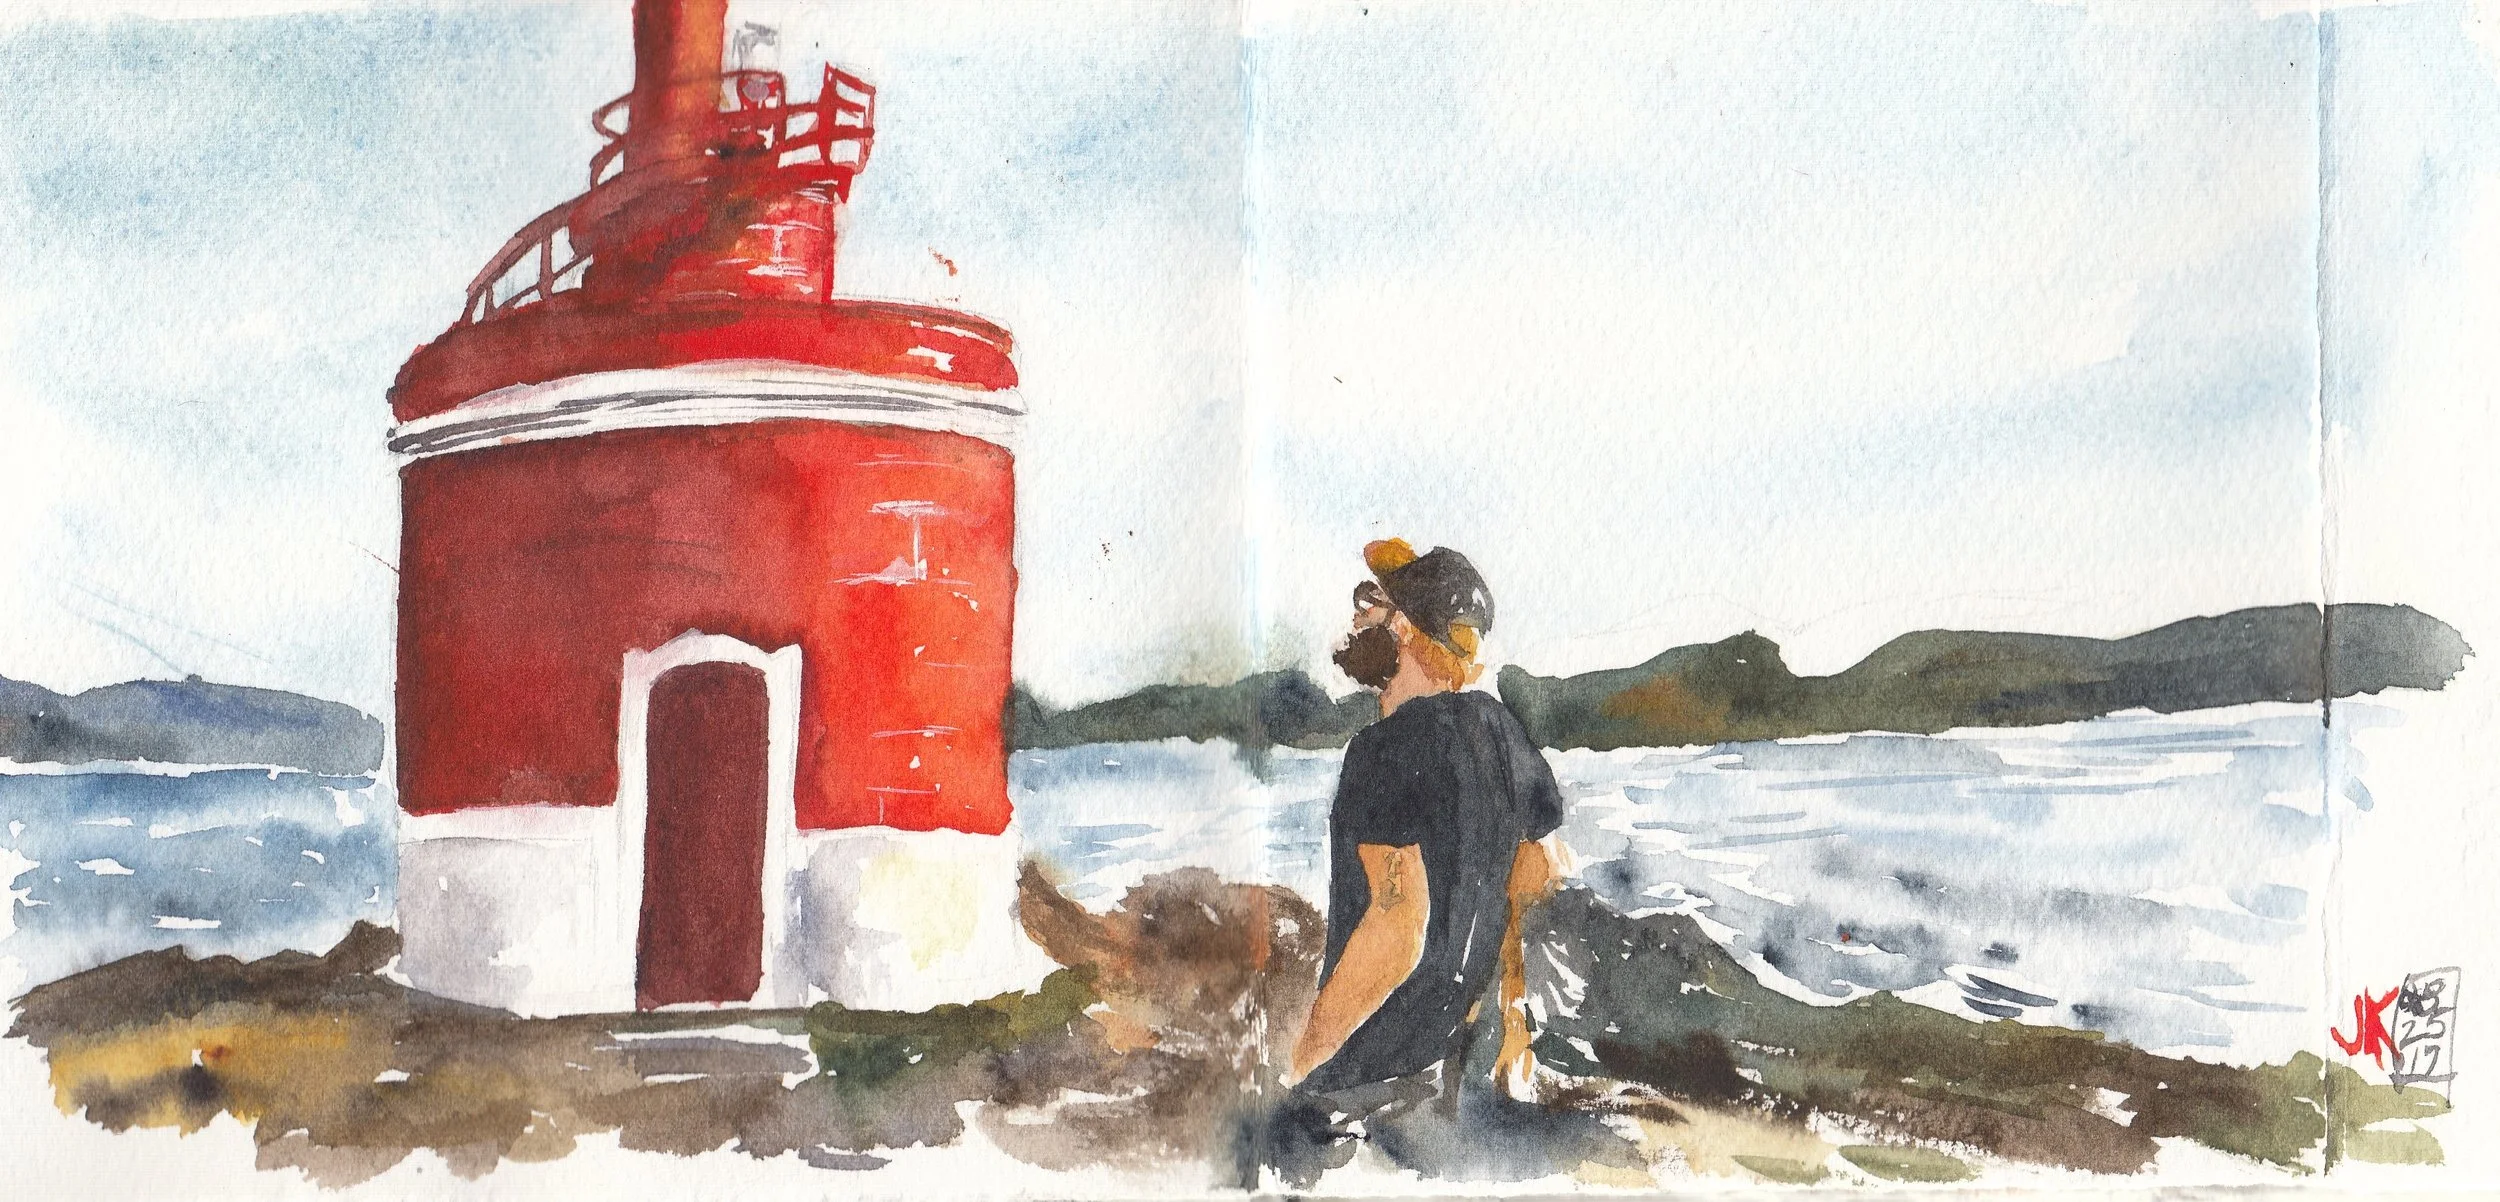
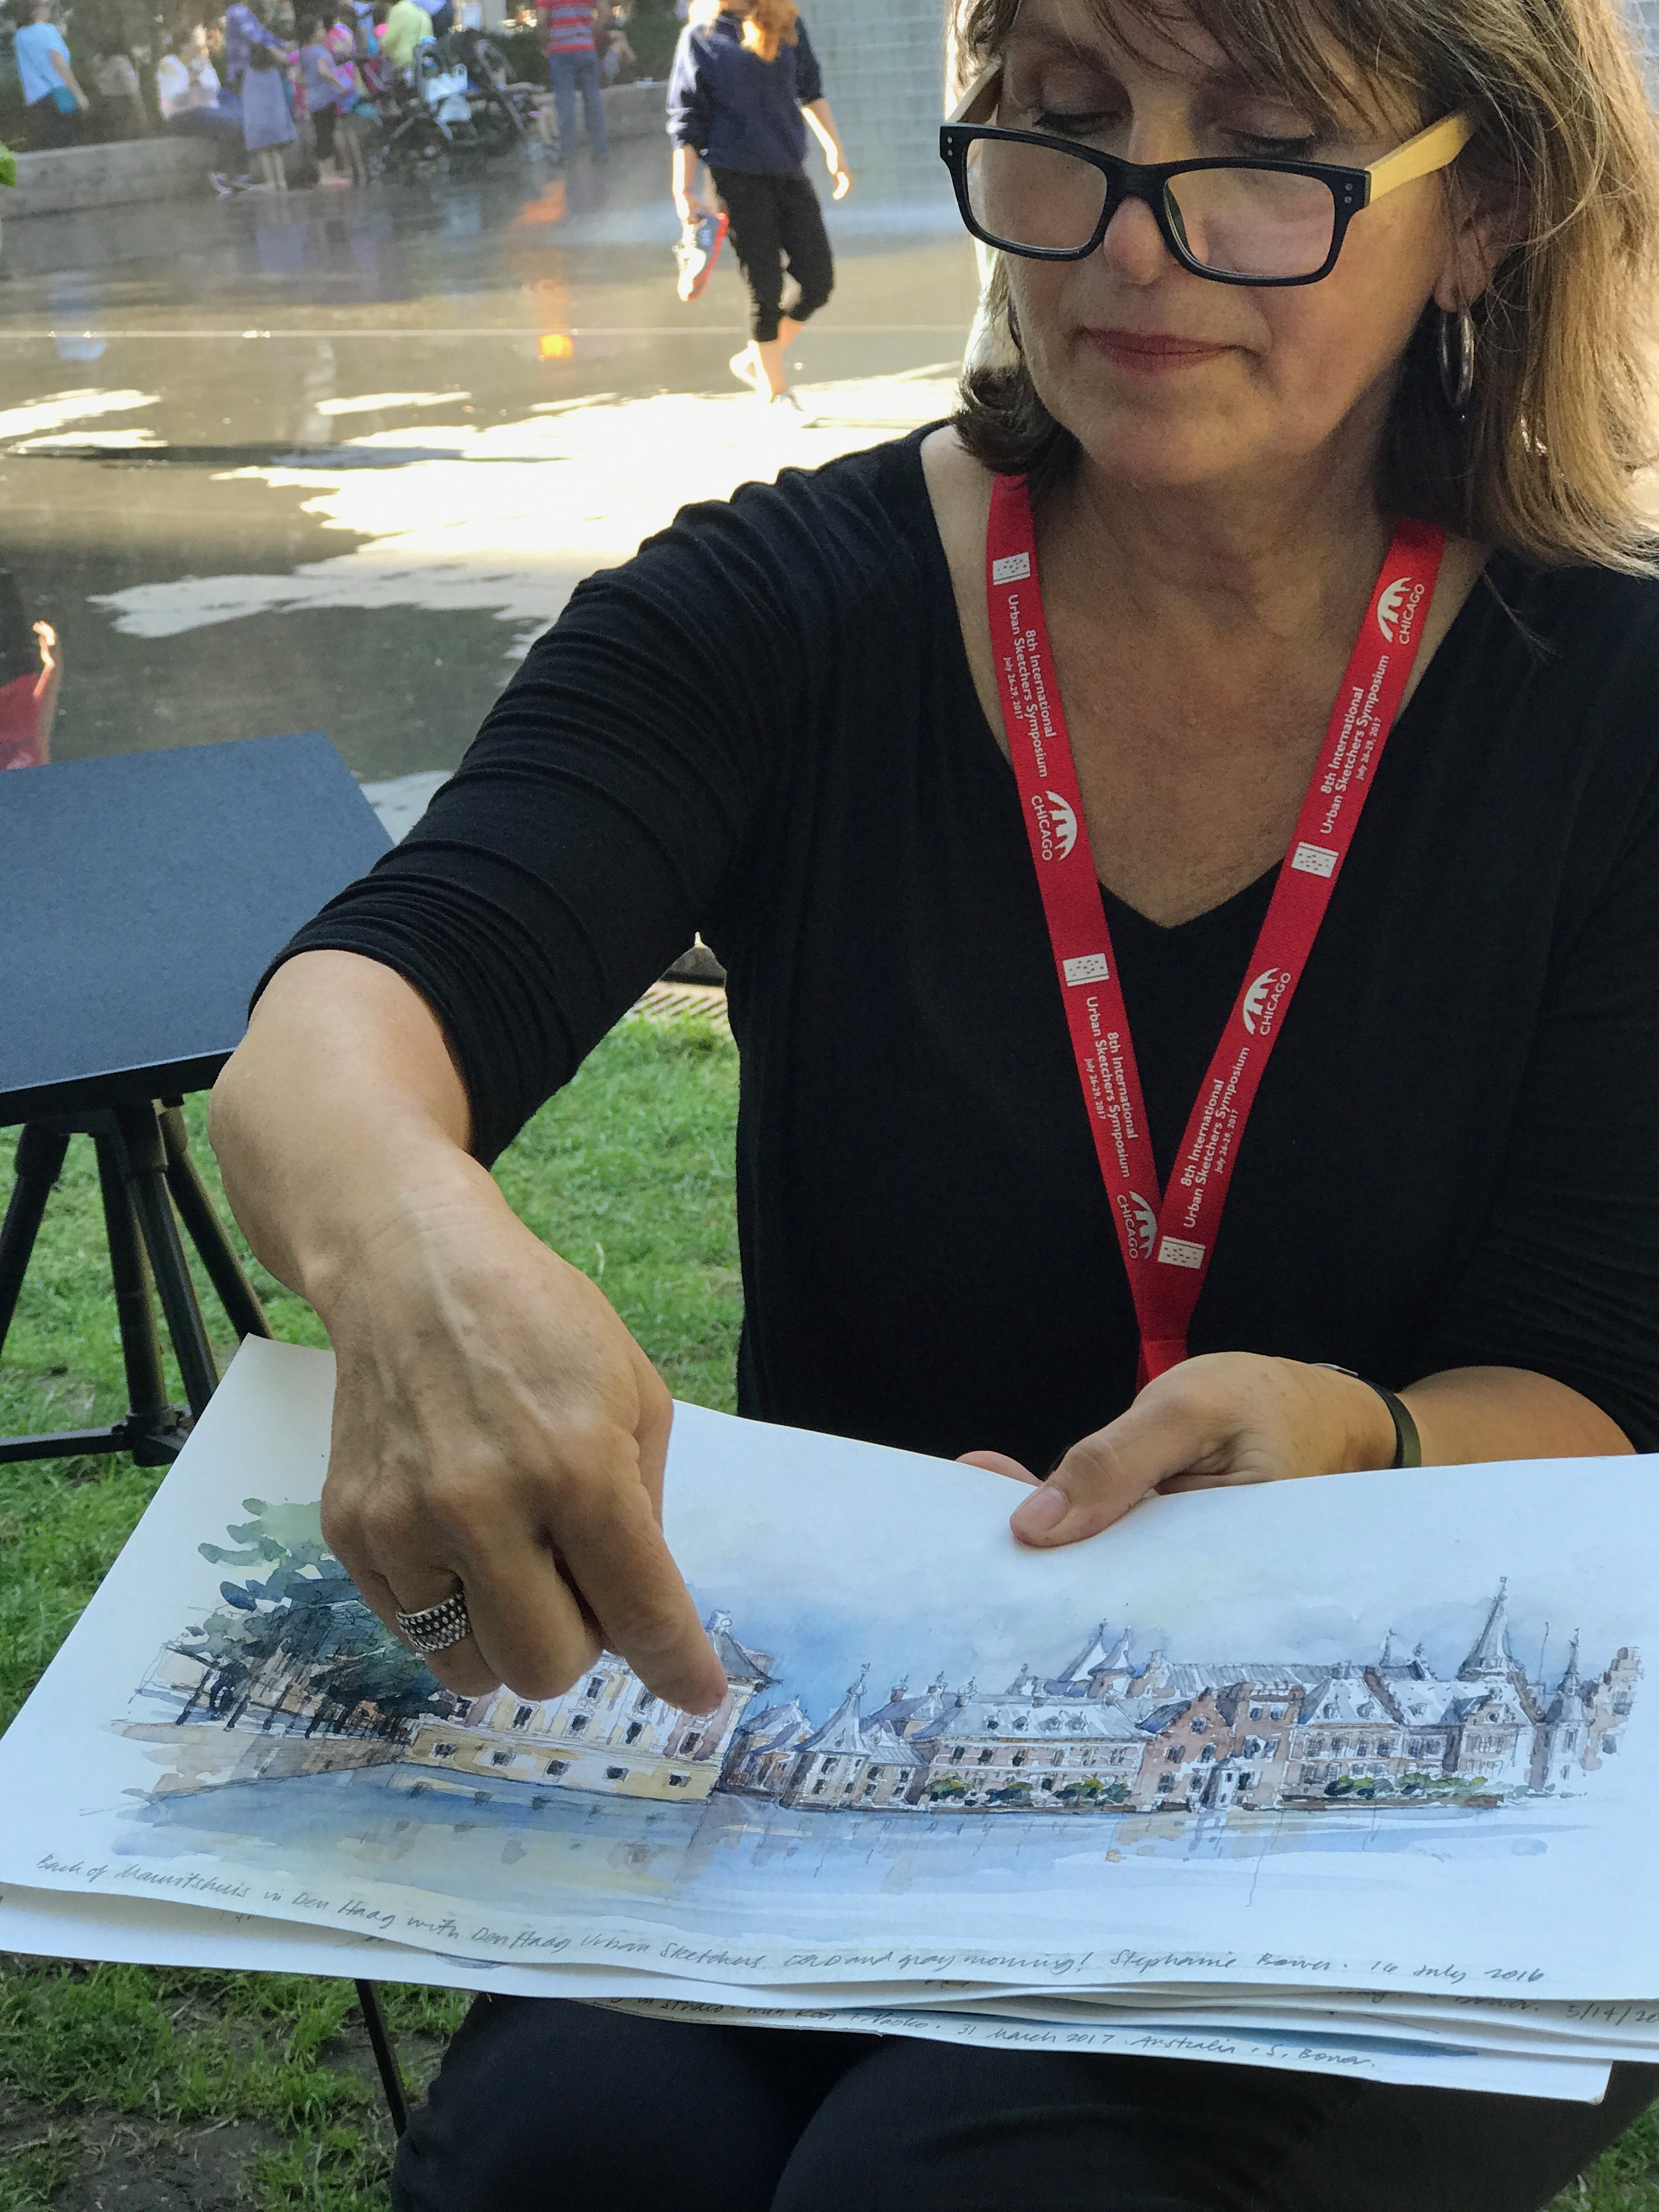
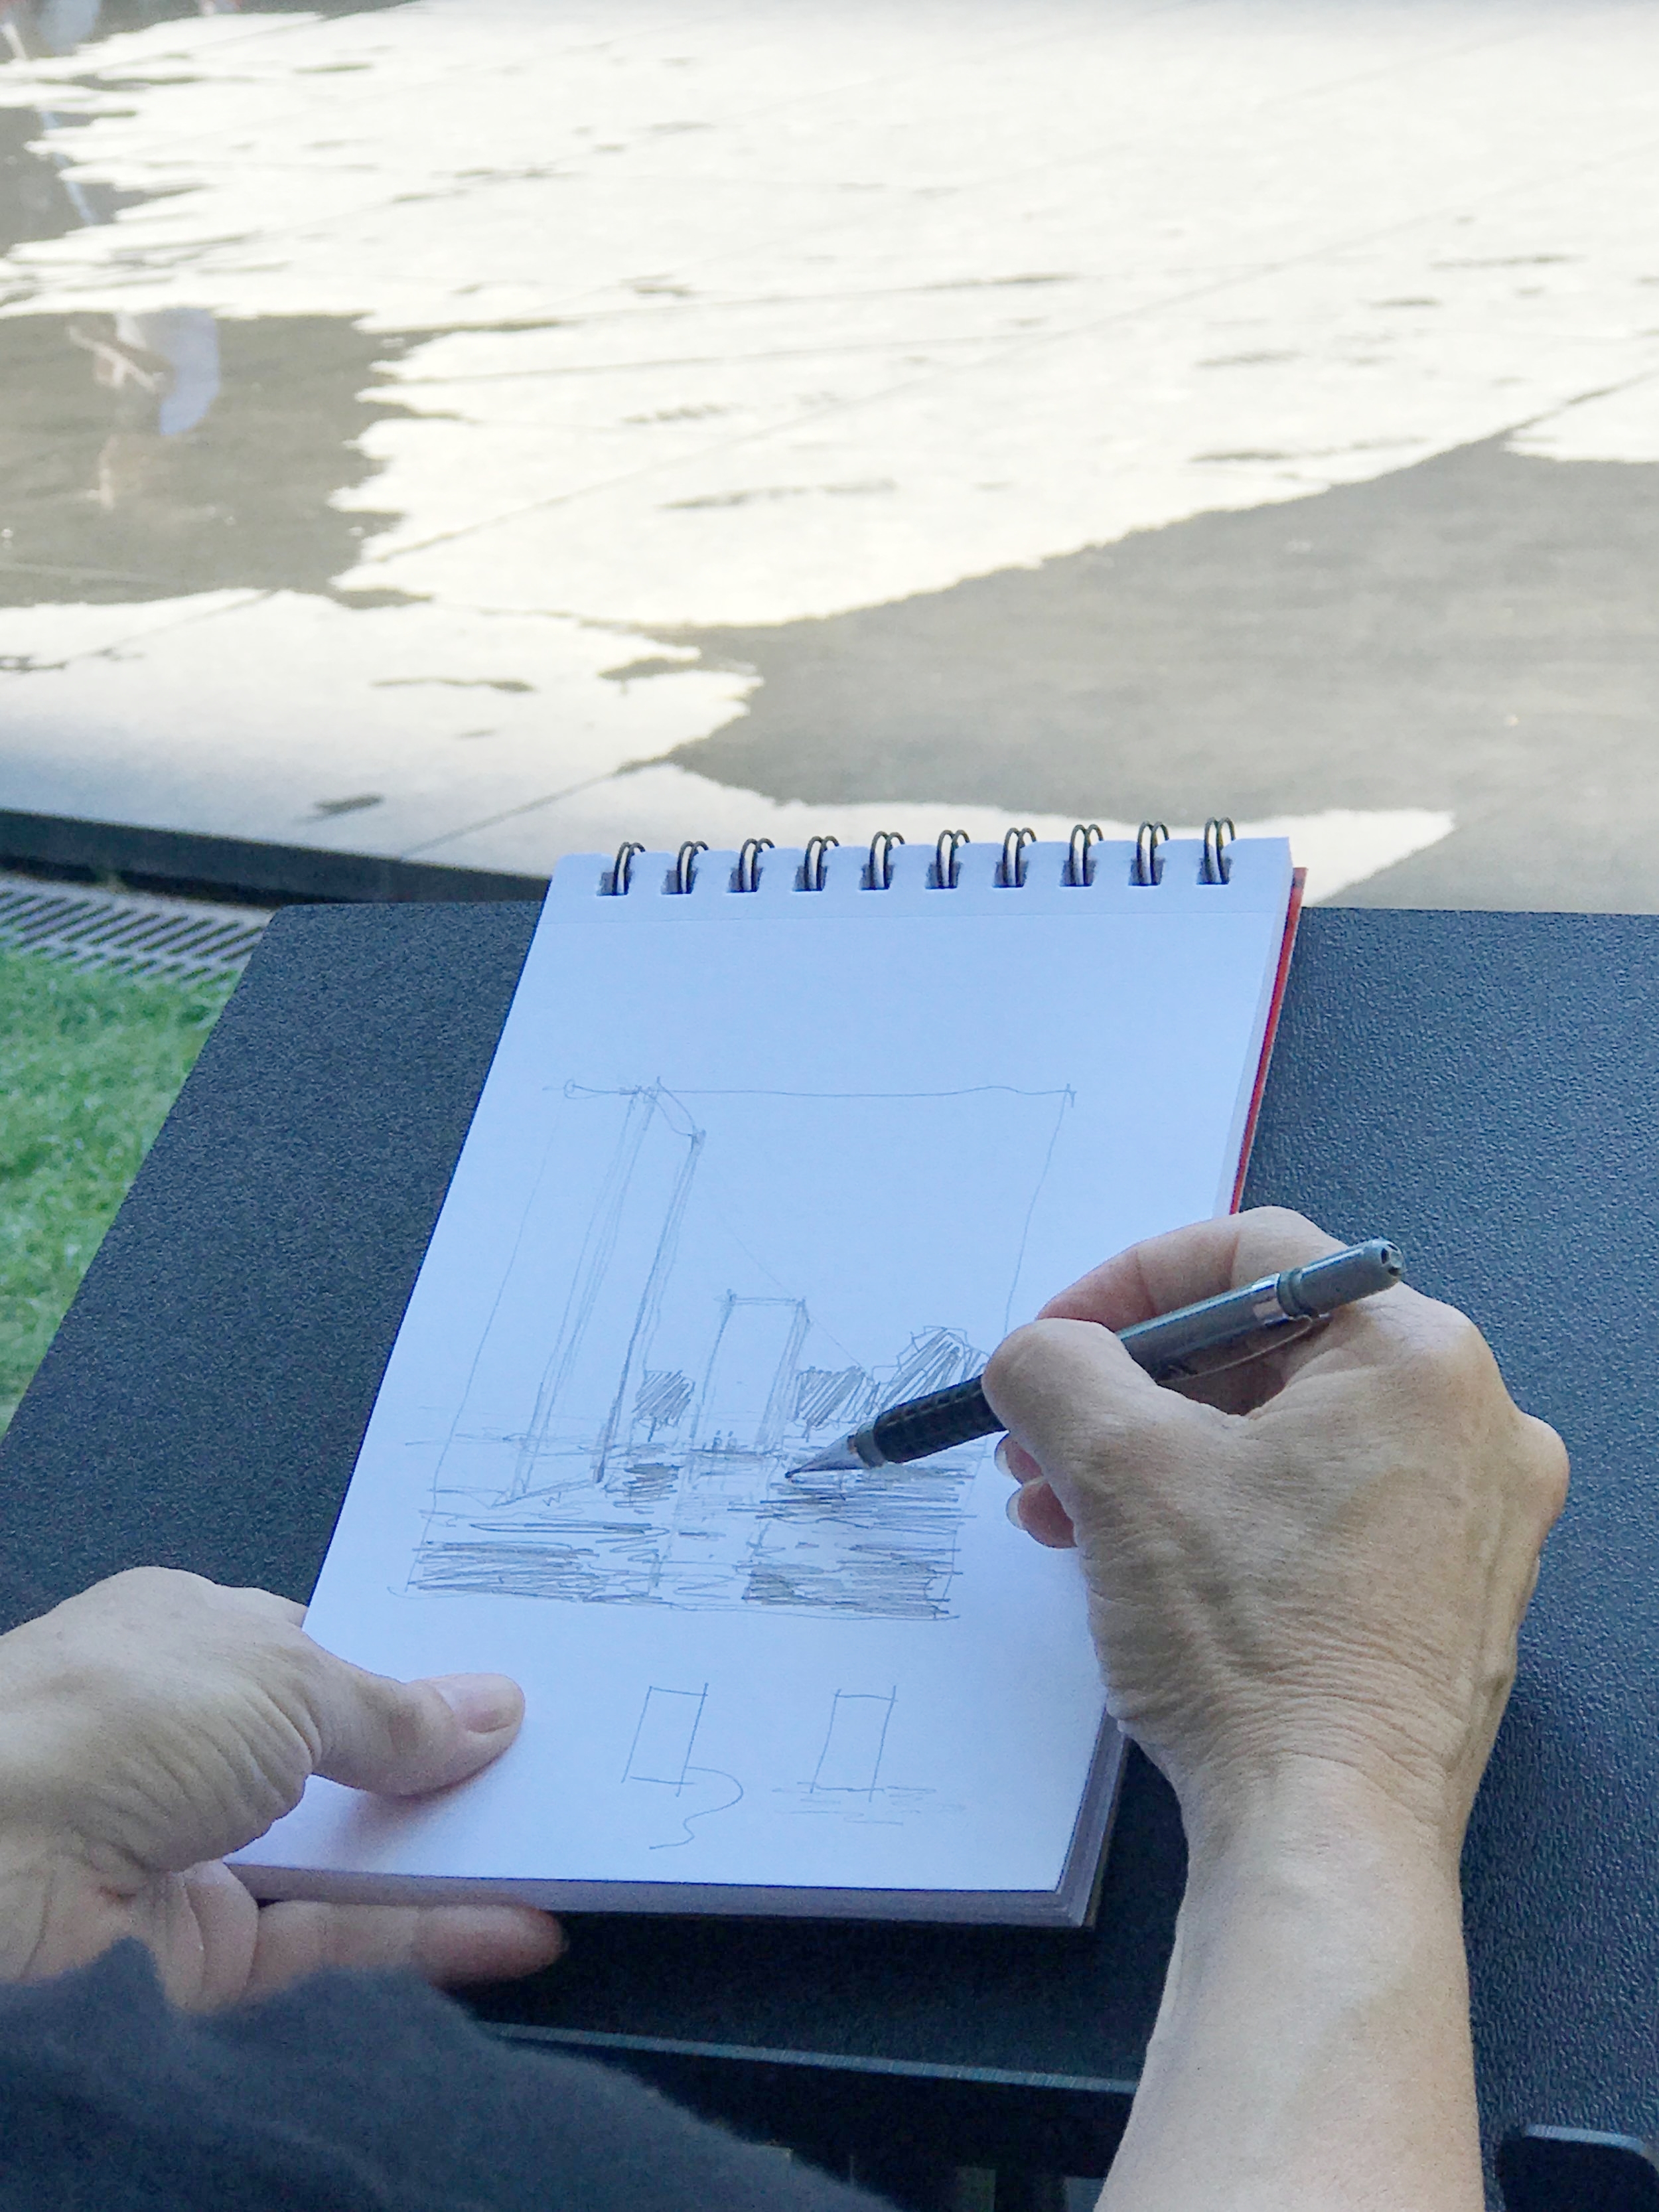
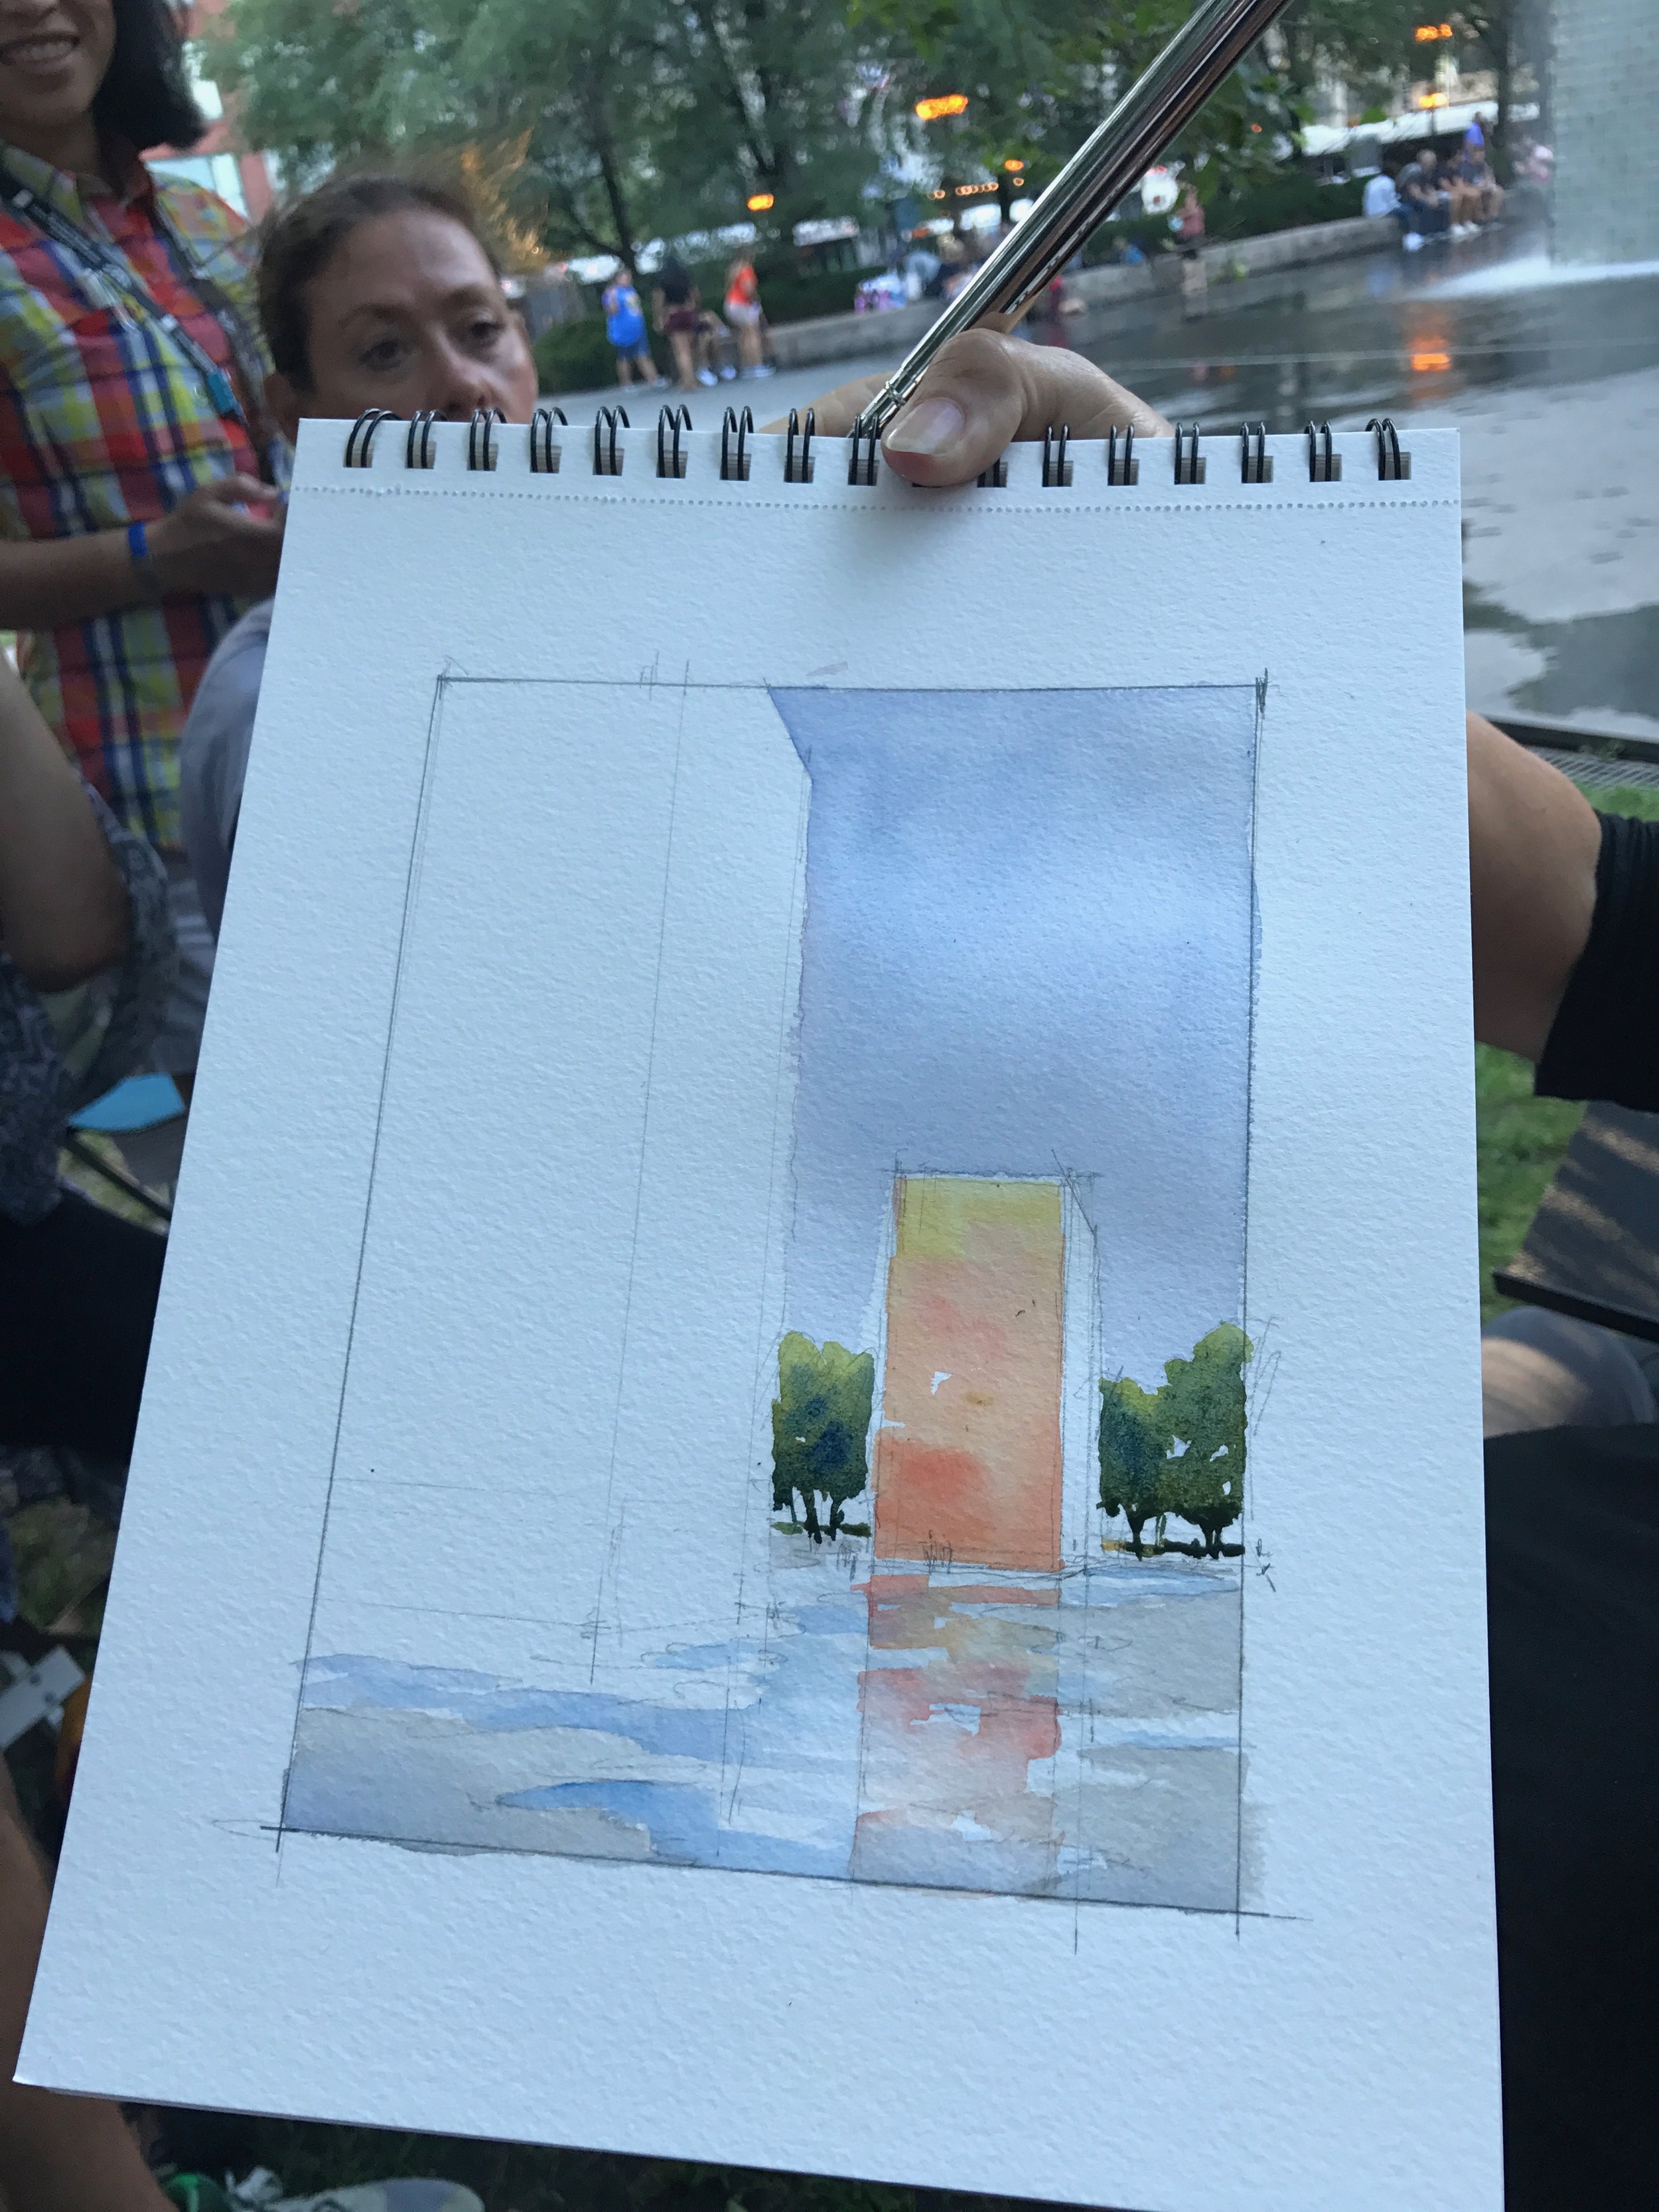
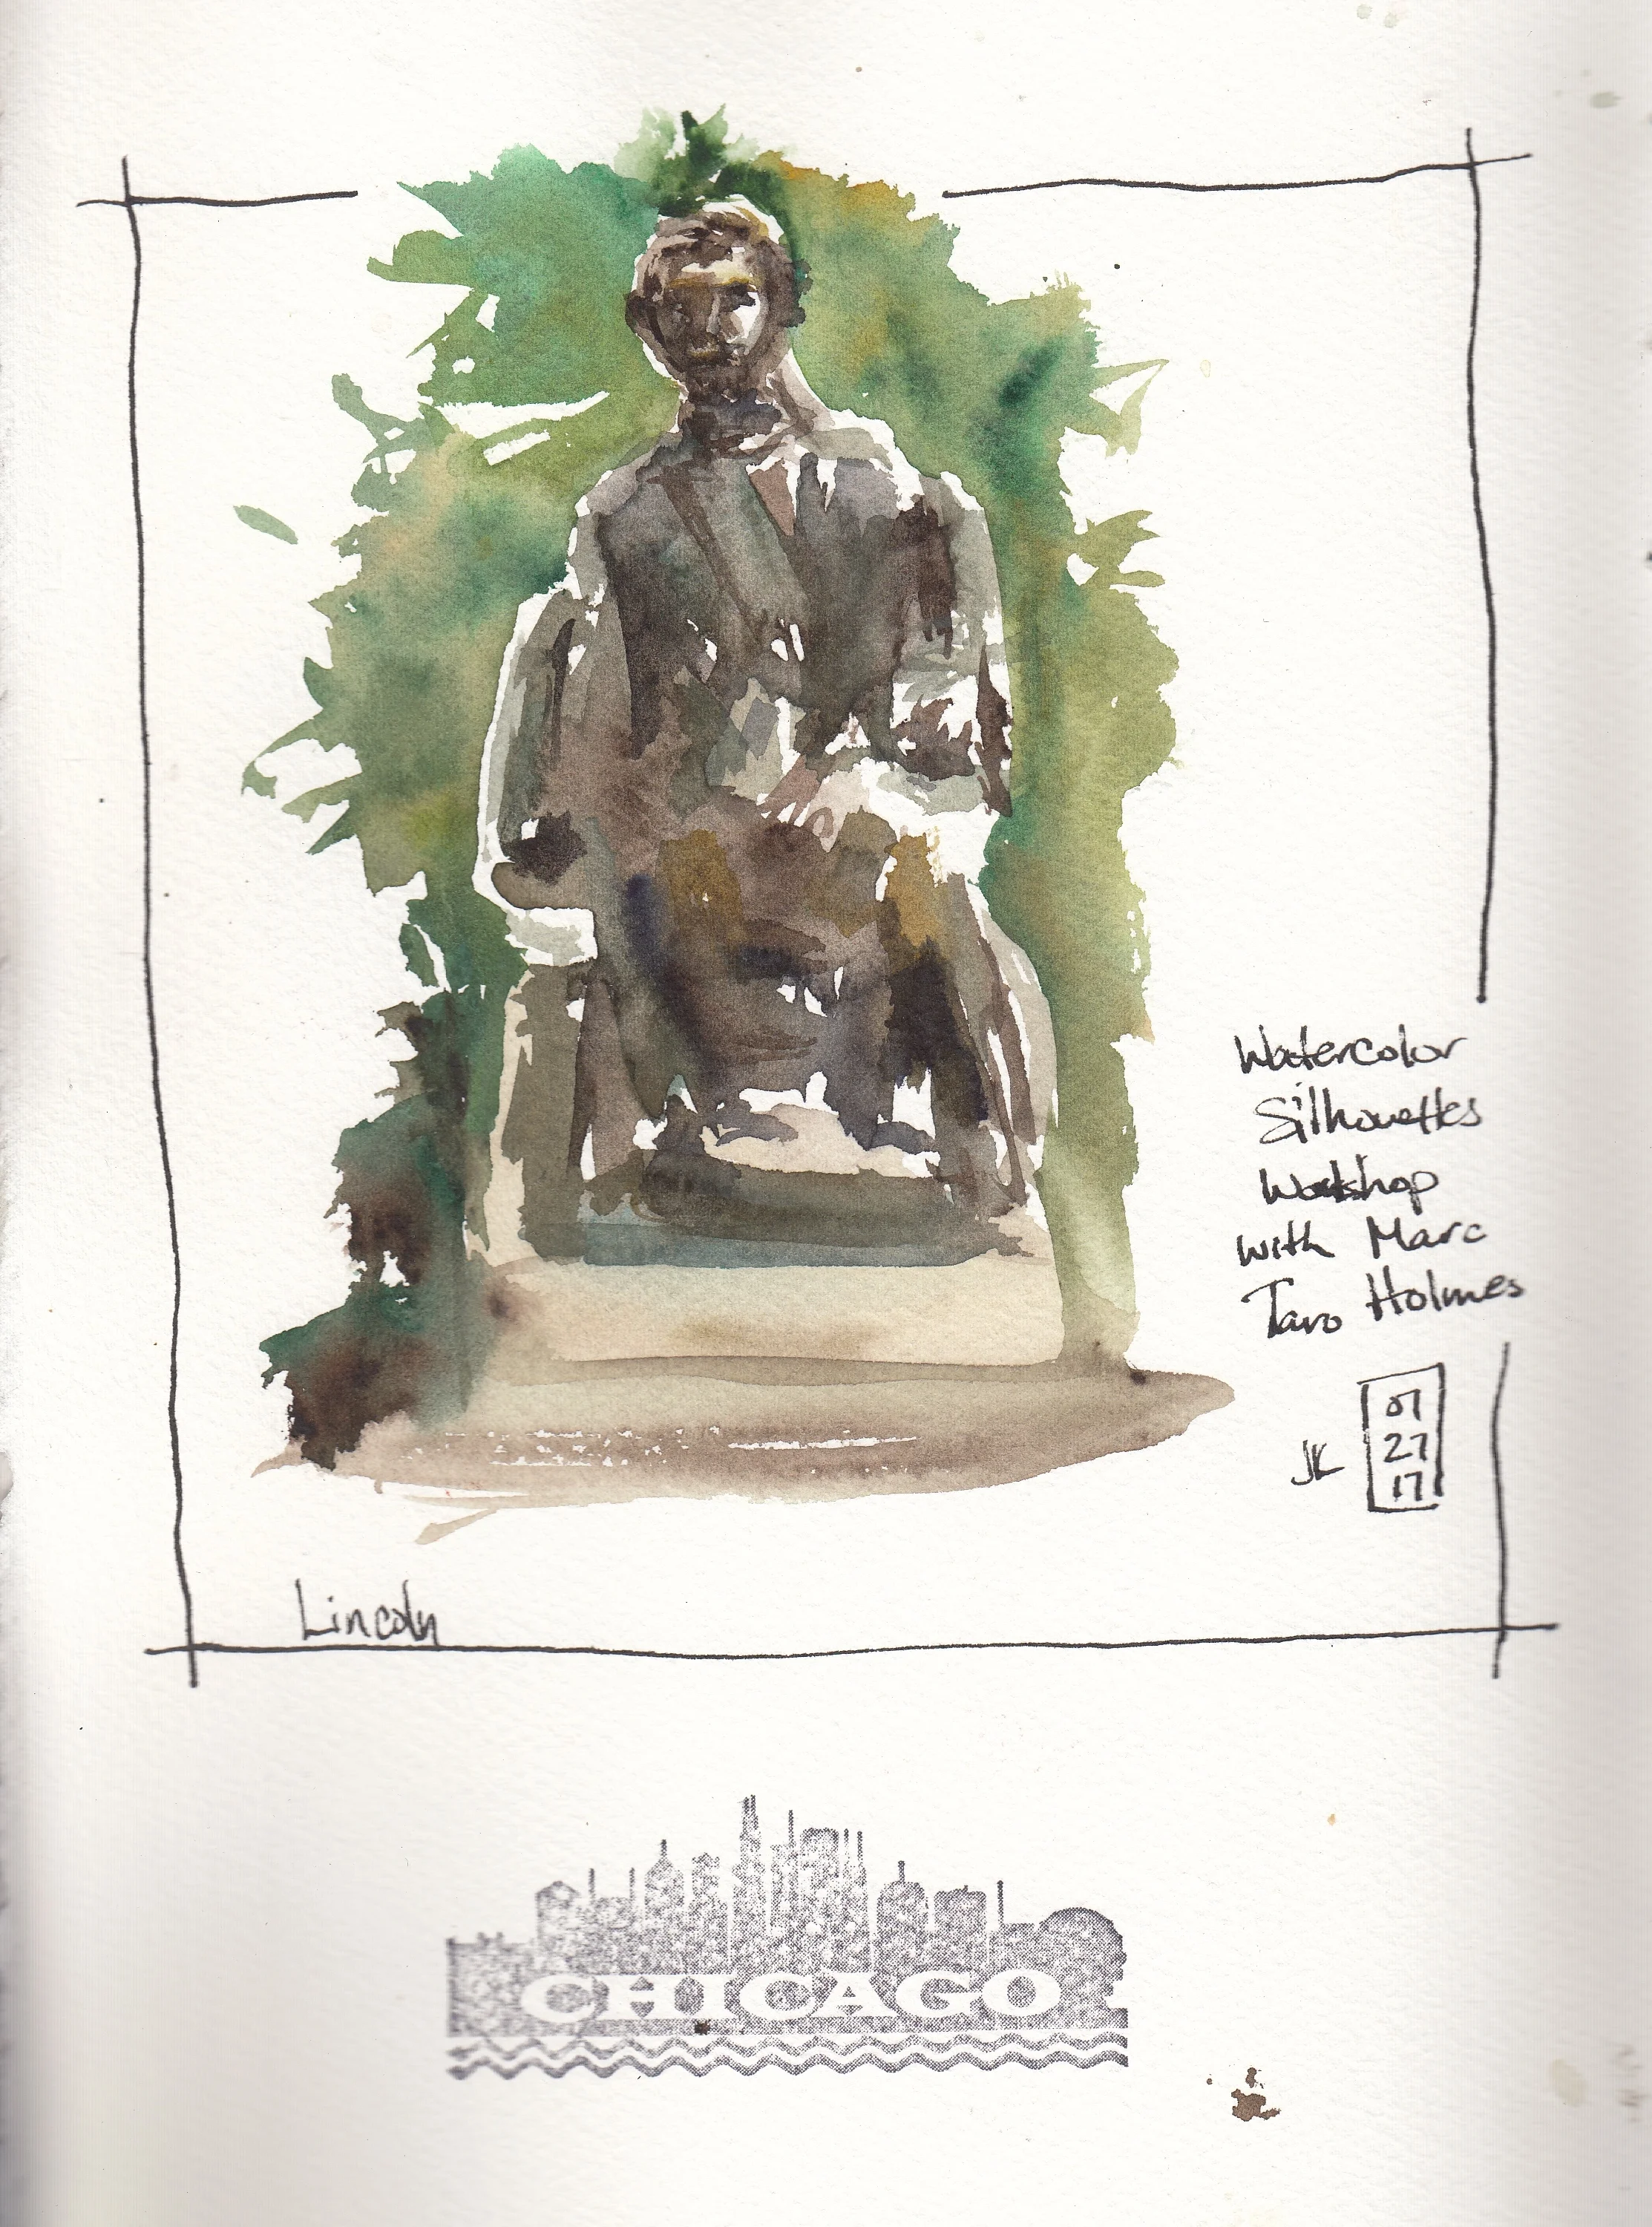
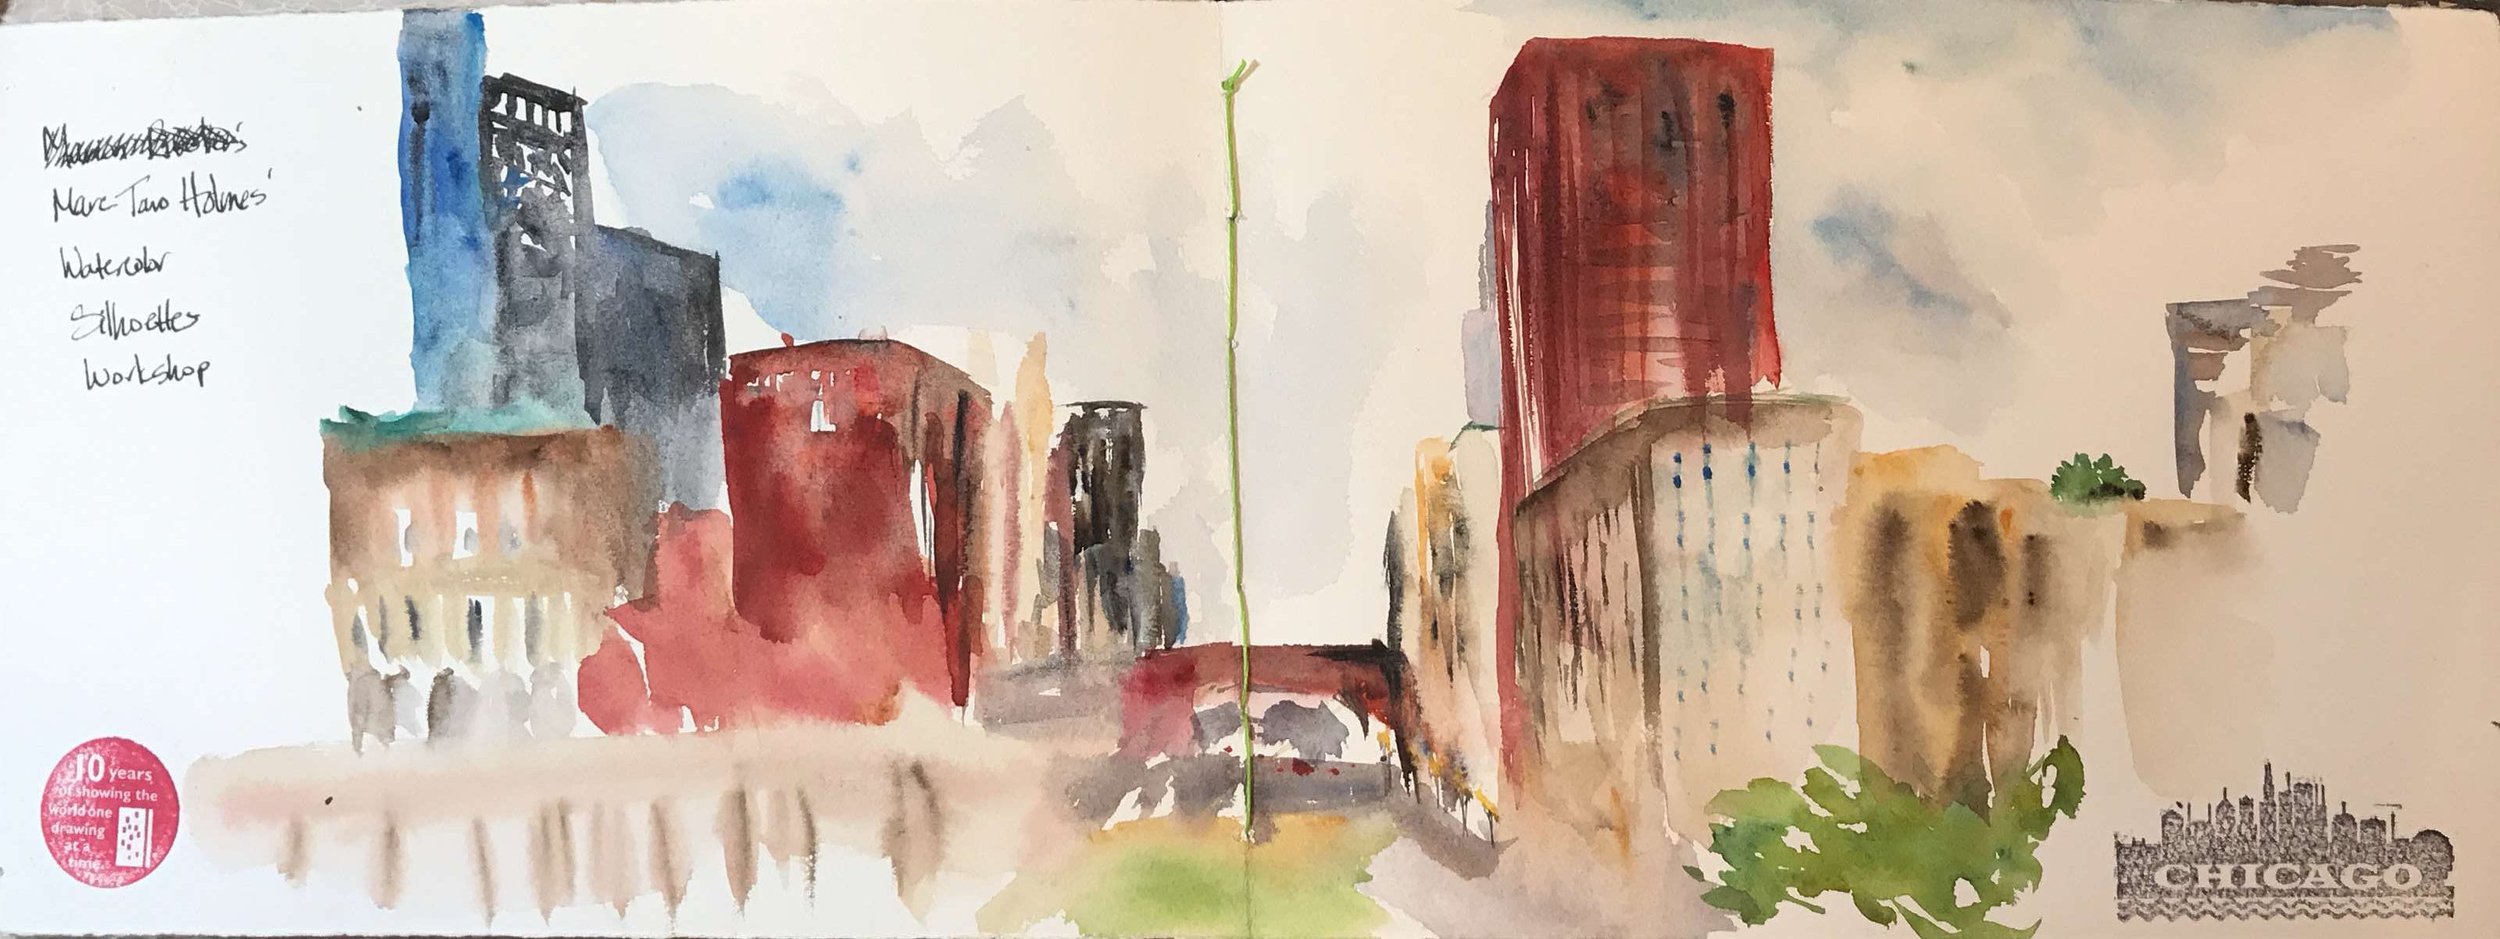
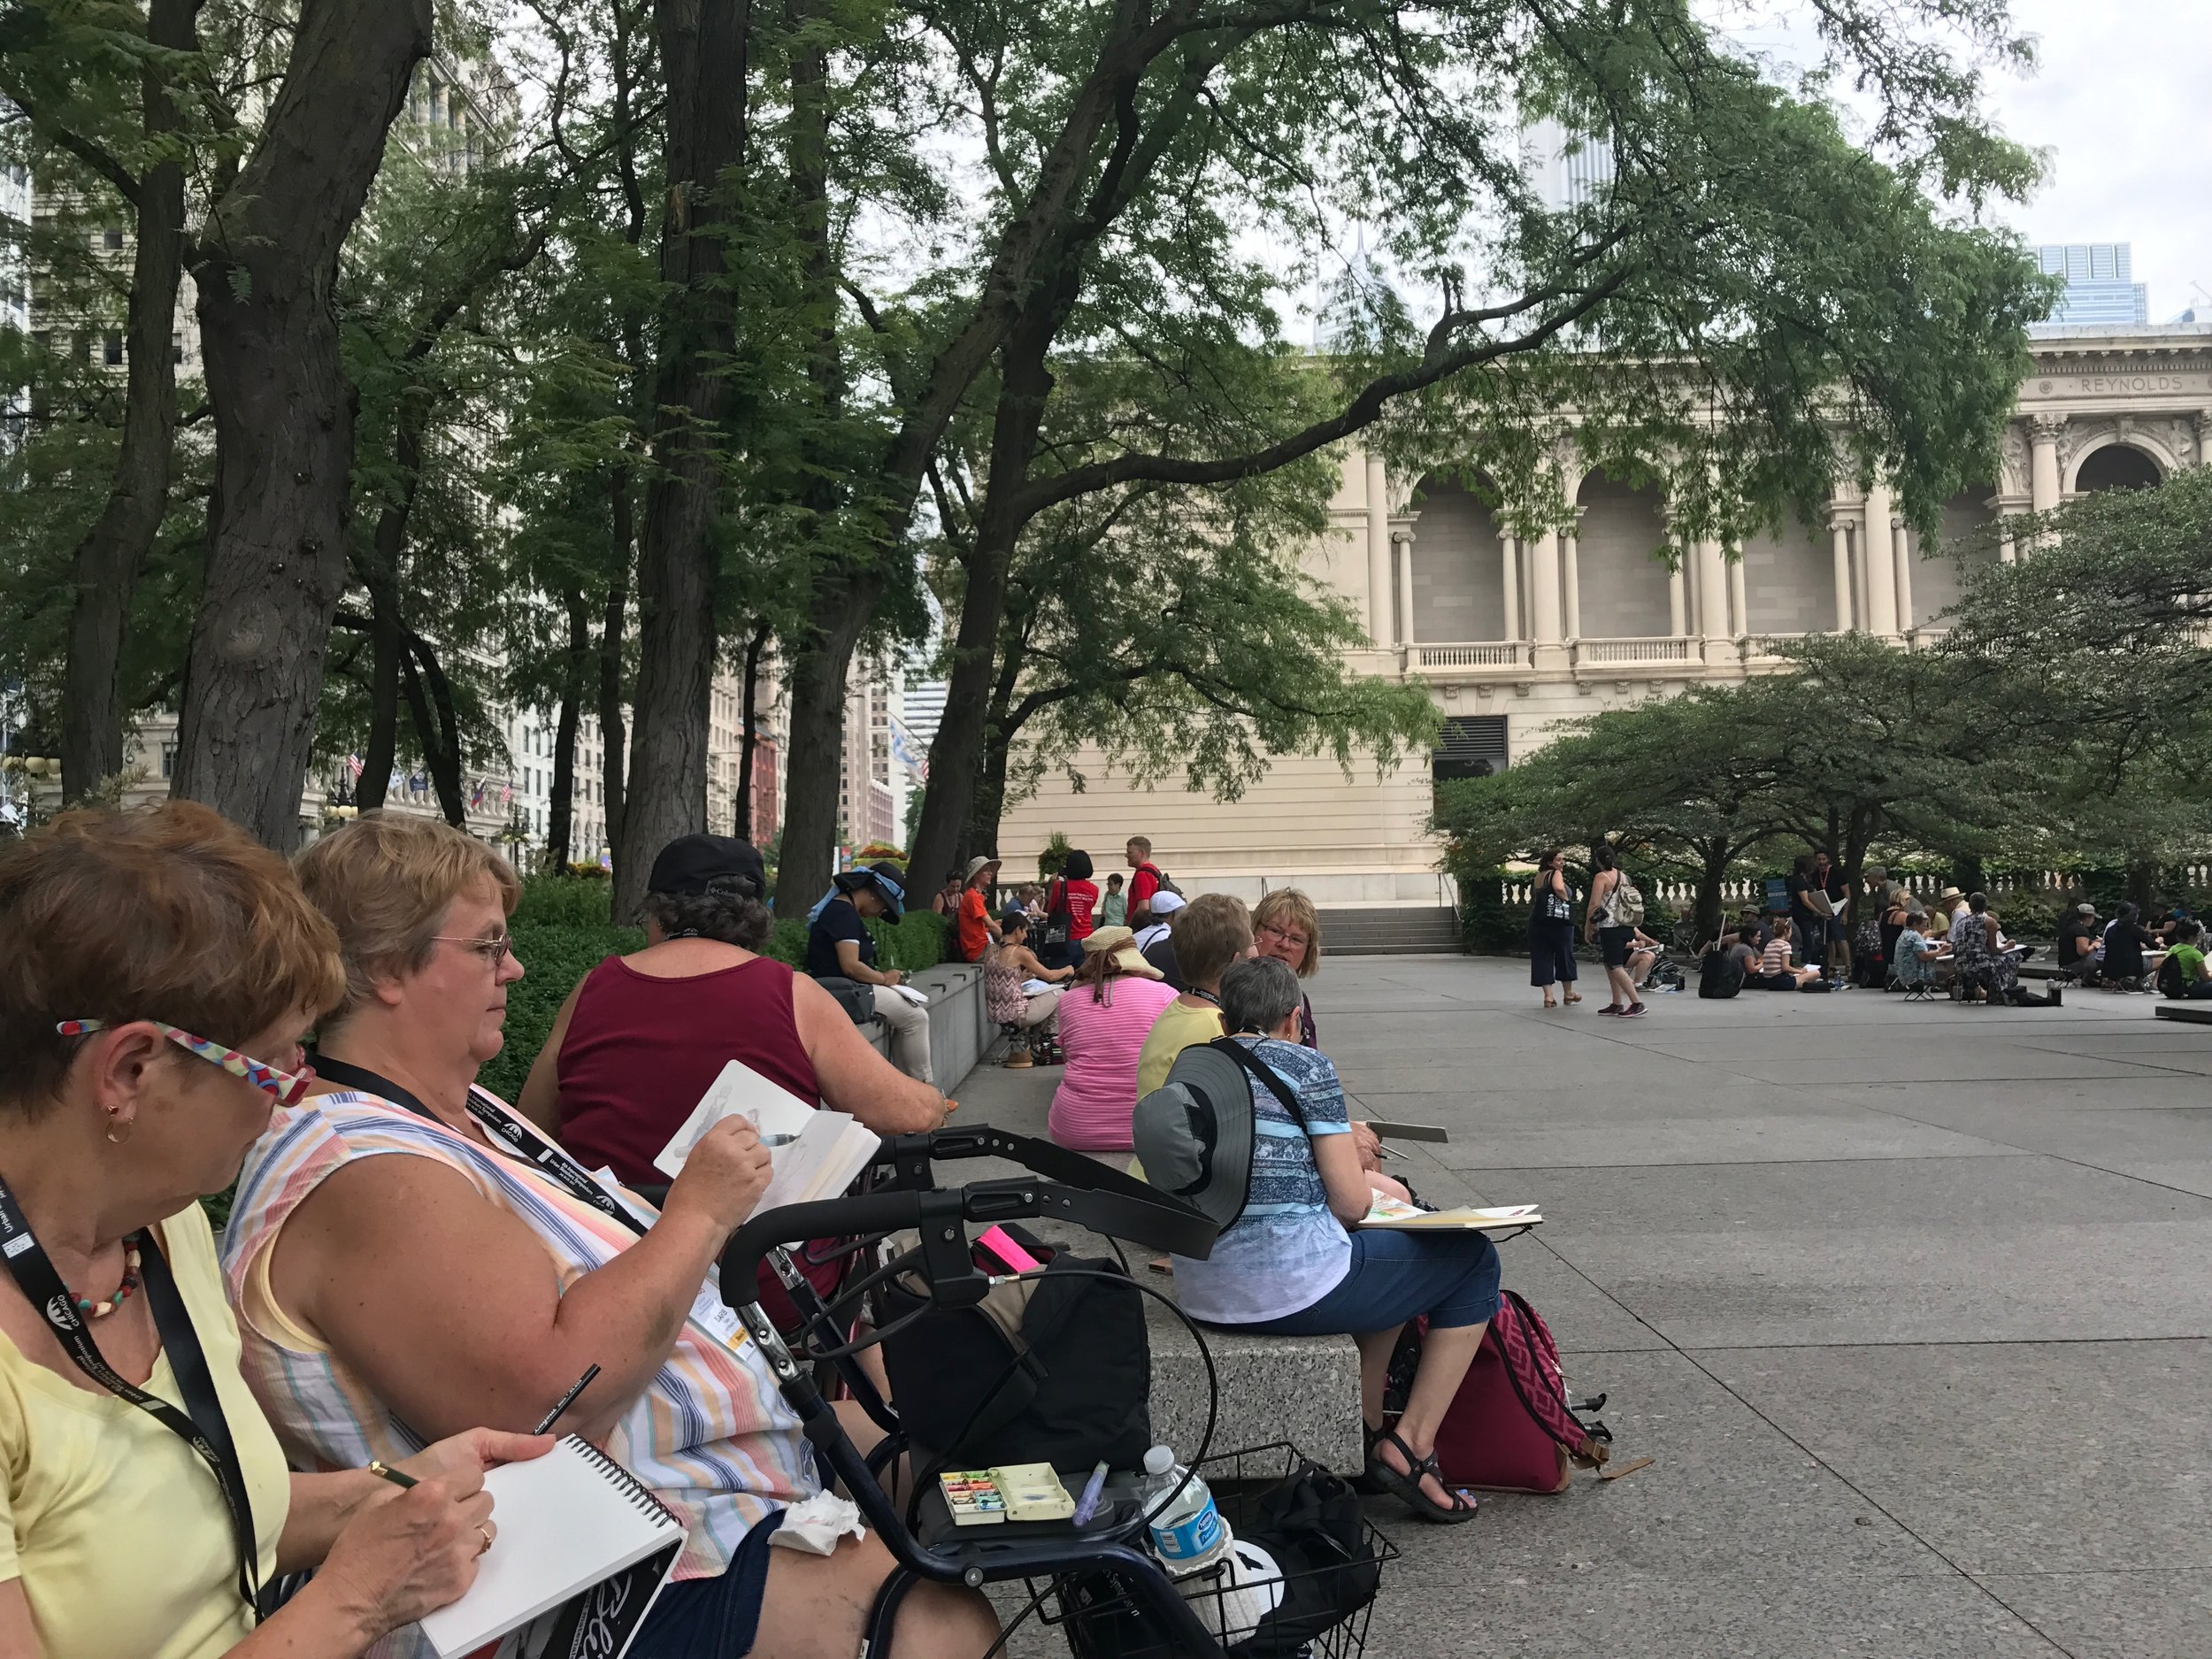
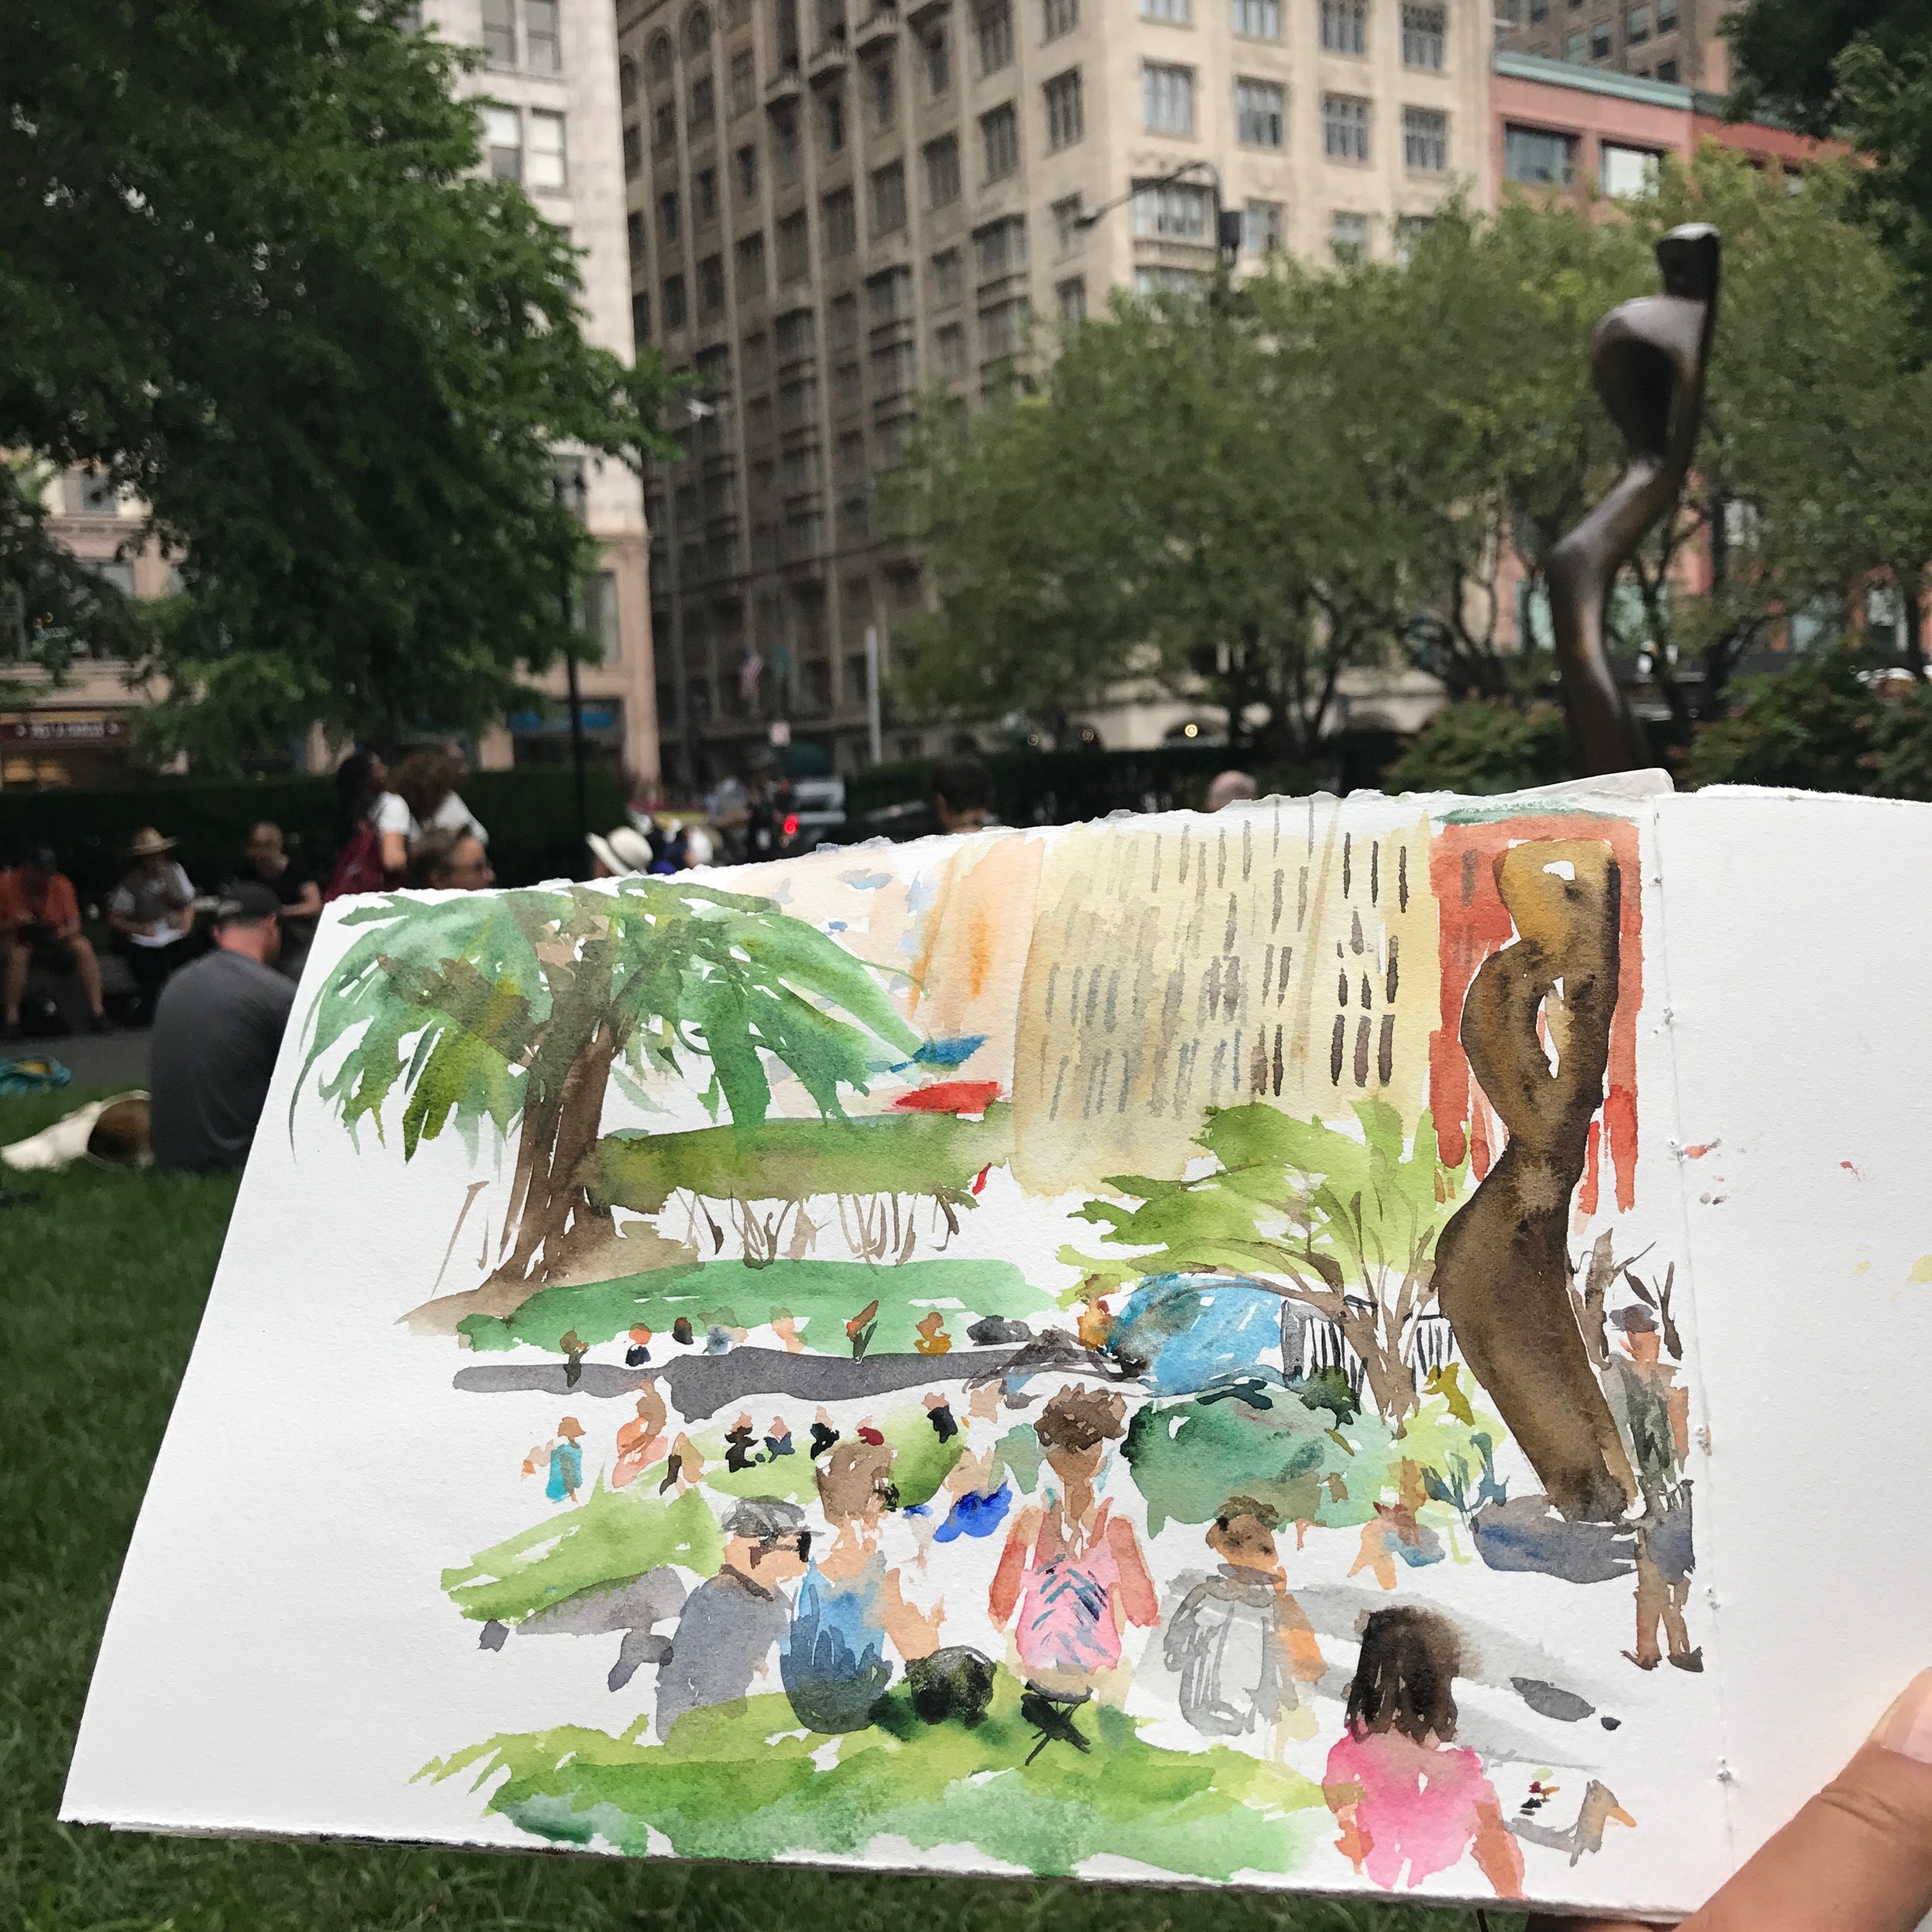
The other course I decided to take this year is Liz Steel's Sketching Now Watercolour course. Liz is one of the two urban sketchers who have attended all of the Urban Sketchers Symposiums - and a really lovely person who I've taken a class with at the last Symposium in Chicago and sketched with in San Francisco this summer. Liz has an architecture background and loves sketching buildings. But, I really love how she incorporates watercolor into her pen and ink sketches. So, I was happy to take this course with her when it was announced. 

Sketching Now Watercolour is a six week course that focuses on providing students with a solid understanding of how pigment suspended in water behaves and a few specific strategies for using watercolour in a quick and spontaneous way will enable you to paint with more confidence out on location

Stay tuned to my blog for specific posts on each course as they continue. I can't wait!

Thursday 01.11.18
Posted by Jennie Kessinger
 

Animating My Portrait Sketches

Another quick post on animating my sketches - I recently found the app, Muglife, that creates 3-D animations of photographs to create memes, etc. Since the app was free, I decided to give it a try on some recent portrait sketches. Amazingly, it recognized my sketches as actual human faces and performed its magic!

Tommy Kane

For all of these portraits, I just uploaded the photo and let MugLife do its standard magic. I have since paid an additional $3.99 to use the Creative Mode in the app through which you can change the animations to do different things. But, I haven't really used that yet - other than playing around with it. 

Have you tried MugLife or other similar apps? I'd love to hear your thoughts and experience with it/them.

tags: watercolor and ink, Portrait, animations
categories: Animations
Thursday 01.11.18
Posted by Jennie Kessinger
 

Animating with Sketchbook Motion

One of my favorite contributors to Procreate's free brushes and tutorials, Abbie Nurse, introduced me to a simple animation app, Sketchbook Motion, via her excellent Instagram posts.

The Sketchbook Motion app makes animating my sketches using Procreate fairly easy. Here's the first animation I made from a sketch of my handbag.

page004.JPG

To make this animation, I imported a scan of my sketch into Procreate and then selected the handbag to copy and paste it into a layer with no background. Because I wanted the tied bandana to sway in the wind, I had to create additional layers with each side of the bandana on each layer. When bandana sways, the area under the handbag must be filled in with the color and paint of the handbag - also done in Procreate. Finally, in Sketchbook Motion, I added in each layer: the handbag with the bandana areas filled in and the (2) individual bandana layers. I then used the Wind animation for each bandana layer individually. 

Someday, I will need to film a tutuorial on how I did this. Hopefully, you get the idea. Here are some more animations I made from recent sketchbook sketches. 

Have you tried animating your sketches? Or tried more serious animations? I'll be posting about more animations soon!

tags: animations, sketchbookart
categories: Animations
Thursday 01.04.18
Posted by Jennie Kessinger
 

Sketching everyday things

Lately, I’ve been revisiting books and artists who inspire me. One such book and artist is The Art of the Affair - An Illustrated History Of Love, Sex, and Artistic Influence by Catherine Lacey and illustrated by Forsyth Harmon. The book is a delightful read - full of information and gossip about writers, artists, and other celebrities from the Jazz Age. But, what I really love about it are the watercolor and ink illustrations by Forsyth Harmon. She uses black pen lines to give  definition to the illustrations but does most of her shading with layers of watercolors. Truly inspirational. 

I attempted a few Sktchy-inspired portraits with her style in mind. Needless to say, her style is very difficult to replicate!

My first attempt

My first attempt

My second attempt

My second attempt

CC66A4E9-4DB3-430D-BF05-D7B0E055DE0B.JPG

For our Christmas card this year

In reasearching Forsyth’s work, I discovered her still lifes on her website. I love these drawings of everyday items that seem to have so much  beauty and personality to them. It was so eye opening to me to discover so many subjects for art all around me. I also saw the challenge of finding beauty in things that are so commonplace and ordinary that you never really look at them, much less find beauty in them. 

So, I decided to start sketching my everyday items around me - starting with Forsyth’s book. 

A digital drawing using Procreate and my Apple Pencil

A digital drawing using Procreate and my Apple Pencil

A favorite snack - also done with Procreate and my Apple Pencil

A favorite snack - also done with Procreate and my Apple Pencil

My handbag

My handbag

At The Coffee Shop one morning

At The Coffee Shop one morning

A box of candy canes

A box of candy canes

Moose ornaments  

Moose ornaments  

More moose ornaments

More moose ornaments

A nutcracker ornament 

A nutcracker ornament 

More ornaments

More ornaments

I think I am hooked on drawing the everyday items around me! Have you tried drawing the most mundane, boring items around you?

Stay tuned for my next post on working in Procreate and animating my drawings with Sketchbook Motion. 

tags: Sketchbook, Inspiration, Forsythharmon, Sktchy-inspired, Sketches, Sketch, Portrait, Watercolor
categories: Inspiration, Style, Study, Art Challenges
Tuesday 12.12.17
Posted by Jennie Kessinger
 

Celebrating 10 Years of Urban Sketching

This weekend, I met up with my local Urban Sketchers SF Bay Area group to participate in the Urban Sketchers Global 24 Hour Sketchwalk to celebrate the 10th anniversary of the Urban Sketchers group.

We met up in the park near the Apple store in Union Square and sketched for about 90 minutes before meeting inside. It was chilly, so we needed to get inside to thaw out our hands. Here is my sketch from the park looking towards the Ruth Asawa fountain. You can see our leader, Laurie Wigham sketching in front of me. 

page048.jpg

There were about 40 of us sketchers there that day. 

IMG_5554.jpg

Here are a few of my favorite sketches from that day.

by Oliver Hoeller - his style reminds me of Felix Scheinberger

by Oliver Hoeller - his style reminds me of Felix Scheinberger

Love this piece Uma created on her iPad Pro with her Apple Pencil -so inspiring!

Love this piece Uma created on her iPad Pro with her Apple Pencil -so inspiring!

This piece by Judy W. looks like a beautiful postcard. I love how she indicated the ice skaters with so few marks!

This piece by Judy W. looks like a beautiful postcard. I love how she indicated the ice skaters with so few marks!

After the sketch walk, I joined a few sketchers for lunch in Chinatown at the Far East Cafe. I loved discussing art techniques, supplies, and urban sketching with some like minded individuals! Here's my quick sketch - largely done before our food arrived.

page047.jpg

Every time I meet up with other urban sketchers, I get inspired to do more on location sketching. I am going to make more of an effort to get out there and sketch!

Did you participate in the 24 Hour Global Sketch Walk? I would love to hear about your experience and see your sketches!!

tags: watercolor, pen and ink, urban sketching
categories: Urban sketching
Tuesday 11.14.17
Posted by Jennie Kessinger
 

Inktober 2017

I made it through my second Inktober - having participated last year for the first time. If you haven't heard of it, Inktober is a daily art challenge in October started by Jake Parker, an illustrator based in Utah. He created Inktober in 2009 as he says, "as a challenge to improve my inking skills and develop positive drawing habits." Inktober has since grown into a worldwide endeavor with thousands of artists participating each year. Here is the list of drawing prompts.

f6d18093ca90c8c5-2017promptlistsm02.png


I have been working hard over the last year to improve my watercolor, gouache, and even digital art skills. But, I used this last month to really work on my inking skills, cross-hatching, and using watersoluble inks. For the most part, I avoided using any colors and focused on tonal values - until the end of the month when I used a bit of watercolor on some of my ink drawings. 

Here are all of my Inktober drawings for this last month. 


Day 1 - SWIFT
Day 2 - DIVIDED
DAY 3 - POISON
Day 4 - UNDERWATER
Day 5 - LONG
Day 6 - SWORD
Day 7 - SHY
Day 8 - CROOKED
Day 9 - SCREECH
Day 10 - GIGANTIC
Day 14 - FIERCE
Day 15 - MYSTERIOUS
Day 16 - FAT
Day 17 - GRACEFUL
Day 18 - FILTHY
Day 19 - CLOUD
Day 20 - DEEP
Day 21 - FURIOUS
Day 22 - TRAIL
Day 23 - JUICY
Day 24 - BLIND
Day 25 - SHIP
Day 26 - SQUEAK
Day 27 - CLIMB
Day 28 - FALL
Day 29 - UNITED
Day 30 - FOUND
Day 31 - MASK

I feel like Inktober helped me with recognizing tonal values in my subjects and I enjoyed practicing my cross-hatching and using ink washes. I can't wait until next year - but now, that Inktober is over, I will go back to working on my watercolor and gouache skills -- plus, learning to use Procreate with my new iPad Pro and Apple Pencil.

Did you participate in Inktober this year? If so, what was your experience? Did you enjoy it?


Thursday 11.02.17
Posted by Jennie Kessinger
 

Urban sketching in San Francisco with Liz Steel & Jane Blundell

I've been so derelict in keeping up with blogging. So, I'm trying to make up for it today with several posts on what I've been up to lately. At the end of last month, I finally made it to an Urban Sketching meet up that was very well attended. I think there were over 80 sketchers at Grace Cathedral due in no small part to the visiting sketchers in attendance, Liz Steel and Jane Blundell!

I have taken Liz's online Sketchbook Skool klass as well as her in-person workshop at the Urban Sketcher's Symposium in Chicago in July - so I was happy and excited to see Liz again. Also, I've scoured Jane's website for her in-depth watercolor knowledge and saw her in Chicago as well at the Symposium. Other bonuses were seeing Suhita Shirodkhar, an urban sketcher from the South Bay, from whom I've also taken a Craftsy online course and an in-person workshop in San Francisco with in the past - and Laurie Wigham , who organizes the San Francisco Urban Sketchers group and got a bunch of us Bay Area sketchers together in Chicago.

We met at Grace Cathedral and sketched for several hours in and around the church. I arrived a bit late due to traffic, so I missed the interior tour and met up with the group in the park across the street. Here are my sketches from the day. 

page002.jpg
a fellow sketcher and sunbathers

a fellow sketcher and sunbathers

At the end of the meet up, we all displayed our sketches on the nearby bushes. There were so many sketchers, it was hard to see them all!

Suhita Shirodkhar and her sketches in the foreground (along with her kids' sketches)

Suhita Shirodkhar and her sketches in the foreground (along with her kids' sketches)

Probably the best part of the day, though, was meeting a whittled down group of sketchers for an early picnic dinner at Lafayette Park, which had amazing views.

IMG_5508.JPG
IMG_1136.JPG
IMG_0294.JPG
IMG_4332.JPG

Here are my sketches - I made a conscious effort to try some thumbnail landscapes and also to sketch the sketchers with my brush pen. 

page004.jpg
tags: urban sketching
categories: Urban sketching
Thursday 10.12.17
Posted by Jennie Kessinger
 

Revisiting Liz Steel's Lost and Found Structure Workshop

I am so late in finishing my recaps of the workshops I took at Urban Sketcher's Symposium in Chicago. My last workshop was with one of my favorite artists, Liz Steel. This was my last workshop of the Symposium and I was really looking forward to it. Here is the description of the workshop and the handout Liz provided.

We met Liz and walked to a site near Millennium Park that Liz had selected for its shade and view of several skyscrapers. Liz explained our first exercise, which was to sketch the buildings in scale and in relation to each other - noting the patterns in the buildings - and then demonstrated for us.

Liz explaining concepts and showing examples from her sketchbook

Liz explaining concepts and showing examples from her sketchbook

IMG_4636.jpg

Here's my attempt:

page014.jpg

Next, we explored shape by eschewing line altogether and simply painting the shapes of the buildings by using the dominant local color of the buildings. Liz advised us to average out the colors to come up with an overall color for each building. 

page015.jpg

We then did a line sketch of the volumes and this time add in the darks only. Liz told us to review the two sketches and look for areas where we could merge shapes. Are they in the same place for both sketches? 

page014.jpg

Finally, we were tasked with putting it all together by starting our final sketch by painting some (not all) of the big shapes using either local color or shadow areas. After a few shapes, she told us to switch to adding structure either in pen or in paint. Whenever possible, Liz advised us to blow out the highlights, merge together the dark areas, and explore ways of fading the detail of the structure/windows. Here's my attempt and the entire group's.

page016.jpg
IMG_4637.jpg

In the end, it was a wonderful workshop and the 3 hours just flew by! I will have to continue to practice what I learned. But, best of all was just spending time with Liz and watching her sketch! She is such a warm and friendly person and such an inspiring artist.

IMG_4654.jpg
tags: uskchicago2017, study
categories: Urban sketching
Thursday 10.12.17
Posted by Jennie Kessinger
 

Getting Back to Sktchy and Exploring Different Media

After coming back home from the Urban Sketcher's Symposium in Chicago - which was hugely inspiring - I had recommitted myself to getting outside and sketching. But, now that I've been back home for over a month and the kids are back in school, I've decided to get back into sketching some portraits from Sktchy and trying some different styles and media. 

Here are some recent pieces inspired by the Sktchy app using watercolor with no underdrawing (for the most part):

page018.jpg
page019.jpg
page022jpg.jpg
page034.jpg
page035.jpg
page036.jpg

I've been enjoying going straight to watercolor with no underdrawing, but I wondered if I shouldn't abandon my older style of drawing first in ink and then adding watercolor. So, I decided to attempt the same portrait in my old style. 

page037.jpg

Which do you prefer? I've gotten mixed responses on Instagram - with a few more likes for this one with watercolor and ink. 

Inspired by James Gurney, I decided to try out using the casein paint set that I picked up at the Urban Sketcher's Symposium in Chicago. 

page024.jpg

Casein in a milk based paint that used to be very popular with illustrators and designers in the 1930s. It is opaque, yet can also be used watered down like watercolors. It is similar to gouache, yet when it dries, it can be painted over without reactivating the older layers. James Gurney has almost single-handedly brought casein back into modern popularity, so when I saw this 12 color set offered in a wooden box on sale at USK Chicago (at a reduced price from when you can get it for on Amazon), I had to get it!

I struggled a lot with this portrait, but in the end, I quite like it. Another example of needing to quiet my inner critic (monkey). 

Next, I tried a technique that James Gurney uses quite often - starting with a casein underpainting and using gouache on top. 

Elephants from Sktchy

Elephants from Sktchy

A view of my backyard

A view of my backyard

I feel like I have so much to learn from all of these different types of media! I definitely love using watercolor, but it is nice to mix it up and use ink with watercolor, or an opaque media like gouache or casein. 

What do you think? Do you stick with one primary media? If so, which one? If not, what do you like to use and when/why? I'd love to hear!

tags: watercolor, watercolor and ink, gouache, casein
categories: Art Supplies, Painting, Portraits, Study
Friday 09.08.17
Posted by Jennie Kessinger
 

Tour of Sketchbook 41

For the recent Urban Sketcher's Symposium in Chicago, I made two hand-bound sketchbooks to bring along - one in landscape format (Sketchbook 42) and one in portrait mode (Sketchbook 41). It was useful to have two sketchbooks with me to have the option of either orientation and to let one dry while working on the other. Since coming home from #uskchicago2017, I continued working on the sketchbook and just completed it. Here's a tour of the sketchbook (for a view of the individual pages, see the sketchbook here).

tags: Sketchbook, sketchbook tour, Watercolor
categories: Sketchbook tour
Tuesday 09.05.17
Posted by Jennie Kessinger
 

Stephanie Bower's Watery Reflections Demo

During the Urban Sketcher's Symposium this year in Chicago, I was lucky enough to see Stephanie Bower's Watery Reflection demonstration at the Crown Fountain in Millennium Park. 

Designed by Designed by Spanish artist Jaume Plensa, the Crown Fountain in Millennium Park is a major addition to the city's world-renowned public art collection. The fountain consists of two 50-foot glass block towers at each end of a sha…

Designed by Designed by Spanish artist Jaume Plensa, the Crown Fountain in Millennium Park is a major addition to the city's world-renowned public art collection. 

The fountain consists of two 50-foot glass block towers at each end of a shallow reflecting pool. The towers project video images from a broad social spectrum of Chicago citizens, a reference to the traditional use of gargoyles in fountains, where faces of mythological beings were sculpted with open mouths to allow water, a symbol of life, to flow out. 

Plensa adapted this practice by having faces of Chicago citizens projected on LED screens and having water flow through an outlet in the screen to give the illusion of water spouting from their mouths. The collection of faces, Plensa's tribute to Chicagoans, was taken from a cross-section of 1,000 residents. 

The fountain’s water features operate during the year between mid-spring and mid-fall, while the images remain on view year-round.

Despite its name, Stephanie's workshop focused on reflections, not just in water - but, also in metals, mirrors, windows, shiny floors, and streets (wet or not). Stephanie passed out a handout that describes how reflections work and different aspects of reflections. With regard to how reflections work, she states that a simple reflection on a smooth surface reflects an image that is the same size and height as the object being reflected and is reflected straight down. She also reminded us that the vanishing point is always at your eye level line - even for the reflected image. 

Stephanie showed us some amazing examples of her own work with reflections.

IMG_4442.jpg
Stephanie's Chicago sketches

Stephanie's Chicago sketches

Stephanie's sketch with reflections on a shiny indoor floor

Stephanie's sketch with reflections on a shiny indoor floor

But, the best part of this demonstration, was, of course, watching Stephanie sketch the scene in front of us. She started with a quick value thumbnail sketch.

IMG_4456.jpg

Though Stephanie says she doesn't usually take the time to always make a value thumbnail, it was helpful for me to watch her do it and remember to concentrate on values!

Stephanie then moved on to demonstrate her sketching method with reflections and reminded us to reserve a lot of white space - which she says is always the hardest thing to do! Unfortunately, I didn't get a great video of her process. Here was her sketch:

IMG_4468.jpg
IMG_4469.jpg

It was an amazing demo to watch - and I'm so grateful for Stephanie to take extra time in continuing her sketch for us. I can't wait to add in more reflections in my work. Recently, I thought of Stephanie's teachings when sketching at the Lafayette Reservoir. 

My sketch of the Lafayette Reservoir - I think the reflections really does add to the whole sketch

My sketch of the Lafayette Reservoir - I think the reflections really does add to the whole sketch

I really enjoyed Stephanie's demo and intend to add more reflections in a lot of my sketches - and not just ones involving water! Stay tuned for my upcoming blog post on the last workshop I took at USK Chicago - Liz Steel's Lost and Found Structures!

tags: urban sketching, watercolor, study, usk symposium
categories: Urban sketching, Watercolor
Thursday 08.24.17
Posted by Jennie Kessinger
Comments: 3
 

Revisiting Marion Rivolier's USK Chicago Symposium Workshop: How to Reach the Sky?

Attending the Urban Sketcher's Symposium in Chicago last month was so inspiring! I learned so much from the other sketchers I met and, of course, from the instructors of my workshops. Now, that I've been home - I decided to revisit each of the workshops I took (with Marc Taro Holmes , LK Bing, Marion Rivolier, and Liz Steel) and the demonstration I attended (with Stephanie Bower) to remember what I was taught and practice!

Today, I am revisiting Marion Rivolier's How to Reach the Sky workshop, which I took on Friday afternoon of the Symposium. I have been following Marion on Instagram for a while now and have always admired her watercolors and urban sketches. I love her use of watercolors without a preliminary drawing, the colors she uses, and the landscape format she so often uses - so, I was very excited for the chance to learn from her in this workshop.

Marion started out the workshop explaining that she wanted to show us the intimate relationship between the sky, the lights, the movement of the clouds, the buildings and the architecture, which are revealed by the sky. She said that we will observe how the sky reveals the colors of the city. First, however, she wanted to check our materials - our sketchbooks and our watercolors as we will be painting in watercolors directly for this workshop without any preliminary underdrawing.

Marion had us practice mixing dark colors in various warm and cool mixtures. Here are my dark mixtures using Daniel Smith's Ultramarine Blue and Transparent Pyrrol Orange; Ultramarine Blue and Pyrrol Crimson; and Indanthrone Blue and Pyrrol Crimson - with varying amounts of each color. Marion reviewed our colors to make sure we could make sufficiently dark colors. She recommended that we make color charts of our watercolors to understand what colors are possible with our sets. 

Dark color mixtures

Dark color mixtures

Next, we took the Chicago skyline, our subject, and focused on the sky alone in sketching the sky or negative space around the buildings in a single, dark color.  Marion warned us at the outset of the workshop that we may not create any "pretty" pieces of art today as we are going to be more concerned about experimenting and learning today.

IMG_4561.jpg
using a single cool, dark color to paint the sky / the negative shapes of the buildings

using a single cool, dark color to paint the sky / the negative shapes of the buildings

Next, we played with warm and cool values as Marion says that warm and cool values are the key to understanding volume as they allow us to create contrasts that accentuate depth and volumel. We were to choose a dark cool color and add in a warm color for clouds (which we had to invent as the sky was clear at that moment).

negative drawing with a dark, cool sky and warm clouds

negative drawing with a dark, cool sky and warm clouds

Next, we painted the negative shapes of the buildings to indicate the sky and added a warm color for highlights on the buildings and a cool light color for reflections of the sky on the buildings.

warm highlights and cool sky reflections on the buildings

warm highlights and cool sky reflections on the buildings

In our next exercise, we ignored the sky and just used a warm color to indicate highlights on the buildings and a cool light cool to indicate reflections of the sky on the buildings.  

warm highlights and cool sky reflections on the buildings

warm highlights and cool sky reflections on the buildings

Next, we took this exercise one step further and added cool and warm dark colors to indicate warm and cool shadows on the buildings after indicating the warm highlights and cool sky reflections on the buildings.

combining warm highlights, cool sky reflections on the buildings with cool and warm dark shadows

combining warm highlights, cool sky reflections on the buildings with cool and warm dark shadows

the workshop's efforts

the workshop's efforts

In the end, we combined all of these concepts into a final sketch (that I admittedly ran out of time to complete. 

Final sketch utilizing all of the concepts from Marion's workshop

Final sketch utilizing all of the concepts from Marion's workshop

Final sketches of the workshop

Final sketches of the workshop

Marion showing us her sketch utilizing the concepts she taught us

Marion showing us her sketch utilizing the concepts she taught us

In summary, I found the concepts of warm and cool color contrasts to be a bit hard to get my head around. In theory, I understand the concept, but it's a whole other matter in practice! I don't think I've trained my eyes enough to see and differentiate between cool and dark shadows, etc. Also, in the beginning of the workshop, Marion kept asking us to give more room for the sky in our composition. I think this tip will be the easiest for me me to implement right away, but I will keep working on trying to see and utilize warm and cool value contrasts. 

Today, prior to the partial solar eclipse that turned out not to be viewable where I was in Berkeley, I tried to keep Marion's workshop in mind and sketched the sky with a bit of my view from the Claremont Resort Hotel. 

My sketching set up today

My sketching set up today

trying to reach our overcast sky today

trying to reach our overcast sky today

As a side note - I love Marion's use of rich watercolors and coveted her Indigo Blue that she demonstrated in the workshop to make a cool, dark color - so I asked her what brand of watercolors she uses. She said that she uses White Nights watercolors primarily because they are fairly cheap (about 2 euros for a half pan) and she goes through a lot of watercolors. I love my Daniel Smith watercolors, but I was tempted to try Marion's watercolors and bought some White Nights watercolors on Amazon. I've been using them since them and enjoy having a limited palette of warm and cool colors with a couple of convenience colors added in. Here is Marion's palette - which I have some of the colors - but not all of them based on my own preferences.

Marion's White Nights palette

Marion's White Nights palette

In conclusion, I have much to learn and practice from Marion's workshop still. But, I have resolved to view her own work on Instagram with a more knowledgeable eye based on the concepts she explained to us. 

Thanks for reading this! Stay tuned for my blog posts on Liz Steel's workshop and Stephanie Bower's demonstration. 

tags: study, watercolor, usk symposium, uskchicago2017
categories: Urban sketching, Watercolor
Monday 08.21.17
Posted by Jennie Kessinger
 

A tour of one of my USK Chicago Symposium Sketchbooks

Before I went to Chicago for this year's Urban Sketcher's Symposium, I made two coptic-bound sketchbooks (here is a great how to video if you want to learn how to make one) from my favorite watercolor paper - Fabriano Artistico in both 140 lb. soft- and cold-pressed finishes. While both were about 8" x 11" in dimension, I made one in landscape format and the other in portrait format. I think I generally prefer landscape format as this was the one I finished first after coming back home. 

Here is a quick tour of the sketchbook with my sketches from the USK Symposium at the start - including sketches done on my own in Chicago, sketches from the group sketch crawls, and sketches from the workshops I took there with Marc Taro Holmes, LK Bing, Marion Rivolier, and Liz Steel. 

I'd love to hear your thoughts! Stay tuned for more posts on the individual workshops I took in Chicago as well as the demo from Stephanie Bower on Watery Reflections. 

tags: sketchbook tour, sketchbookart, sketchbook, usk symposium
categories: Sketchbooks, Sketchbook tour, Urban sketching
Sunday 08.20.17
Posted by Jennie Kessinger
 

LK Bing's USK Chicago Symposium Workshop: Spontaneous Creation of Dramatic Atmosphere

Today, I am revisiting the excellent workshop I took with LK Bing at the Urban Sketchers Symposium in Chicago last month. I love LK's watercolors - they are so full of emotion and atmosphere that I was really excited for his workshop. The full title of the workshop was "Spontaneous Creation of Dramatic Atmosphere: How to Apply Lighting Concepts with Artistic Strokes." 

I attended LK's workshop as my second workshop on Friday morning. As with all of the workshops, we met our instructors at Grant Park and walked over to the location LK selected for us near the Chicago Board of Trade building. LK was very generous with the supplies and instruction he provided us - which included: (a) a printed color booklet/handout with stated learning goals, workshop schedule, his supplies and tools, and his step by step process; (b) three water soluble Snowman markers; (c) two 9 x 12 cm thumbnail cards that are made of mounting boards; and (d) a bamboo knife.

The supplies provided to workshop attendees by LK Bing (the thumbnail cards were provided blank - but these are mine after the workshop)

The supplies provided to workshop attendees by LK Bing (the thumbnail cards were provided blank - but these are mine after the workshop)

The learning goals of the workshop were as follows:

In this workshop, the participants will acquire understanding of the techniques of how to make a sketching composition artistically and speedily through:

  1.  Applying lighting concepts and depth to express atmosphere.

  2. Creating spontaneous and artistic strokes.

  3. Making value study in order to look for the best composition and to build a library of best compositions for future reference.

  4. Understanding on tools and materials which helps to speed up and simplify the creation of quality sketches.

First, LK showed us his supplies and tools as well as his own sketches and thumbnails. He then proceeded to demonstrate his process of first drawing compositional value thumbnails. Here is a video I shot of LK's demo.

LK's finished thumbnail 

LK's finished thumbnail 

Following LK's thumbnail demo, we set off to try our own. I was able to do the two you see in the above photo of the supplies provided to us. LK came by and gave us individual tips and comments. Thereafter, LK demo'ed painting his full size sketch, reminding us to reserve the white of the paper for highlights. Here is an admittedly unprofessional video I took of LK's demo.

Here is LK's final sketch. 

IMG_4543.jpg

We then set out to do our own sketches with LK's helpful comments. For instance, LK gave me the advice to try to reserve more white space in my sketch, but I could still add in some white watercolor or gouache (or even pastel) later. Here is my final sketch from the workshop.

The view of the Chicago Board of Trade I was sketching

The view of the Chicago Board of Trade I was sketching

I continued using LK's water soluble pen and his methods to sketch during my time at the USK Chicago Symposium and found it really helpful in speeding up my sketching and loosening up my style. Here are some examples of my sketches from Chicago using LK's teachings.

A sketch I did during an evening architectural boat tour

A sketch I did during an evening architectural boat tour

My nighttime sketch of "The Bean"

My nighttime sketch of "The Bean"

Our last sketch crawl - this sketch was done in 15 minutes

Our last sketch crawl - this sketch was done in 15 minutes

Hero Coffee Bar - near our hotel

Hero Coffee Bar - near our hotel

My sketch with the lovely baristas at Hero Coffee Bar

My sketch with the lovely baristas at Hero Coffee Bar

Sketching on the "El" back to O'Hare Airport

Sketching on the "El" back to O'Hare Airport

Today, I revisited LK's teachings and used his water soluble pen to do these sketches while waiting.

a 5 minute sketch

a 5 minute sketch

a sketch of Mount Diablo at the intersection of Ygnacio Valley & North Broadway

a sketch of Mount Diablo at the intersection of Ygnacio Valley & North Broadway

I have yet to capture the atmospheric quality and emotion of LK's work, but I will keep practicing. I love how quickly I can sketch with this method and will keep working at it. Thanks again for a great workshop, LK! 

Me and LK at the final photo session of the USK Symposium

Me and LK at the final photo session of the USK Symposium

Stay tuned for my future posts on the workshops I took with Marion Rivolier and Liz Steel, as well as the demo by Stephanie Bower - all from the USK Symposium in Chicago. 

tags: usk symposium
categories: Study, Urban sketching
Monday 08.14.17
Posted by Jennie Kessinger
Comments: 1
 

Marc Holmes' Watercolor Silhouettes USK Symposium Workshop


My first workshop at the recent Urban Sketchers Symposium in Chicago was one of the most sought after at the Symposium this year. Somehow, I was lucky enough to have gotten into Marc Holmes Watercolor Silhouettes workshop on the first morning of worskshops. 

I have already taken a Marc's two Craftsy classes (Sketching People in Motion & Travel Sketching in Mixed Media) and found them to be excellent in terms ofdrawing, watercolor, and urban sketching techniques. I highly recommend them. If you access the courses through Marc's website, you can get a 50% discount on the course. I also really enjoyed his book, The Urban Sketcher: Techniques for Seeing and Drawing on Location. 

In this Marc's books and Craftsy courses, he progresses from drawing in pencil to ink and adding watercolor, to going straight to watercolor with no underdrawing. His workshop is a continuation of this progression. Marc has generously posted a handout, An Exercise in Direct Sketching: The Broken Silhouette, from his workshop online .  Marc summarizes the goal of the workshop as follows:

THE IDEA IS SIMPLY: Sketch with a brush, straight onto dry white paper, with rich, juicy mixes of paint, picked up as directly as possible from the paint box. 

Marc explained this to us as a way to not only draw with your brush, but to create solid shapes at the same time with exciting watercolor effects.

Marc showing us an urban sketch of the elevated train in Chicago

Marc showing us an urban sketch of the elevated train in Chicago

Then, he demonstrated painting a positive shape using this techniques. Here's some video of his demo.

I didn't really understand what Marc wanted in my first try - he wanted more outlining the shape with the brush and filling it it in with lively watercolor mixes. Here, I just added a wash over the statue of the horse and rider. 

My first attempt

My first attempt

In my next few attempts, I did a little better with Marc's concepts.

We practiced painting the negative shapes around the statue and then added the shadow shapes within the figure

We practiced painting the negative shapes around the statue and then added the shadow shapes within the figure

My final sketch - a panorama of the Chicago skyline and the elevated train - but I ran out of time.

My final sketch - a panorama of the Chicago skyline and the elevated train - but I ran out of time.

The workshop was wonderful and Marc gave us so much to think about and to practice. I revisited his handout and concepts the other day and worked on using his first technique (painting a positive, isolated shape) to practice painting cars and people (with which I always struggle)!


I started with the parked car on the right and then attempted cars driving towards me on the left

I started with the parked car on the right and then attempted cars driving towards me on the left

Here, I started with the people and then added the background building

Here, I started with the people and then added the background building

Yesterday, I attempted Marc's other technique - drawing with a background (negative shapes) at the Lafayette reservoir. I definitely need more practice painting negative shapes - so this was fun.

My final sketch

My final sketch

I will keep practicing Marc's techniques over the next few days and will also revisit each one of the amazing workshops I took at the USK Symposium in Chicago. Stay tuned!

tags: study
categories: Urban sketching, Watercolor, Study
Friday 08.11.17
Posted by Jennie Kessinger
Comments: 1
 

USk Symposium in Chicago!

Last week, I attended my first Urban Sketcher's Symposium in Chicago and it was every bit as amazing as I hoped it would be! I was in heaven amongst the 570+ like minded sketchers in Chicago and seeing and meeting so many of the amazing artists and teachers that I have been lucky enough to take online (and in person) or follow online: Paul Heaston, Liz Steel, Suhita Shirodkar, James Richardson, Lynne Chapman, Marc Holmes, Anne-Laure Jacquart, Marion Rivolier, LK Bing, Uma Kelkar, Jane Blundell, Shari Blaukopf, Lapin, Jason Das, Stephanie Bower, Nina Johansson, and Paul Wang.

Todd and I lived in Chicago for a few years over 20 years ago and while Chicago was familiar, it was also very changed. I loved trying to draw/paint all the skyscrapers and all the public art spaces that have been added. Todd came along and had full days to himself while I participated in sketch crawls and workshops. Each day was so busy and fun! I plan to blog in detail about each of the workshops I took (Marc Holmes' Watercolor Silhouettes; LK Bing's Spontaneous Creation Of Dramatic Atmosphere; Marion Rivolier's How To Reach The Sky?; and Liz Steel's Lost And Found Structure; as well as Stephanie Bower's Watery Reflections demo) - so, stay tuned!.

In the meantime, here are some of my early sketches from the trip and some photos from the Symposium. 

IMG_4307.JPG
IMG_4321.jpg
IMG_4326.jpg
IMG_4327.jpg
IMG_4345.jpg
IMG_4350.jpg
IMG_4353.jpg
IMG_4363.jpg
IMG_4351.jpg
IMG_4357.jpg
IMG_4368.jpg
IMG_4374.jpg
IMG_4363.jpg
IMG_4380.jpg
IMG_4368.jpg
IMG_4382.jpg
IMG_4374.jpg
IMG_4380.jpg
IMG_4384.JPG
IMG_4382.jpg
IMG_4384.JPG
tags: urbansketching, usk symposium
categories: Urban sketching
Tuesday 08.08.17
Posted by Jennie Kessinger
 

Travel Sketchbook from Washington DC and NYC Trip

I recently took my daughter (with her friend and friend's mom) on our own 8th grade Washington DC/New York City trip. We had a great time seeing the Washington monuments and going to a lot of the excellent (and free!) National museums. I tried to sketch as much as possible on site, but being on a trip without other sketchers doesn't allow for a lot of sketching time. I was able to convince the girls, however, to sketch with me in their own little books whenever we had a few minutes of downtime at restaurants, etc. 

Here are my sketches done in my hand-made concertina sketchbook (made from a single sheet of Fabriano Artistico 140 lb. soft-press watercolor paper). I was forced to buy another sketchbook in NYC once I filled this one. Stay tuned for additional travel sketches in that sketchbook tour. 

tags: sketchbook, sketchbookart
categories: Sketchbook tour
Friday 06.30.17
Posted by Jennie Kessinger
 

Tour of Sketchbook No. 30

I made and started this sketchbook back in February and finally finished it the other day. It is composed of different shades of Canson Mi Teintes toned paper. I hope you enjoy this slower tour and the quicker one that follows.

tags: sketchbookart, sketches
categories: Sketchbook tour
Wednesday 06.21.17
Posted by Jennie Kessinger
 

Tour of Concertina Sketchbook no. 36

I created my first concertina sketchbook inspired by Lynne Chapman from her Sketchbook Skool Exploring klass. I made this using one full sheet of Saunders Waterford 140lb. cold press watercolor paper. 

Here is a narrated tour of the sketchbook followed by a quick tour.  

Your comments are appreciated and welcome! Thanks for watching! 

Here's how I make a concertina sketchbook from a full sheet of Fabriano Artistico 140 lb. cold-pressed watercolor paper. 1. Fold and tear the sheet into their DS lengthwise; 2. Connect the sections together by folding the ends with a 1/4" overlap and glue together with Modge Podge suitable for paper; 3. While waiting for the glue to dry, tape the ends together with Washington tape that can be removed after the glue is dried; 4. I cut covers from the backing of a watercolor pad and used a cute Daiso panda envelope to cover the covers; 5. Glue the first and last pages to the covers; 6. Put heavy books on top to set - done!

tags: Travel sketching, sketchbookart, Sketchbook, sketchbook tour, Watercolor, Urban sketching, skcthy
Sunday 05.28.17
Posted by Jennie Kessinger
 

Tour of Sketchbook no. 35

This is my first Stillman & Birn sketchbook with their Beta series paper. I liked it very much - but I think I prefer using my favorite Fabriano Artistico watercolor papers in the size and format of my choosing when I bind my own sketchbooks. But, it was fun trying a new sketchbook.  

Here is the slow tour of the sketchbook followed by a quick tour.  

Thanks for watching! I'd love to hear your comments.  

tags: Sktchy, Sketchbook, Sketches, Urban sketching, Watercolor
categories: Sketchbook tour
Tuesday 05.23.17
Posted by Jennie Kessinger
 
Newer / Older

All work © Jennie Kessinger 2018. No work may be reproduced or re-posted without the expressed written consent of the artist.   Powered by Squarespace.